Loading ...
Loading ...
Loading ...
7
Chapter 2
Set Up Internet Connection
Tips:
• Some ISP gateways disable the WPS function by default. If the WPS connection fails, please refer to
Method Two: Via a Web Browser.
• For more information about using WPS button on your host router, please refer to the router
manufacturer’s user guide.
2. Wait until the Signal LED changes to solid blue, which indicates that the WPS
connection is successful. If it doesn’t, please refer to Method Two: Via a Web Browser.
3. If you are connecting the extender to a dual-band router but only the 2.4GHz or 5GHz
LED is on, repeat Step 1 and 2 to connect to the other band.
4. Enjoy! Connect to the extended network and enjoy the internet. Both extended
networks share the same SSIDs (network names) and passwords as those of your
host networks.
Tips: Since the performance of the extended networks will be affected by the distance between the
extender and the host router, we recommend that you relocate your extender by referring to Position
Your Extender.
2. 1. 2. Method Two: Via a Web Browser
1. Connect your computer to the extender's wireless network.
Tips: Before connecting, please find the SSID (network name) on the label of the extender.
• For Windows Users
1 ) Unplug the Ethernet cable from your computer (if any).
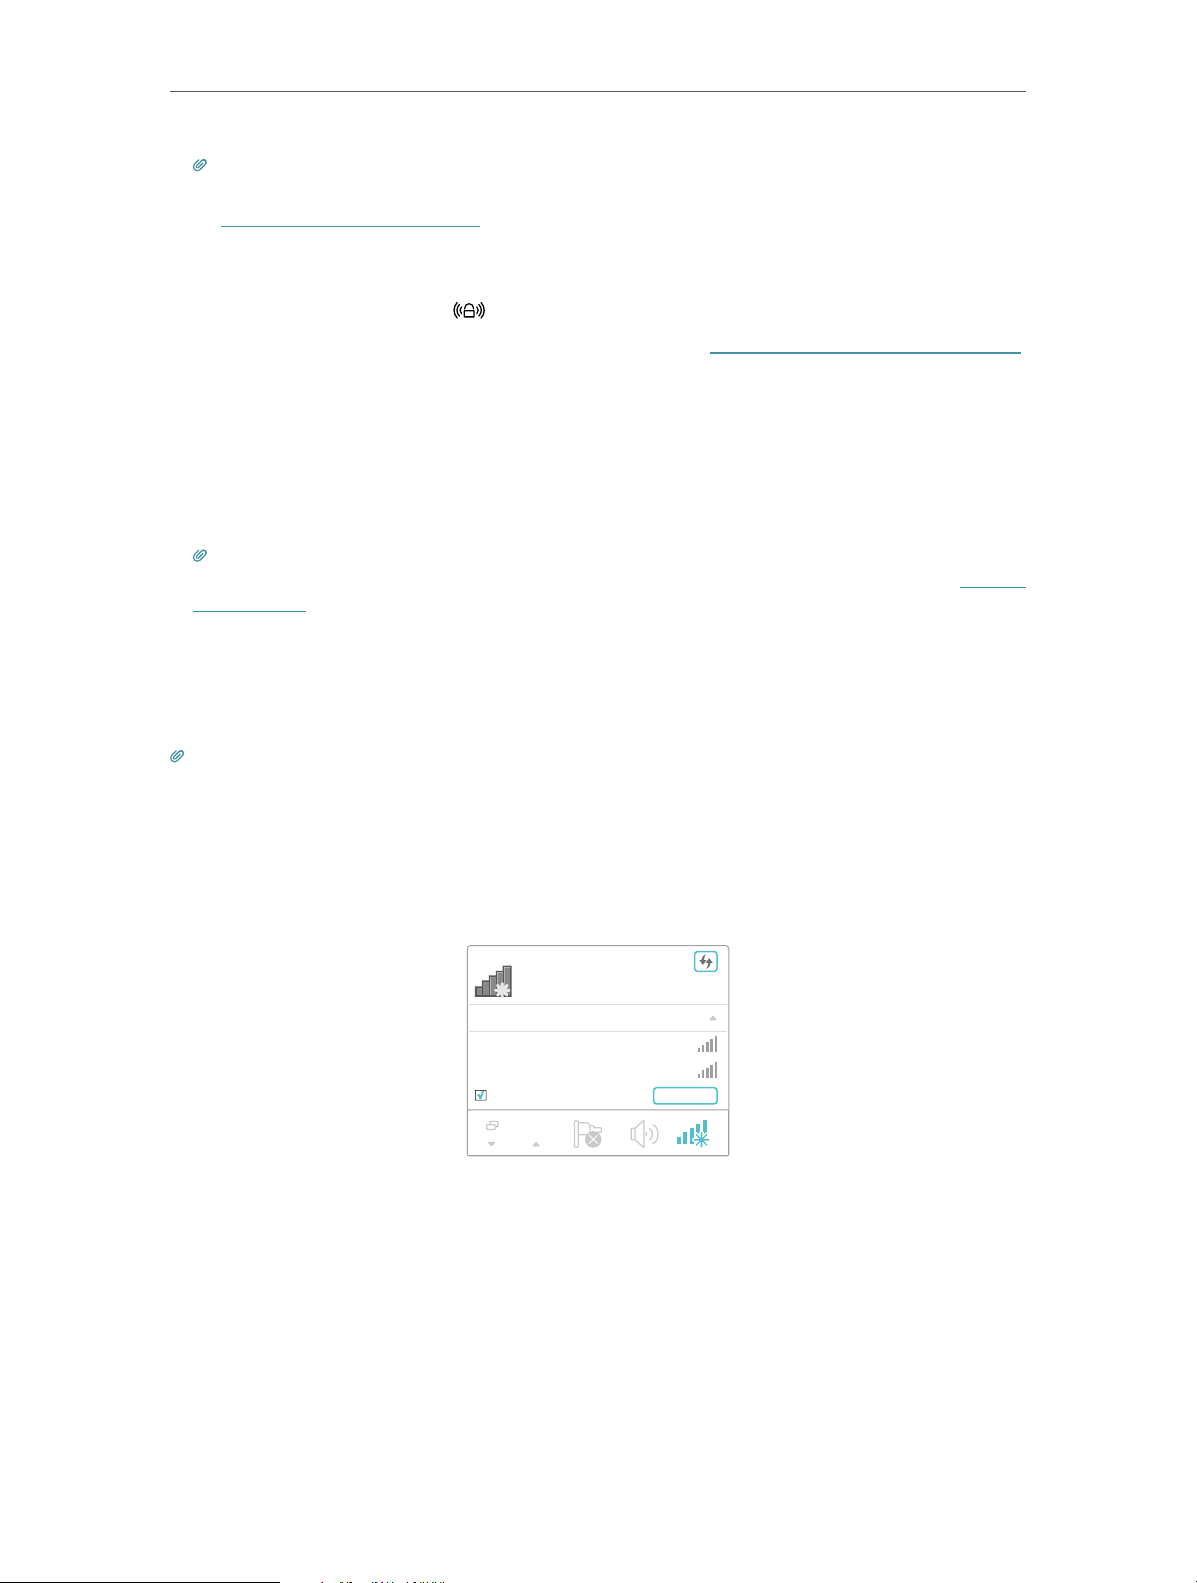
2 ) Click the Wi-Fi icon on the taskbar and connect to the extender’s wireless
network: TP-Link_Extender_2.4GHz or TP-Link_Extender_5GHz.
C
onnections are available
Wireless Network
C
onnection
TP-Link_Extender_2.4GHz
TP-Link_Extender_5GHz
Connect automatically
Connect
√
• For Mac OS X Users
1 ) Unplug the Ethernet cable from your computer (if any).
2 ) Click the Wi-Fi icon in the top right corner of the screen, and connect to the
extender’s network: TP-Link_Extender_2.4GHz or TP-Link_Extender_5GHz.
Loading ...
Loading ...
Loading ...