Loading ...
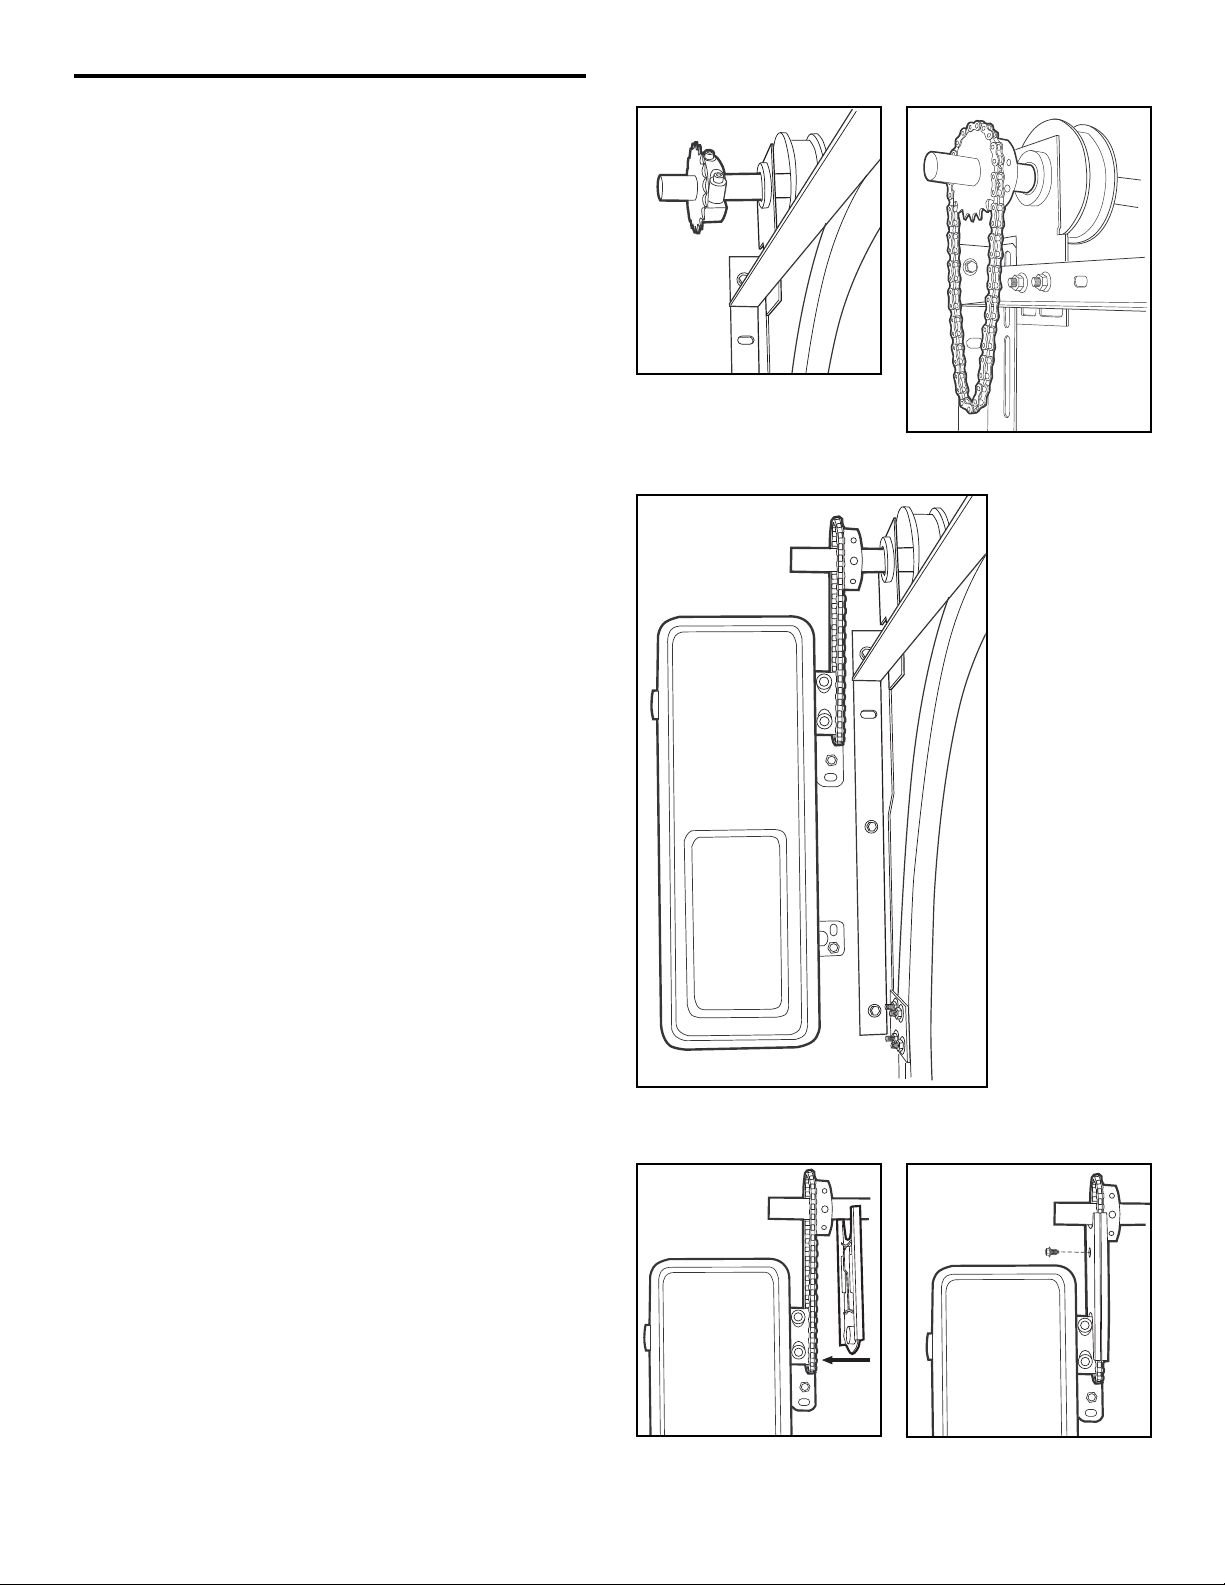
Figure 5
Figure 6
Figure 7
INSTALLATION
5. Attach sprocket with the smaller bore (1") to the
torsion bar making sure that the screws are on the
side closest to the garage door (Figure 3).
NOTE: Do not tighten sprocket at this time.
6. Place the chain on the sprocket located on the
torsion bar (Figure 4).
7. Attach the sprocket located on the motor unit shaft to
the chain. Secure the motor unit to the wall using the
hex head screws (Figure 5).
NOTE: Ensure that the chain is perpendicular to the bar
and not too tight.
8. Tighten both screws of the sprocket on the torsion
bar equally to secure the sprocket to the bar
(12-14 ft./lbs. of torque). Securely tighten set screw.
You may need to rotate the chain to make the
screws accessible.
9. One side of the chain cover will have an indentation
that will fit into the middle of the motor unit sprocket.
This side should be put on first (Figure 6).
10. Position the remaining cover over the other side so
that it encloses the chain and sprocket assembly.
The covers will snap into place. Secure them by
screwing them together using the 1/2" screw
(Figure 7).
11. Rotate chain to ensure smooth travel. Adjust, if
necessary.
12. Refer to Installation Step 2 of the owner’s manual for
further instructions.
Figure 4
Figure 3
Loading ...
Loading ...