PACKAGE CONTENTS
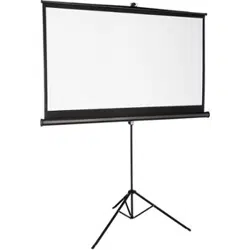
• 75" Tripod Projector Screen
• Quick Setup Guide
FEATURES
• Durable, high-contrast material
• Easy to operate
Before using your new product, please read
these instructions to prevent any damage.
Quick Setup Guide
|
NS-SCR115
75" Tripod Projector Screen
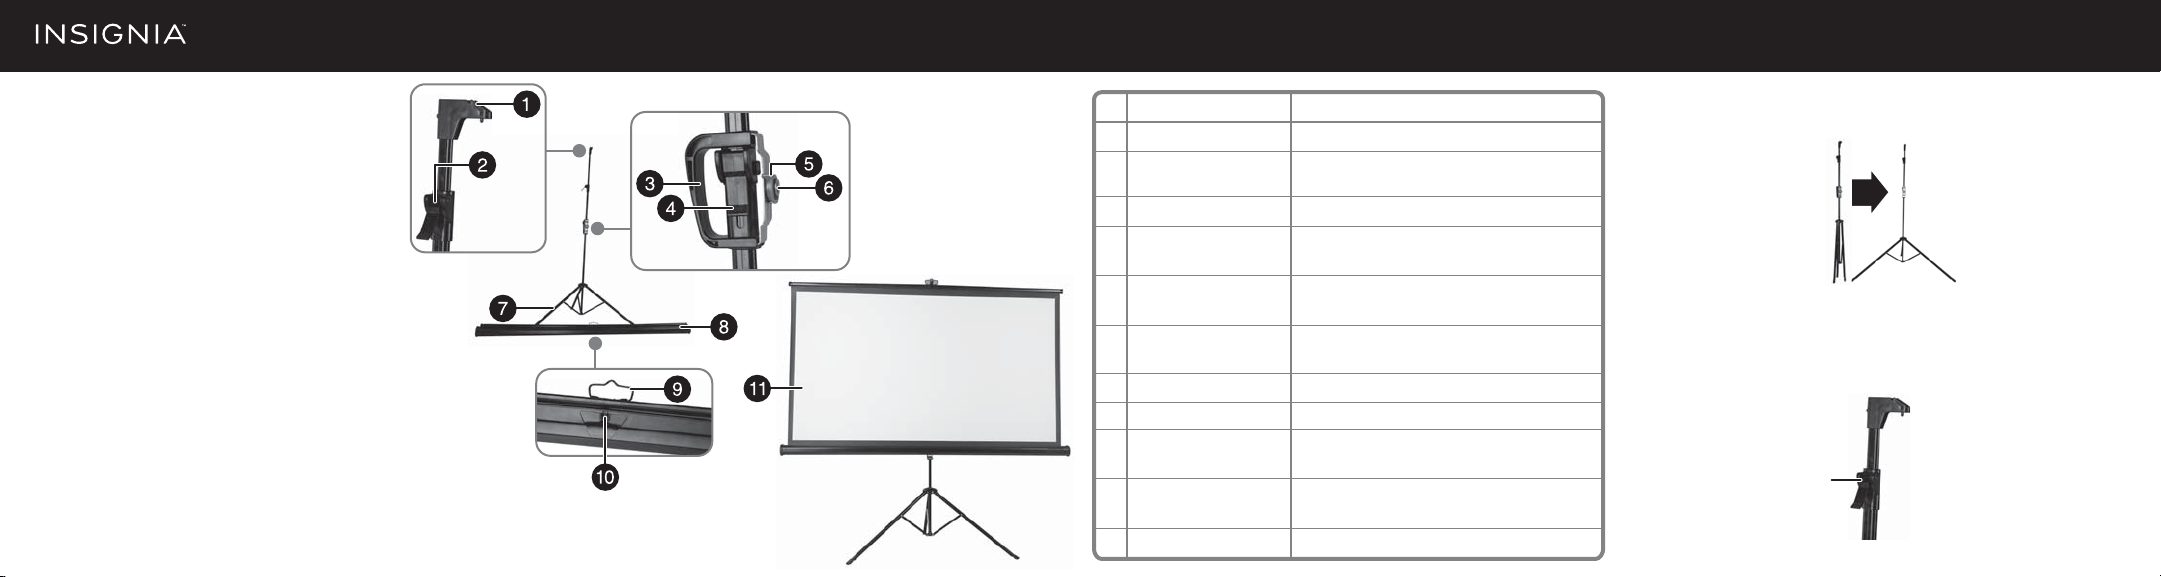
# ITEM
1 Screen hanger notch
2 Flip-lever center column
lock
3 Screen height handle
4 Flip-lever for the screen
height handle lock
5 Positioning pin release
lever
6 Positioning hole
7 Tripod leg
8 Screen enclosure
9 Projector screen hanging
bracket
10 Positioning pin
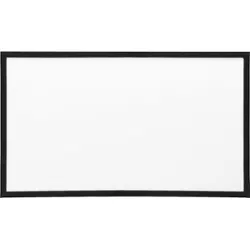
11 Projector screen
DESCRIPTION
Provides a notch to hang the projector screen.
Locks or unlocks the rst section of the tripod center
column.
Hold this handle to raise or lower the center column.
Locks or unlocks to slide up or down the screen height
handle.
Push this release lever to insert or release the
positioning pin in the positioning hole.
Attaches to the positioning pin on the back of the
projector screen.
Supports the tripod and projector screen.
Enclosure for the screen when not in use.
Hang the projector screen using this bracket.
Position projector screen by inserting it into
positioning hole.
Displays pictures from the projector.
Flip-lever center
column lock
USING YOUR TRIPOD PROJECTOR SCREEN
1 Open the three legs of the tripod and stand the tripod up.
2 Loosen the ip-lever center column lock, then raise the center column so
that the screen hanger notch is just below your eye-level (this position
makes it easier to attach the projector screen hanging bracket), then fasten
the ip-lever center column lock to secure the column in place.

Positioning hole
Positioning pin
Positioning pin release lever
Positioning pin release lever
springs back into position
Projector screen hanging bracket
Screen hanger
notch
4 While holding the screen enclosure, push the red positioning pin release
lever and insert the positioning pin into the positioning hole. When the pin
is fully inserted, the positioning pin release lever will spring back into its
non-released positioned.
5 Pull out the projector screen by pulling up on the projector screen hanging
bracket, then hang the projector screen hanging bracket on the screen
hanger notch on top of the center column.
3 Unlock the ip-lever for the screen height handle lock and slide the
screen height handle to approximately your waist-level (this position
makes it easier to attach the screen enclosure), then fasten the ip-lever
for the screen height handle to secure it in place.
Maximum operating height
Minimum operating height
Folded length
Screen diagonal length
Net weight
87 in. (220 cm)
57 in. (144 cm)
71 in. (180 cm)
75 in. (190 cm)
14.7 lbs. (6.67 kg)
V1 ENGLISH 15-0588
6 From the back side of the screen you can now set the height of the screen.
You can set the height of the bottom edge of the screen by unlocking the
ip-lever for the screen height handle and changing the position of the
screen height handle. Change the height of the top edge of the screen by
unlocking the ip-lever center column lock, and raising the center column.
When not in use, remove the screen enclosure from the tripod by reversing
the installation steps.
REATTACHING THE SCREEN ENCLOSURE
You can reattach the screen enclosure to the disassembled tripod to
conveniently carry and store the projector screen when not in use.
1 Extend the center column completely, then position the screen enclosure
so that the hole in one end of the screen enclosure is on the same side as
the screen hanger notch on the center column.
2 Attach the screen enclosure positioning pin to the positioning hole. Once
this is done, the center column can be repositioned so that the pin below
the screen hanger notch inserts into the hole on the end of the screen
enclosure.
SPECIFICATIONS
ONE-YEAR LIMITED WARRANTY
Visit www.insigniaproducts.com for details.
CONTACT INSIGNIA:
For customer service, call 1-877-467-4289 (U.S. and Canada) or
01-800-926-3000 (Mexico)
www.insigniaproducts.com
INSIGNIA is a trademark of Best Buy and its aliated companies.
Distributed by Best Buy Purchasing, LLC
©2015 Best Buy. All rights reserved.
Made in China
Screen height
handle
Flip-lever for the screen
height handle lock