Loading ...
Loading ...
Loading ...
13
The Power Pressure Cooker XL Pressure Canning Process
To begin, select a recipe that has been pre-tested and approved for pressure canning.
Though ingredients vary, generally speaking you will be processing the food as demonstrated
in this guide.
1. Select a pre-tested pressure can-
ning recipe. Choosing only the fresh-
est ingredients, prepare the food
as instructed. Vegetables and fruits
should be at their peak of fresh-
picked ripeness.
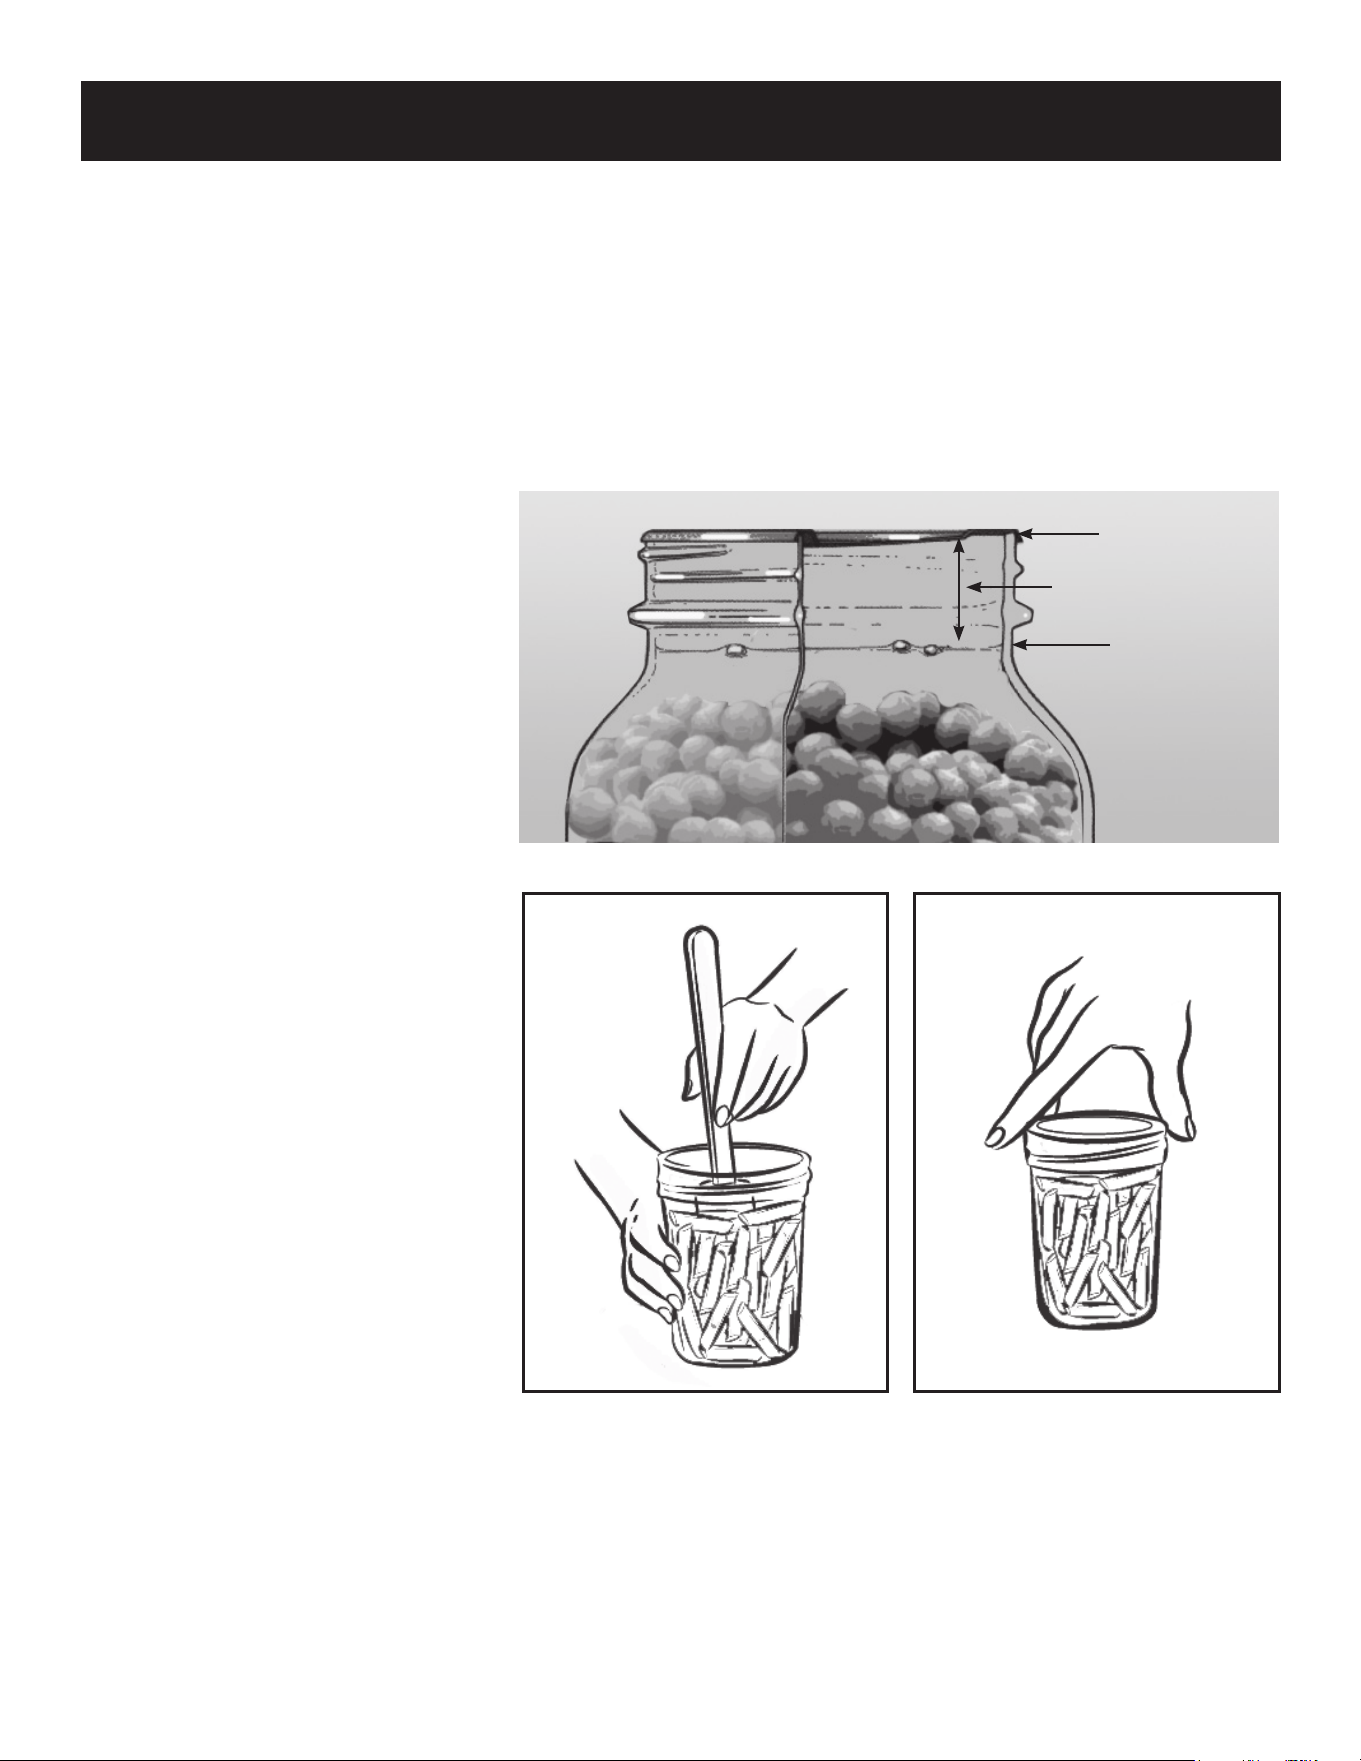
2. Fill 16 oz. clean canning jars to
the level shown in FIG.1. Any liquid
should not exceed the level shown in
FIG.1, so that there remains a head-
space at the top of approximately 1
inch.
3. Using a exible nonporous spatula
gently press between the food and
the jar to remove any trapped air
bubbles as in FIG.2.
4. Place a clean lid on top of the jar
and then add a screw band. Turn
clockwise and hand tighten in place
as in FIG.3.
NOTE: Never retighten lids after pro-
cessing jars. As jars cool, the con-
tents contract, pulling the self-sealing
lid rmly against the jar to form a high
vacuum.
If screw bands are too loose, liquid
may escape from jars during process-
ing, and seals may fail.
If screw bands are too tight, air cannot vent during processing, and food will discolor during storage.
Over tightening also may cause lids to buckle and jars to break, especially with raw-packed, pressure-
processed food. Screw bands are not needed on stored jars. They should be removed after jars are
cooled.
When removed, washed, dried, and stored, screw bands may be used many times. If left on stored jars,
they become difcult to remove, often rust, and may not work properly again.
Headspace
Liquid Level
Lid
FIG. 1
FIG. 2
FIG. 3
Loading ...
Loading ...
Loading ...