Loading ...
Loading ...
Loading ...
• The LDWS feature may not detect lane departures on
extremely wide, narrow, or winding roads.
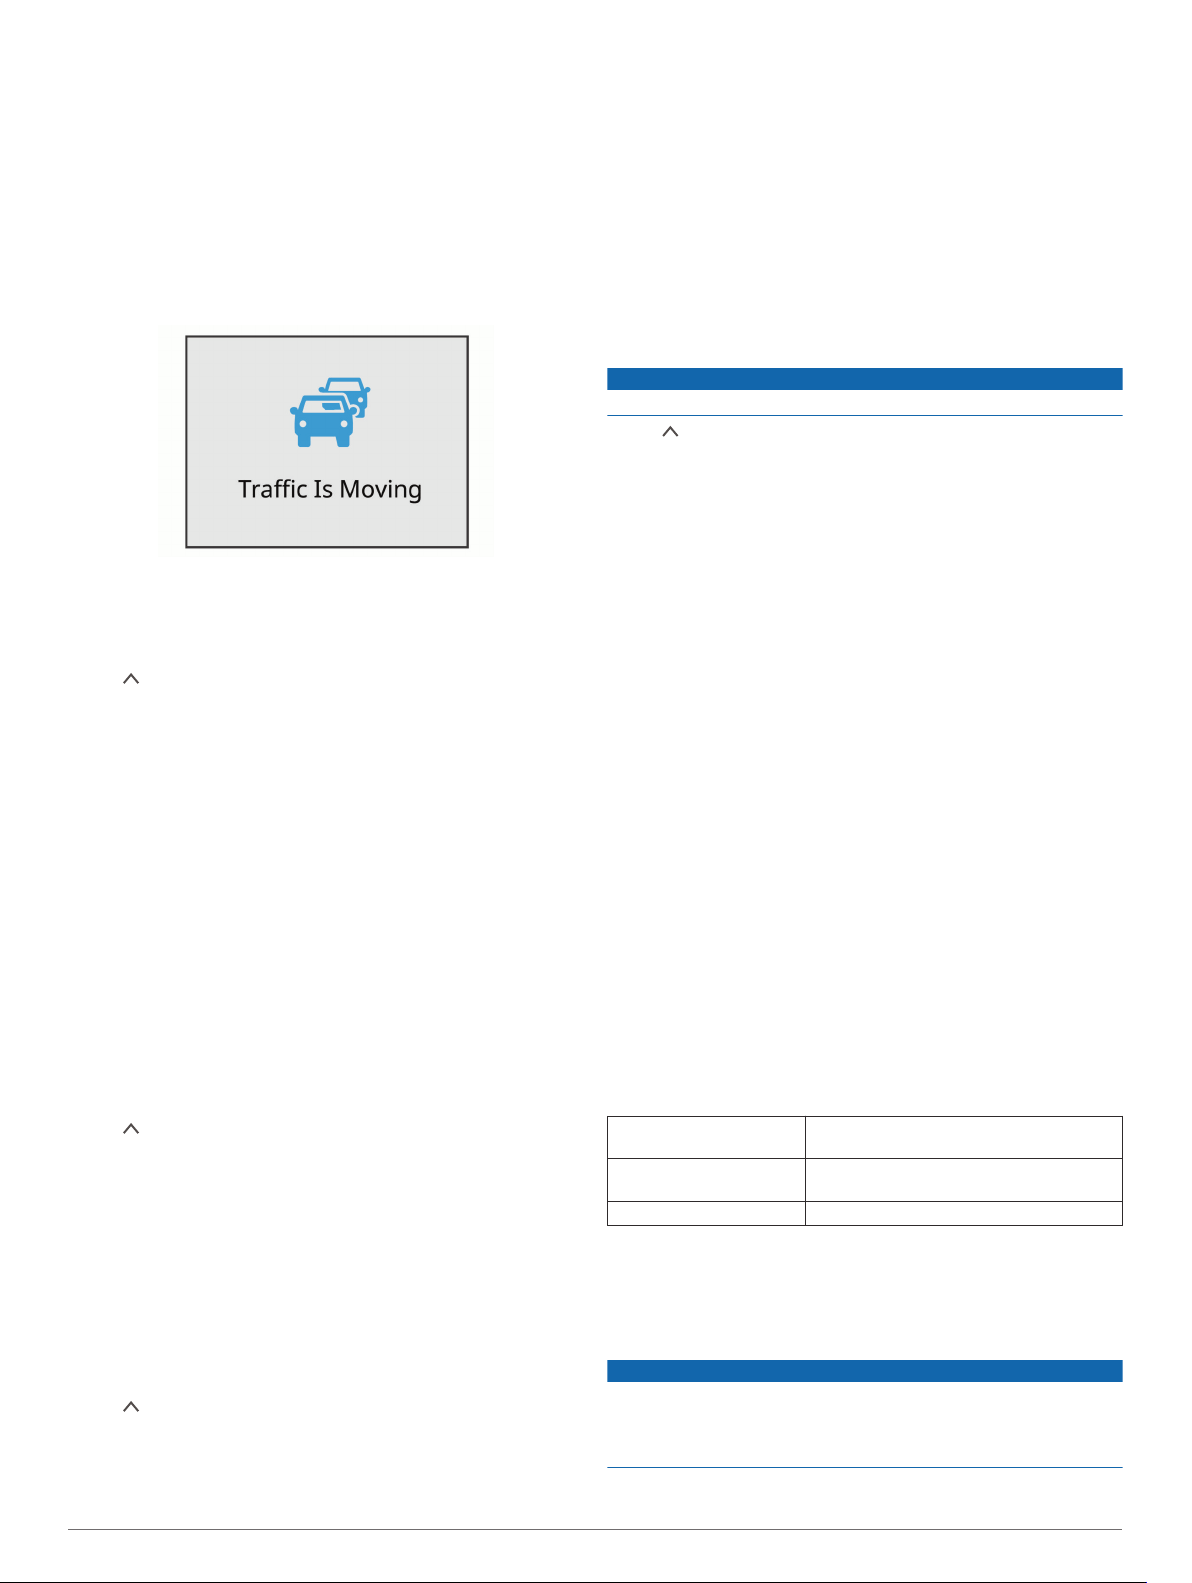
Go Alert
The go alert plays a tone and displays an alert when stopped
traffic ahead of your vehicle starts moving again. This alert
appears only after the vehicle ahead has moved a substantial
distance and your vehicle has remained stopped. This can be
useful at stop lights or in traffic delays. This feature uses the
dash camera to detect the stopped or moving vehicle and
requires a clear view of the road.
Garmin Dash Cam Settings
Camera Settings
Select > Settings > Camera.
Resolution: Adjusts the video resolution.
Event Detection: Turns on and off event detection (Event
Detection, page 2).
Record Audio: Turns on and off audio recording. This feature is
not available in all areas or for all product models.
Data Overlay: Adjusts the type of data displayed on videos and
pictures.
Record After Power Loss: Sets the amount of time that the
device continues to record video after power is turned off.
Record While Parked: Allows the camera to record video while
the vehicle is parked and turned off and sets the amount of
time the camera remains active while parked. This feature is
only available when the Dash Cam parking mode cable
accessory is connected to the camera (Parked Video
Recording, page 6).
Format Card: Formats the memory card and deletes all videos,
photos, and data on the card.
Driver Assistance Settings
Select > Settings > Driver Assistance.
Camera Placement: Allows you to indicate the placement of
your device in the vehicle (Setting the Camera Placement,
page 2).
Forward Collision: Adjusts the sensitivity of the FCWS feature.
Go Alert: Turns on or off the go alert display and audible alerts
when traffic starts moving (Go Alert, page 5).
Lane Departure: Adjusts the lane boundary settings (Lane
Departure Warning System, page 4).
Proximity Alerts: Adjusts the audible proximity alerts.
System Settings
Select > Settings > System.
Volume: Adjusts the volume of the camera alerts and video
playback.
Brightness: Adjusts the viewfinder display brightness.
Color Mode: Allows you to select day or night color mode. If you
select the Auto option, the device automatically switches to
day or night colors based on the time of day.
Display Timeout: Allows you to set the screen to stay on while
the camera is receiving power or turn off after one minute of
idle time.
Setup: Allows you to set the units of measure, time, and
language, and restore them to their default values.
About: Displays the software version number, the unit ID
number, and information about several other software
features.
Regulatory: Displays regulatory and compliance information.
Device Setup
NOTICE
Deleted or overwritten files cannot be restored.
Select > Settings > System > Setup.
Units: Sets the unit of measure used for distances.
Time: Sets the time, date, and format for the time stamp.
Language: Sets all on-screen text to the selected language.
Restore: Restores all settings to the factory default values.
Device Information
Support and Updates
Garmin Express (garmin.com/express) provides easy access to
these services for Garmin devices.
• Product registration
• Product manuals
• Software updates
Setting Up Garmin Express
1
Connect the device to your computer using a USB cable.
2
Go to www.garmin.com/express.
3
Follow the on-screen instructions.
Viewing Regulatory and Compliance
Information
From the system settings, select Regulatory.
Resetting the Device
You can reset your device if it stops functioning.
Hold the power key for 12 seconds.
Specifications
Operating temperature
range
From -20° to 55°C (from -4° to 131°F)
Charging temperature
range
From 0° to 45°C (from 32° to 113°F)
Memory card Class 10 or higher microSDHC up to 64 GB
Appendix
Changing the Fuse in the Vehicle Power
Cable
NOTICE
When replacing the fuse, do not lose any of the small pieces
and make sure they are put back in the proper position. The
vehicle power cable does not work unless it is assembled
correctly.
If your device does not charge in your vehicle, you may need to
replace the fuse located at the tip of the vehicle adapter.
Go Alert 5
Loading ...
Loading ...
Loading ...