Loading ...
Loading ...
Loading ...
Clearing All Personal Records
1
From the watch face, hold MENU.
2
Select History > Records.
3
Select a sport.
4
Select Clear All Records > Yes.
The records are deleted for that sport only.
NOTE: This does not delete any saved activities.
Pausing Your Training Status
If you are injured or sick, you can pause your training status.
You can continue to record fitness activities, but your training
status, training load focus, recovery feedback, and workout
recommendations are temporarily disabled.
Select an option:
• From the training status widget, hold MENU, and select
Options > Pause Training Status.
• From your Garmin Connect settings, select Performance
Stats > Training Status > > Pause Training Status.
TIP: You should sync your device with your Garmin Connect
account.
Resuming Your Paused Training Status
You can resume your training status when you are ready to start
training again. For best results, you need at least two VO2 max.
measurements each week (About VO2 Max. Estimates,
page 17).
Select an option:
• From the training status widget, hold MENU, and select
Options > Resume Training Status.
• From your Garmin Connect settings, select Performance
Stats > Training Status > > Resume Training Status.
TIP: You should sync your device with your Garmin Connect
account.
Clocks
Setting an Alarm
You can set multiple alarms.
1
From the watch face, hold MENU.
2
Select Clocks > ALARMS > Add Alarm.
3
Enter the alarm time.
Editing an Alarm
1
From the watch face, hold MENU.
2
Select Clocks > ALARMS > Edit.
3
Select an alarm.
4
Select an option:
• To turn the alarm on or off, select Status.
• To change the alarm time, select Time.
• To set the alarm to repeat regularly, select Repeat, and
select when the alarm should repeat.
• To select the type of alarm notification, select Sounds.
• To turn the backlight on or off with the alarm, select
Backlight.
• To select a description for the alarm, select Label.
• To delete the alarm, select Delete.
Starting the Countdown Timer
1
From the watch face, hold MENU.
2
Select Clocks > TIMERS.
3
Select an option:
• To set and save a countdown timer for the first time, enter
the time, press MENU, and select Save Timer.
• To set and save additional countdown timers, select Add
Timer, and enter the time.
• To set a countdown timer without saving it, select Quick
Timer, and enter the time.
4
If necessary, press MENU, and select an option:
• Select Time to change the time.
• Select Restart > On to automatically restart the timer after
it expires.
• Select Sounds, and select a type of notification.
5
Press to start the timer.
Deleting a Timer
1
From the watch face, hold MENU.
2
Select Clocks > TIMERS > Edit.
3
Select a timer.
4
Select Delete.
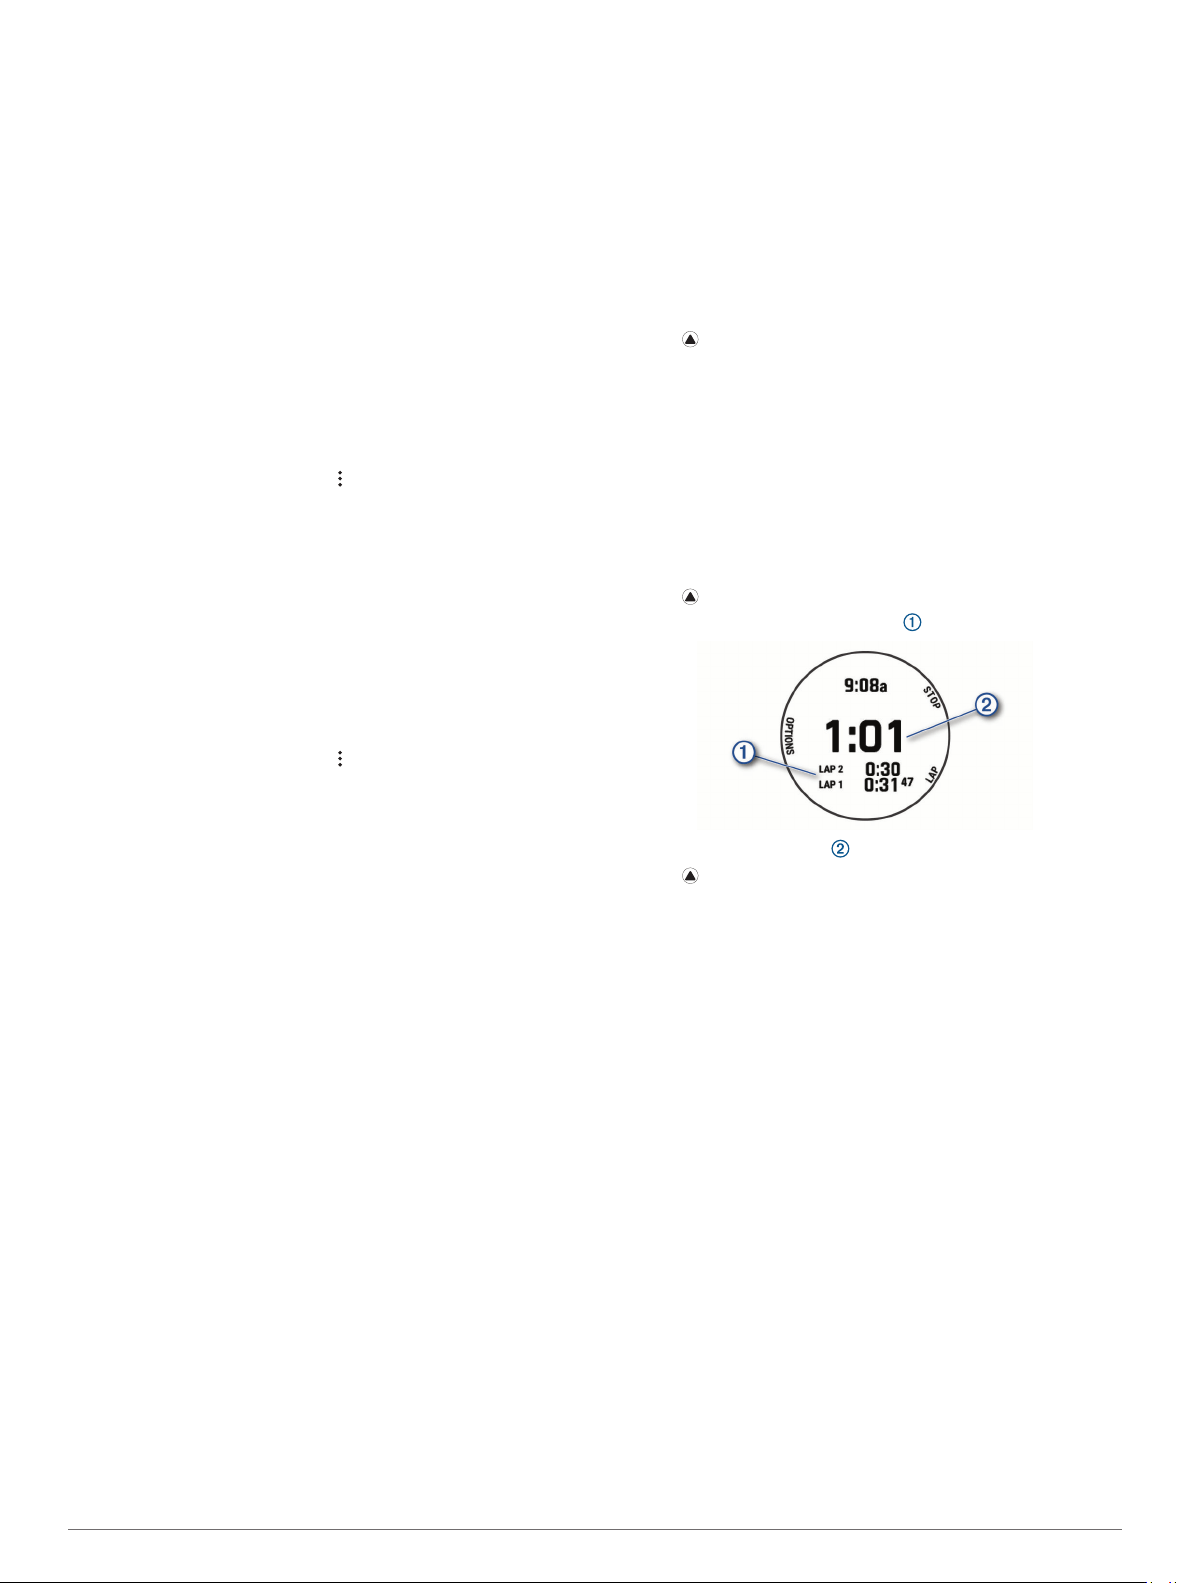
Using the Stopwatch
1
From the watch face, hold MENU.
2
Select Clocks > STOPWATCH.
3
Press to start the timer.
4
Press LAP to restart the lap timer .
The total stopwatch time continues running.
5
Press to stop both timers.
6
Select an option:
• To reset both timers, press DOWN.
• To save the stopwatch time as an activity, press MENU,
and select Save Activity.
• To reset the timers and exit the stopwatch, press MENU,
and select Done.
• To review the lap timers, press MENU, and select Review.
NOTE: The Review option only appears if there have
been multiple laps.
• To return to the watch face without resetting the timers,
press MENU, and select Go to Watchface.
• To enable or disable lap recording, press MENU, and
select Lap Key.
Adding Alternate Time Zones
You can display the current time of day in additional time zones
on the alternate time zones widget. You can add up to four
alternate time zones.
NOTE: You may need to add the alternate time zones widget to
the widget loop (Customizing the Widget Loop, page 36).
1
From the watch face, hold MENU.
2
Select Clocks > ALT. TIME ZONES > Add Alt. Time Zone.
3
Select a time zone.
4
If necessary, rename the zone.
Editing an Alternate Time Zone
1
From the watch face, hold MENU.
28 Clocks
Loading ...
Loading ...
Loading ...