
Loading ...
Loading ...
Loading ...
11
Before making the countertop cutout, check for clearance. Check to see that the grill will clear
the front and side walls of the base cabinet. Also check for proper clearance to the back splash
so that the lid can open fully.
Adequate ventilation of the space below the countertop must be provided to ensure proper
operation of the grill. Heat transferred from the grill bottom pan during operation will overheat an
improperly ventilated area.
When making countertop cutout, radius the corner to help prevent cracking of the countertop
material. A 1/4 inch radius is typical, but follow the countertop manufacturer’s instructions
regarding the minimum radius and any reinforcements required to prevent damage to the
countertop over time.
Use Plumber’s Putty to seal grill to countertop. Plumber’s Putty is a soft, pliable sealing
compound that is used to make watertight seals around faucets, drains, and other plumbing parts.
The putty is hidden under the ange, lip, or edge of the grill and is not visible when the grill is
installed. If caulk were used instead of putty, it would be difcult to access these areas to cut
through the caulk to remove the part.
Plumber’s Putty is a very inexpensive material that is sold in small plastic tubs. It is always
shaped by hand before it is applied to the plumbing part. Follow the basic instructions on the
container of the Plumber’s Putty. If your countertop is made of granite, marble, quartz, sandstone
or Corian use a stain-free Plumber’s Putty to prevent the staining of the countertop.
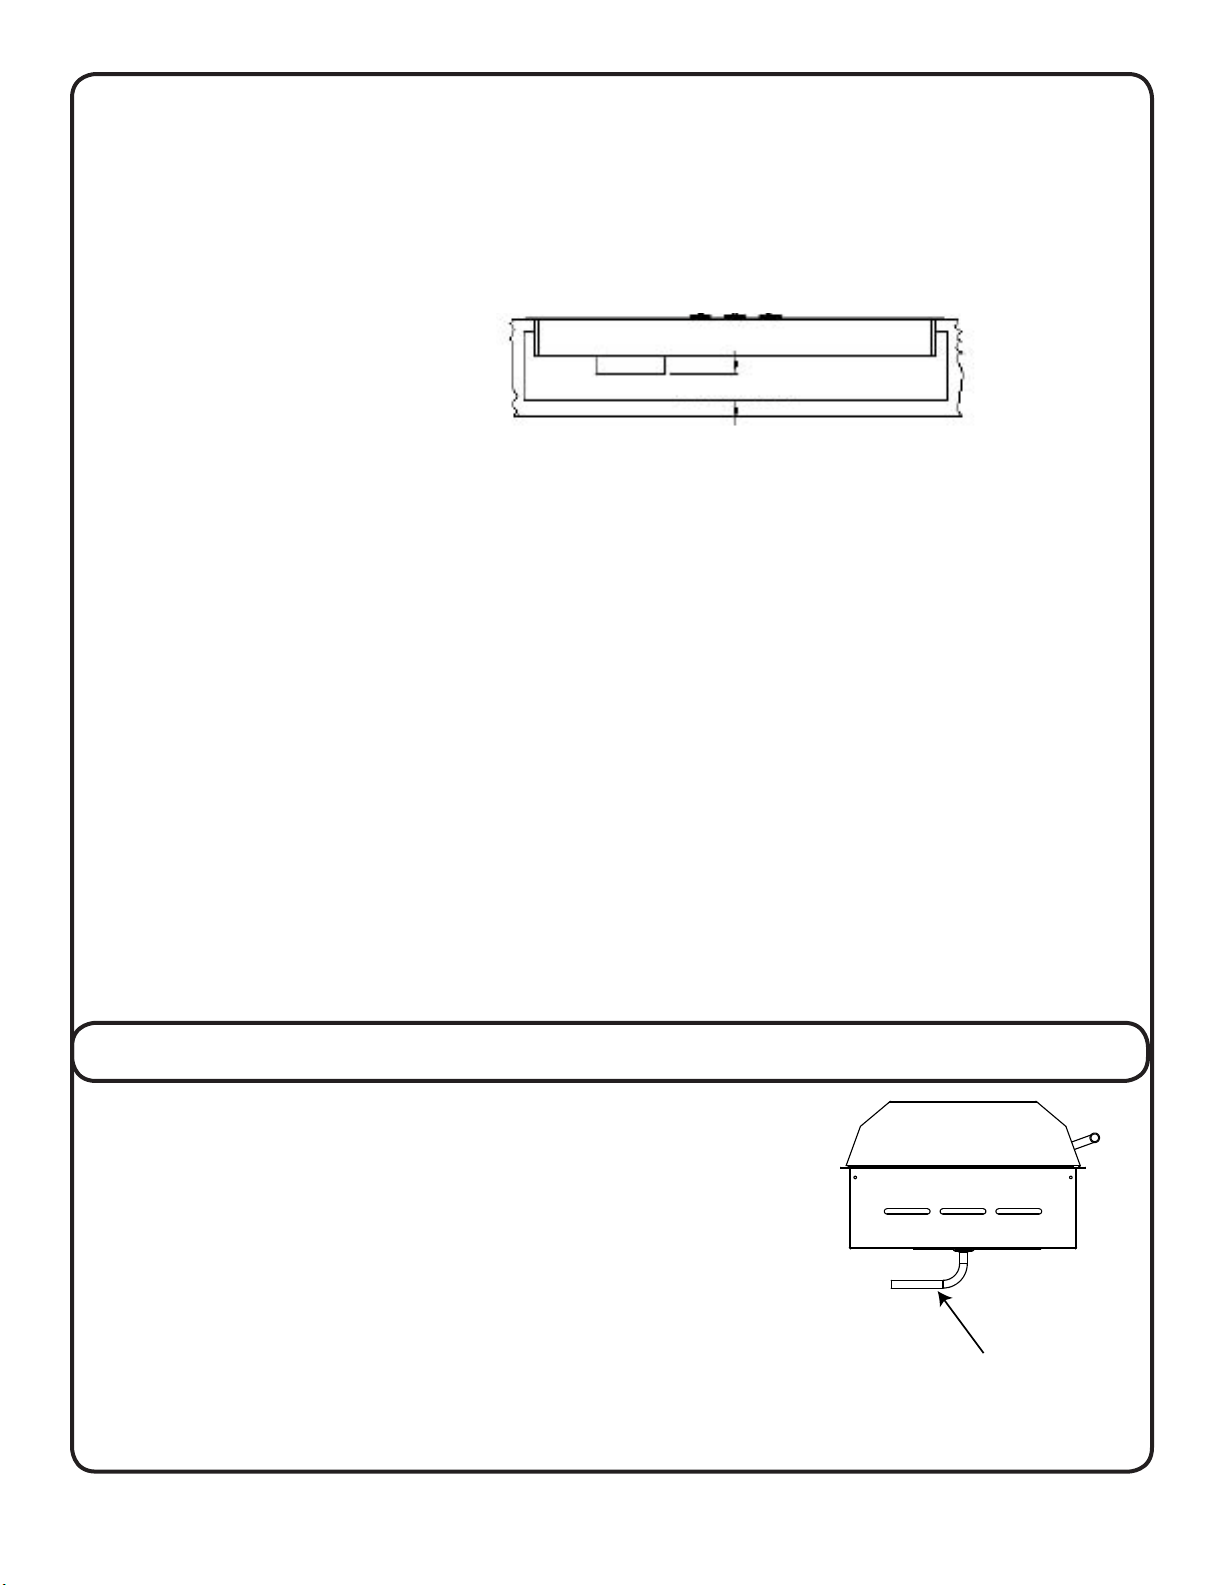
For your convenience, the grill is equipped with a 1/2” NPT brass
pipe tting and 90º brass elbow which you can attach the 5/8” ID
exible hose that came with your grill. The portable version of the
grill comes with a brass pipe plug installed in the drain tting. If you
are using your grill as a portable unit, save the hose and 90º brass
tting for possible installation in the future.
Drain Connection
Drain fitting for 5/8” ID hose
Fig. 8
2 INCH (51MM) MINIMUM
Fig. 7
Loading ...
Loading ...
Loading ...