ENG - 1
DENVER REC-34 - QUICK START GUIDE
www.facebook.com/denverelectronics
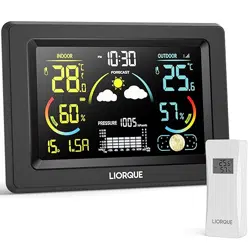
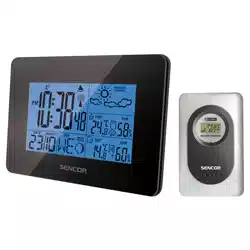
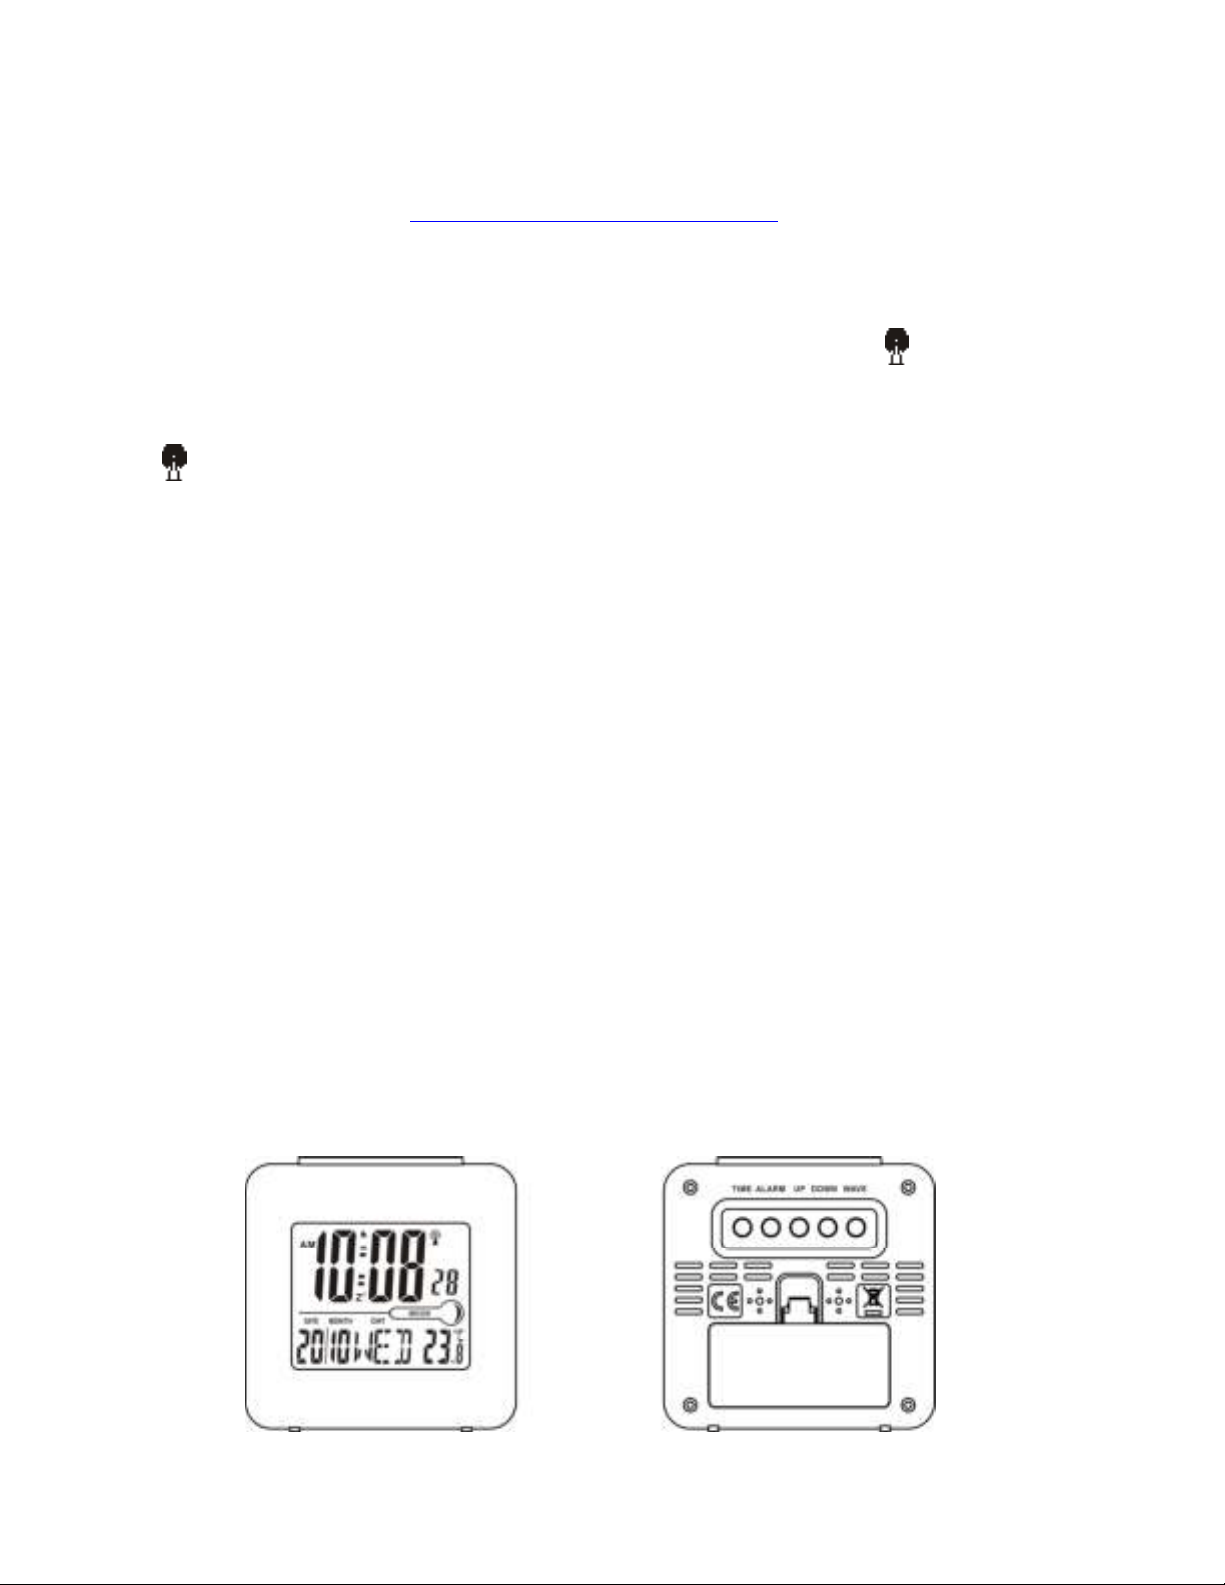
Start-up (radio controlled clock)
1. Open the battery compartment and pull the batteries in it.
2. When inserting the batteries, the clock will scan the DCF frequency signal ( ) flashes on the LCD
if the signal is OK).
3. The clock manually scans the time signal by pressing wave for 2 seconds. For failed reception in 5
minutes, scanning stops.
4. (
) turns on indicate signal received successfully.
Manual time setting
1. When the LCD display the TIME, hold “TIME” button for 2 seconds to enter clock/Calendar
setting.
2. Press “UP” or “DOWN” buttons to adjust the setting and press “TIME” button to confirm each
setting.
3. The setting sequence is shown as follow: 12/24H display, Hour, Minute, Year, Month, Date and
Language.
Adjust the Daily Alarm
1. Hold the “ALARM” button for 2 seconds to enter ALARM time setting. Press “UP” or “DOWN”
button to adjust the ALARM time.
2. Press “ALARM” button to switch ALARM on or off. If it is on.
Time Zone
By standard unit is set to GMT+1. To change this push TIME button for 2 seconds, then choose first
24h, push time once, then change Time zone (standard is 00=GMT+1) to the Time zone at your place
and confirm by pushing time again. Then either set the time manually, or wait until unit returns to
normal mode and push WAVE button to start scanning after RCC time.
Other usage
Press “DOWN” button to select temperature in Celsius mode or Fahrenheit mode.
ENG - 2
ALL RIGHTS RESERVED, COPYRIGHT DENVER ELECTRONICS A/S
Electric and electronic equipment contains materials, components and substances that can be
hazardous to your health and the environment, if the waste material (discarded electric and electronic
equipment) is not handled correctly.
Electric and electronic equipment is marked with the crossed out trash can symbol, seen below. This
symbol signifies that electric and electronic equipment should not be disposed of with other household
waste, but should be disposed of separately.
All cities have established collection points, where electric and electronic equipment can either be
submitted free of charge at recycling stations and other collection sites, or be collected from the
households. Additional information is available at the technical department of your city.
Imported by:
DENVER ELECTRONICS A/S
Stavneagervej 22
DK-8250 Egaa
Denmark
www.facebook.com/denverelectronics