Loading ...
Loading ...
Loading ...
7
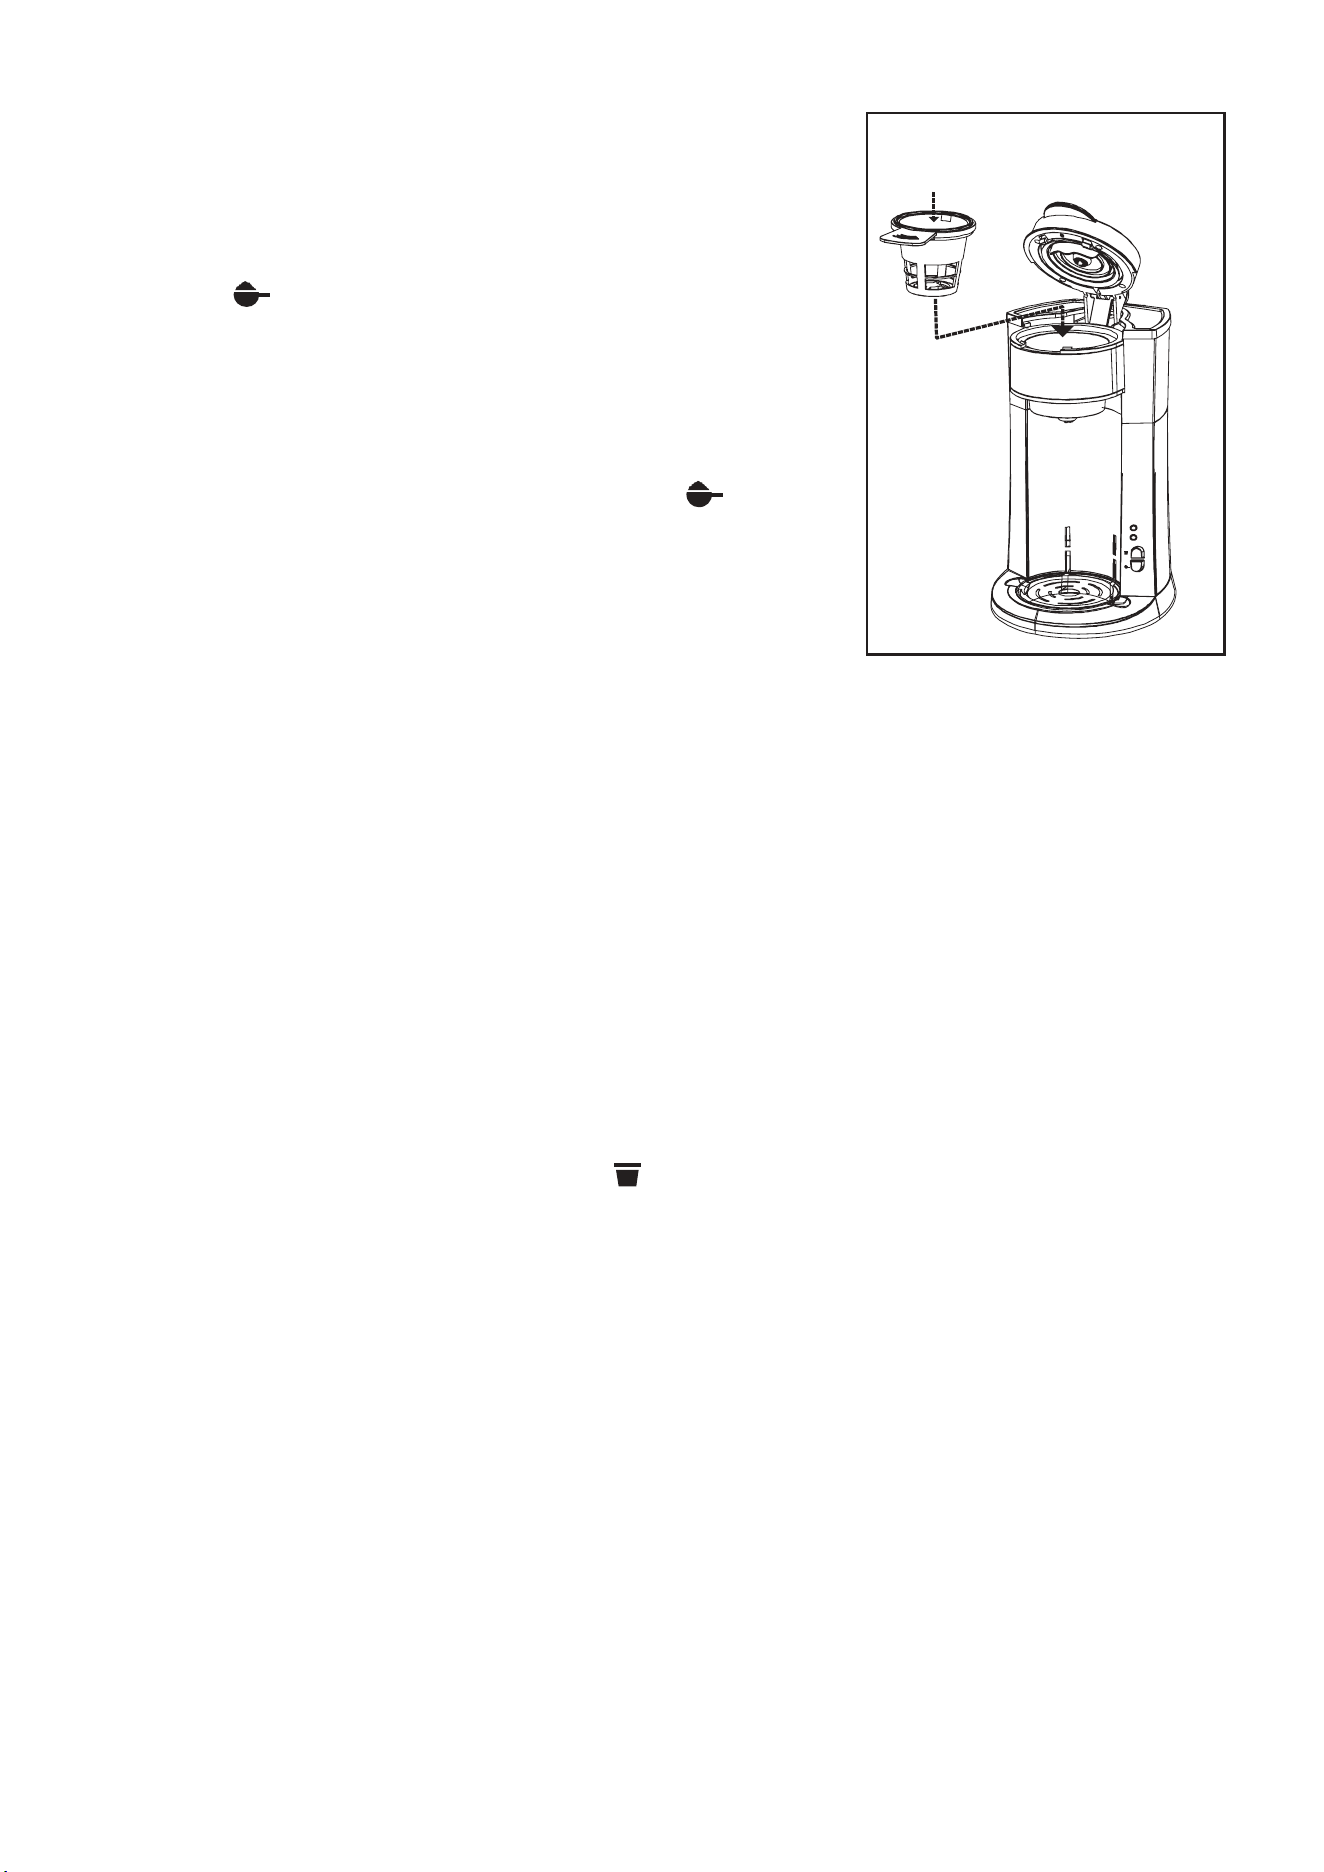
7. With the handle facing front, place the ground coffee adaptor
into the adaptor compartment.
Slide the adaptor handle into
the
grooves at the front of the
Coffee
Maker. (See Figure 6.)
8. Press the adaptor compartment’s lid down rmly. An audible click
can be heard as the lid is locked rmly into position.
9. Plug the Coffee Maker into a 120V AC electrical wall outlet.
10. Press the button to begin the brew cycle.
11. The red PREHEAT indicator light will begin to ash as the Coffee
Maker begins heating the water.
12. When the water has reached the optimum temperature,
the preheat light will go out and the blue BREW light will illuminate.
13. The pump will then activate and coffee will begin to stream through
the nozzle.
14. To interrupt the brewing cycle at any time, press the button.
Then remove the plug from the wall outlet.
15. At the end of the cycle, the Coffee Maker and all indicator lights will
automatically turn OFF.
16. Unplug the Coffee Maker when not in use.
Setting Up your Dualbrew Single Serve Coffee Maker
to Boil Water
Heating plain water in your Single Serve Coffee Maker is quick and
easy. Water is dispensed at the perfect
temperature for preparing single
cups of bagged teas, instant soups, quick cooking oats, packaged hot
chocolate, hot apple cider or anything that
requires boiling water.
WARNING: Before brewing, it is recommended the water tank be lled at least to the lowest 6-oz. step.
To
avoid damage to your Coffee Maker, never operate your Single Serve Coffee Maker when the water tank is empty.
DO NOT EXCEED the 15-oz. MAX ll line.
IMPORTANT: To prevent tainted or “off” avors when changing hot beverages, while the unit is OFF,
use a damp paper towel to completely remove any residue from the adaptor compartment.
1. Follow detailed brewing instructions described previously.
2. Following package instructions, add the specied amount of cold water to the water tank, never adding
less than 6-oz or more than 15-oz
3. Prepare your cup, mug, or tumbler by placing the item of your choice into the mug
4. Select either adaptor. With the handle facing front, place the adaptor of choice into the adaptor
compartment. Slide the adaptor handle into the grooves at the front of the coffee maker.
5. Following detailed instructions described previously, adjust the drip tray to accommodate your cup,
mug, or tumbler.
6. Center the cup under the nozzle and press the button.
7. After water has been heated and dispensed, stir contents of mug well.
Setting Up your Single-Serve Coffee Maker for Iced Beverages
Using a Capsule:
Follow the “SETTING UP YOUR SINGLE-SERVE COFFEE MAKER USING THE CAPSULE ADAPTOR” instructions
with the following adjustments:
1. Use K-Cup® capsule with a stronger avour.
2. Use a tall (approximately 16-oz.) cup/tumbler lled with ice cubes.
3. Add water to the 6-oz. level indicator line inside the water tank. DO NOT EXCEED 6-oz. of water.
CAUTION: Do not use with a glass cup/tumbler as there is risk the glass may crack or break.
Using Ground Coffee:
Follow the “SETTING UP YOUR SINGLE-SERVE COFFEE MAKER USING THE GROUND COFFEE ADAPTOR”
instructions.
1. Fill the reusable ground coffee adaptor to the MAX ll line.
2. Use a tall (approximately 16-oz.) cup/tumbler lled with ice cubes.
3. Add water to the 6-oz. level indicator line inside the water tank. DO NOT EXCEED 6-oz. of water.
4. CAUTION: Do not use with a glass cup/tumbler as there is risk the glass may crack or break.
BREW
PREHEAT
Figure 6
Ground Coffee
Loading ...
Loading ...
Loading ...