Loading ...
Loading ...
Loading ...
4. Open the case
How you do this will vary from system to system, so consult your
owner’s manual for exact instructions.
5. Ground yourself
Simply touch an unpainted metal surface. This protects your
system’s components from the static electricity that’s naturally
present in your body – grounding is just an extra safeguard.
6. Locate the storage bay
This is easy to find in desktops, but in laptops the location will vary
– it’s typically under the bottom panel, under the keyboard, or on
the side. Refer to your owner’s manual for the exact location, as
every system looks slightly dierent.
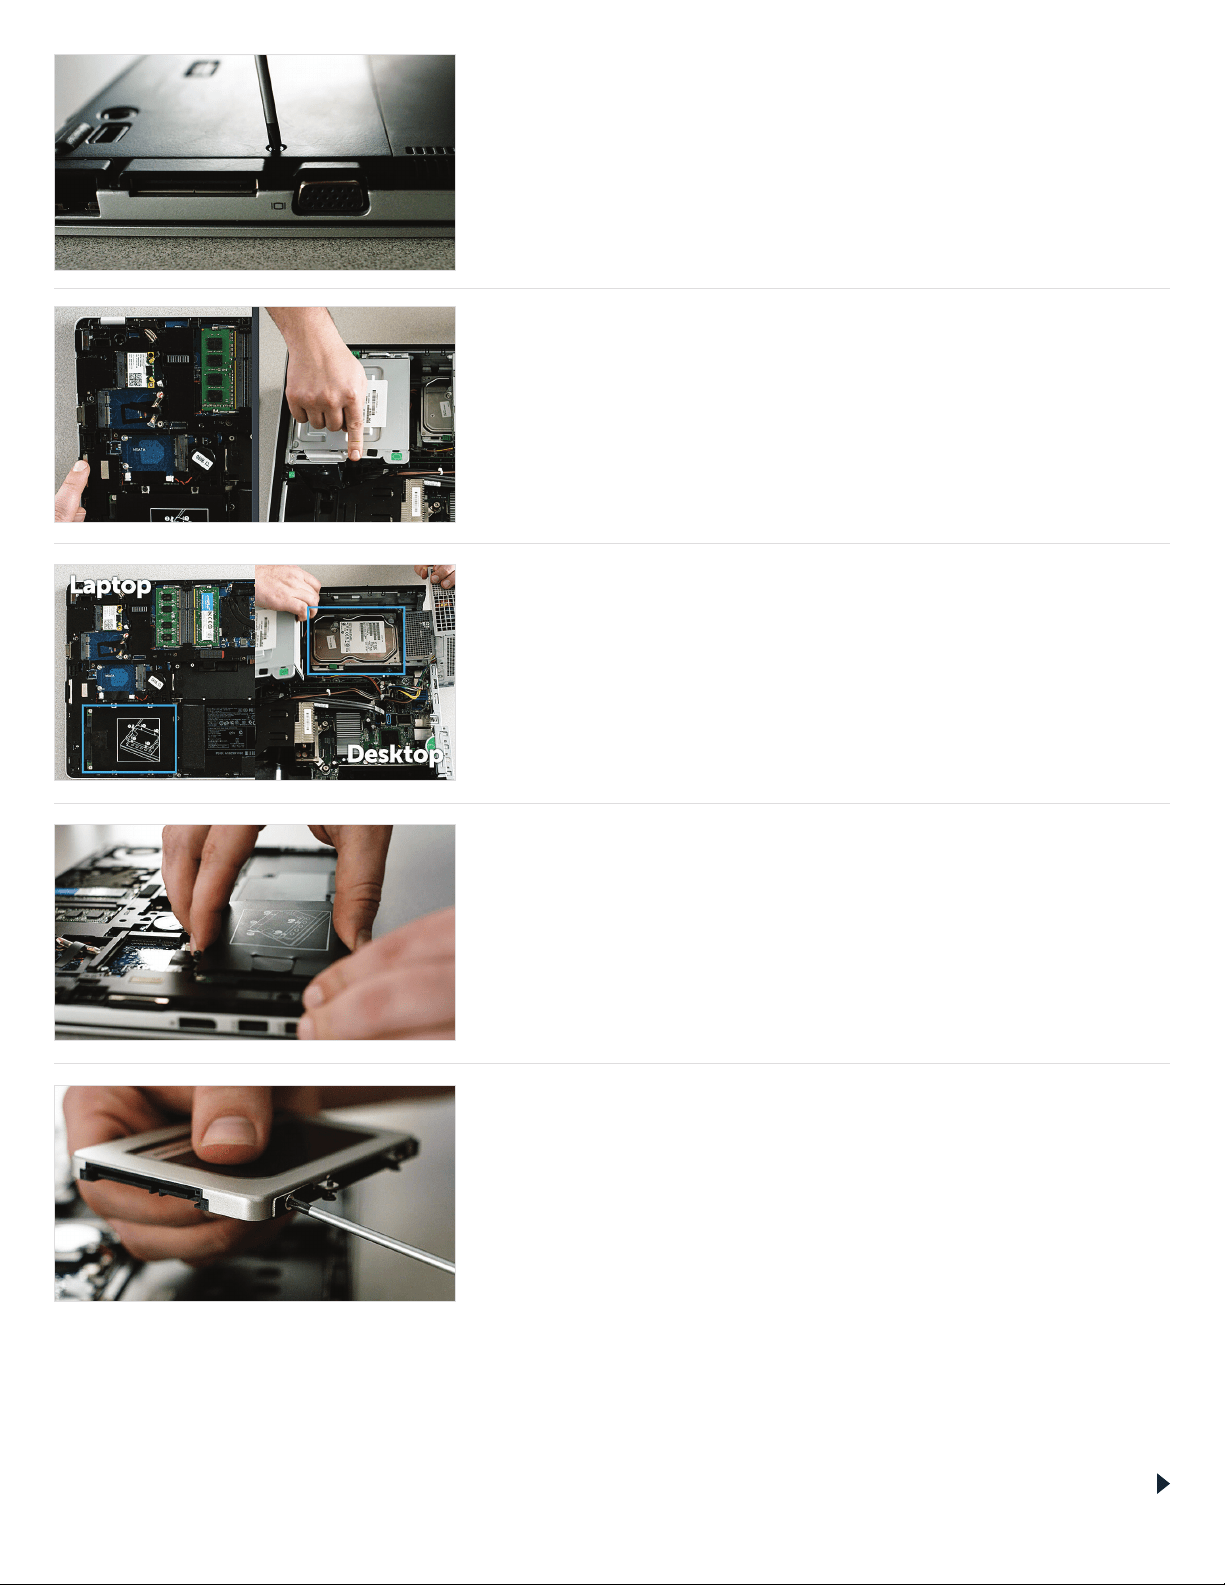
7. Remove your old drive
Remove the existing drive and disconnect any cables and brackets
attached to it. Look closely at the drive for screws that might be
holding something to it, as most brackets are often small and look
like supporting frames.
Page 5
8. Reattach cables and brackets to SSD
Once reattached, plug the SSD into your system. Don’t worry if the
label faces up or down, as this varies by system. When plugging in
the SSD, don’t force the connection – it should go in easily and fit
snug. If it’s wobbly, refer to our Helpful Tip below.
Loading ...
Loading ...
Loading ...