Loading ...
Loading ...
Loading ...
7
• LCD liquid crystal display: If liquid crystal comes in contact with your
skin: Wash area off completely with plenty of water. Remove contaminated
clothing. If liquid crystal gets into your eye: Flush the affected eye with clean
water and then seek medical attention. If liquid crystal is swallowed: Flush
your mouth thoroughly with water. Drink large quantities of water and induce
vomiting. Then seek medical attention.
SAVE THESE
INSTRUCTIONS
INTRODUCTION
Congratulations on purchasing your new Black + Decker
®
Professional Digital
Power Station. Read this Instruction Manual and follow the instructions
carefully before using this unit.
OVERVIEW
Common Actions and Unit Responses
Press the LED Area Light
Power Button.
A beep will sound and the Area Light will turn
on. The backlight will turn on for 10 seconds
(only). The LCD screen will continue to display
the battery status and voltage indicator. The LED
Area Light remains on until switched off.
Press the Battery Status
Button.
A beep will sound and the backlit LCD screen will
display the battery status and voltage indicator
for 10 seconds before the unit automatically
turns off.
Press the AC/USB Power
Button.
A beep will sound and the backlit LCD screen will
display the Battery Status Icon and the USB Icon;
the Digital Display shows “AC”, indicating the AC
Outlet and the dual USB charging port are ready
to use. The unit remains on until the AC/USB
Power Button is pressed again to turn both off.
Press the Compressor
Power Button.
A beep will sound and the backlit LCD screen will
display the battery status and the Compressor
Icon and will alternately show the flashing
pre-set psi value (that was last set using the
compressor pressure control buttons) and the
current pressure of the item being inflated (which
will light solid). If no further actions are taken
after 1 minute, the unit will display the battery
status and voltage indicator for 10 seconds
before automatically turning off.
Whenever the clamps
are properly connected
to a battery or the Jump
Starter Power Switch
is rotated to the ON
position …
… a two-second warning will sound every 10
seconds. The backlit LCD screen will display the
Battery Status Icon, Battery Voltage Indicator,
the Clamp Icons, and the “+” and ”–” signs. The
Alarm Icon and the Jump Starter Icon will flash.
The unit remains on until the Jump Starter Power
Switch is switched back to the OFF position or
the clamps are disconnected from the battery.
If the clamp connections
to the battery’s positive
and negative terminals
are reversed …
… the backlit LCD screen will display the Battery
Status Icon, Battery Voltage Indicator, and the
Clamp Icons. The Alarm Icon, the “+” and ”–”
signs and the Reverse Polarity Icons will flash
and the unit will sound continuously until the
clamps are disconnected from the battery.
When the unit is
charging or
recharging using the
built-in 120 Volt AC
Charger …
… the backlight will turn on for 10 seconds
(only). The LCD screen will continue to display
the Battery Status Icon and Battery Voltage
Indicator. The bars on the battery icon will
change from empty to solid (bottom to top)
repeatedly.
Note: The unit will automatically power off once ALL the functions are turned off.
VIEWING BATTERY STATUS
To check the unit’s battery charge level, press the Battery Status Button. The
Battery Icon will indicate the battery charge level as follows:
• If the battery charge level is at full capacity, four solid bars will display.
• If the battery is partially charged, two or three solid bars will display.
• If the battery is nearly empty, one solid bar will display. The unit should be
charged at this time.
• If the battery is completely empty, four blank bars will display. The unit
MUST be charged at this time or the unit’s built-in low voltage protection
will activate. The empty Battery Status Icon will flash for a short period of
time before automatic shut down. The unit will not operate until the battery
is recharged.
CHARGING/RECHARGING
Lead-acid batteries require routine maintenance to ensure a full charge and
long battery life. All batteries lose energy from self- discharge over time
and more rapidly at higher temperatures. Therefore, batteries need periodic
charging to replace energy lost through self-discharge. When the unit is not in
frequent use, manufacturer recommends the battery should be recharged at
least every 30 days and after each use.
IMPORTANT: If you attempt to use the unit when the unit’s battery charge level
is too low, the unit will automatically shut down. Recharge the unit with all
other functions turned off as soon as possible.
Notes: This unit is delivered in a partially charged state – you must fully charge it
before using it for the first time. Initial AC charge should be for 40 hours.
Recharging battery after each use will prolong battery life; frequent heavy
discharges between recharges and/or overcharging will reduce battery life.
Make sure all other unit functions are turned off during recharging, as this can
slow the recharging process.
CAUTION – RISK OF PROPERTY DAMAGE: Failure to keep the battery
charged will cause permanent damage and result in poor jump starting
performance.
IMPORTANT: If you know the unit is discharged, but the battery icon displays
four solid bars as if the unit is fully charged when connected to a charging
power source, this may be due to the internal battery having high impedance.
The manufacturer suggests leaving the unit charging for a period of 40 hours
using the built-in AC charger before use.
Charging/Recharging Using the Built-In 120
Volt AC Charger and AC Extension Cord (not
included)
1. Lift the protective cover of the built-in 120 volt AC charger located on
the lower left front of the unit (refer to the Features section to locate).
Connect an extension cord to the unit. Plug the other end of the cord into
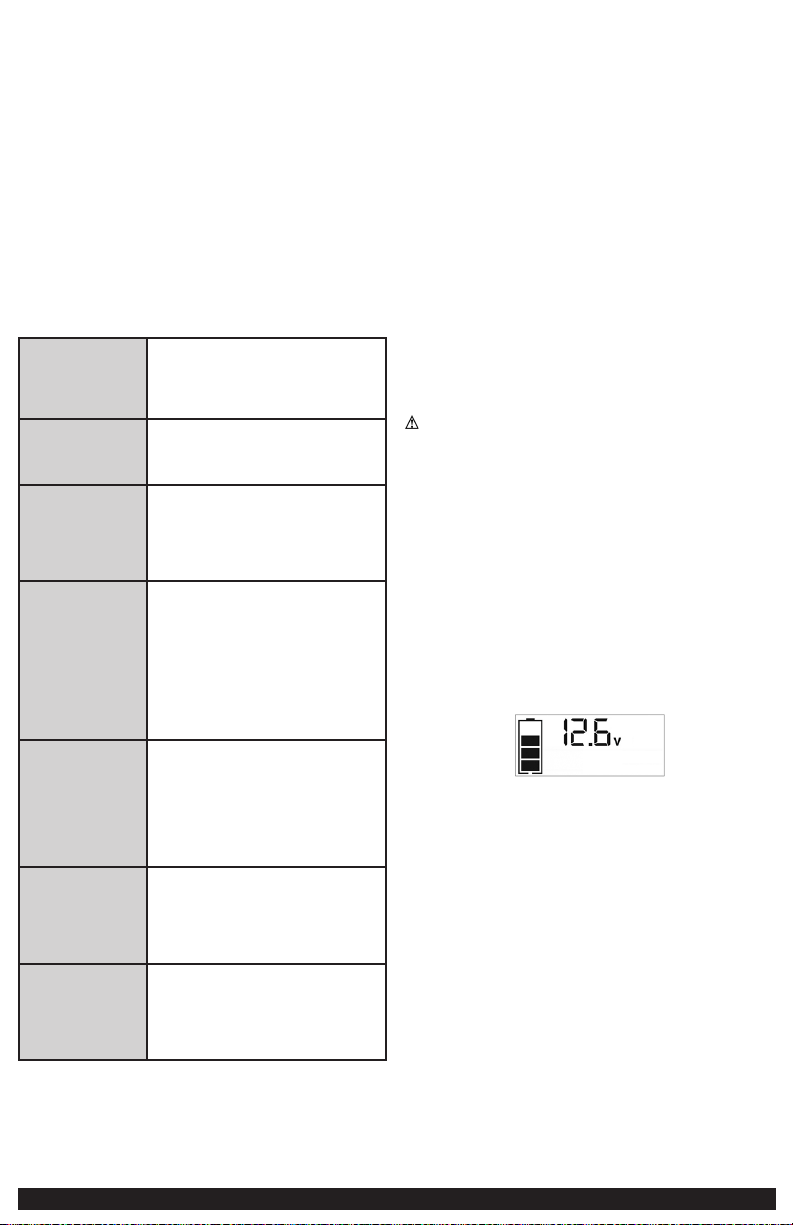
a standard 120-volt AC wall outlet. When the unit is properly connected to
an AC power source, the LCD screen will display the following (the screen
will be backlit):
The bars on the battery icon represent the capacity level of the unit’s
internal battery. After 10 seconds, the backlight will shut off.
The bars on the battery icon will change from empty to solid (bottom to
top) repeatedly to indicate the unit is charging.
2. Charge for approximately 40 hours or until the battery icon shows 4 solid
bars.
3. When charging is complete, unplug the AC extension cord from the AC
outlet and then disconnect it from the unit.
Note: The unit cannot be overcharged using this method.
JUMP-STARTER
This unit is equipped with a jump starter power switch that allows energy to
flow only when proper connections are made to battery and frame.
A. For negative-grounded systems, connect the positive (red) clamp to the
positive ungrounded battery post and the negative (black) clamp to the
vehicle chassis or engine block away from the battery. Do not connect
the clamp to the carburetor, fuel lines or sheet-metal body parts. Connect
to a heavy gage metal part of the frame or engine block.
B. For positive-grounded systems, connect the negative (black) clamp to
the negative ungrounded battery post and the positive (red) clamp to the
vehicle chassis or engine block away from the battery. Do not connect
Loading ...
Loading ...
Loading ...