Loading ...
Loading ...
Loading ...
8
Using Pressure Cook Modes
The Cooker has 10 modes that use pressure and 3 modes that do not use pressure. Refer to the two Cooking Modes Charts (Pressure and
Non-Pressure) for descriptions, recommendations, default cook times, and pressure levels for each mode.
1. Once Cooker is assembled (see “How to Assemble”), add food to
Cooking Pot.
• In order to create steam to build pressure, pressure cooking
requires liquid in the Cooking Pot. Use a minimum of 1 cup
(237 ml) water or other liquid.
• Do not fill Cooking Pot more than 2/3 full. For foods that expand
such as rice and beans, do not fill more than 1/2 full.
2. See Modes in the “Pressure Cooking Modes Chart.” Press a mode
to select. Once selected, default pressure level and default cooking
time will be displayed.
3. Adjust Pressure level and Cooking Time:
• Pressure level can be changed for any pressure cook mode.
Press PRESSURE SELECT button repeatedly to toggle between
HIGH and LOW pressure.
• Adjust cooking time by using the + and – buttons.
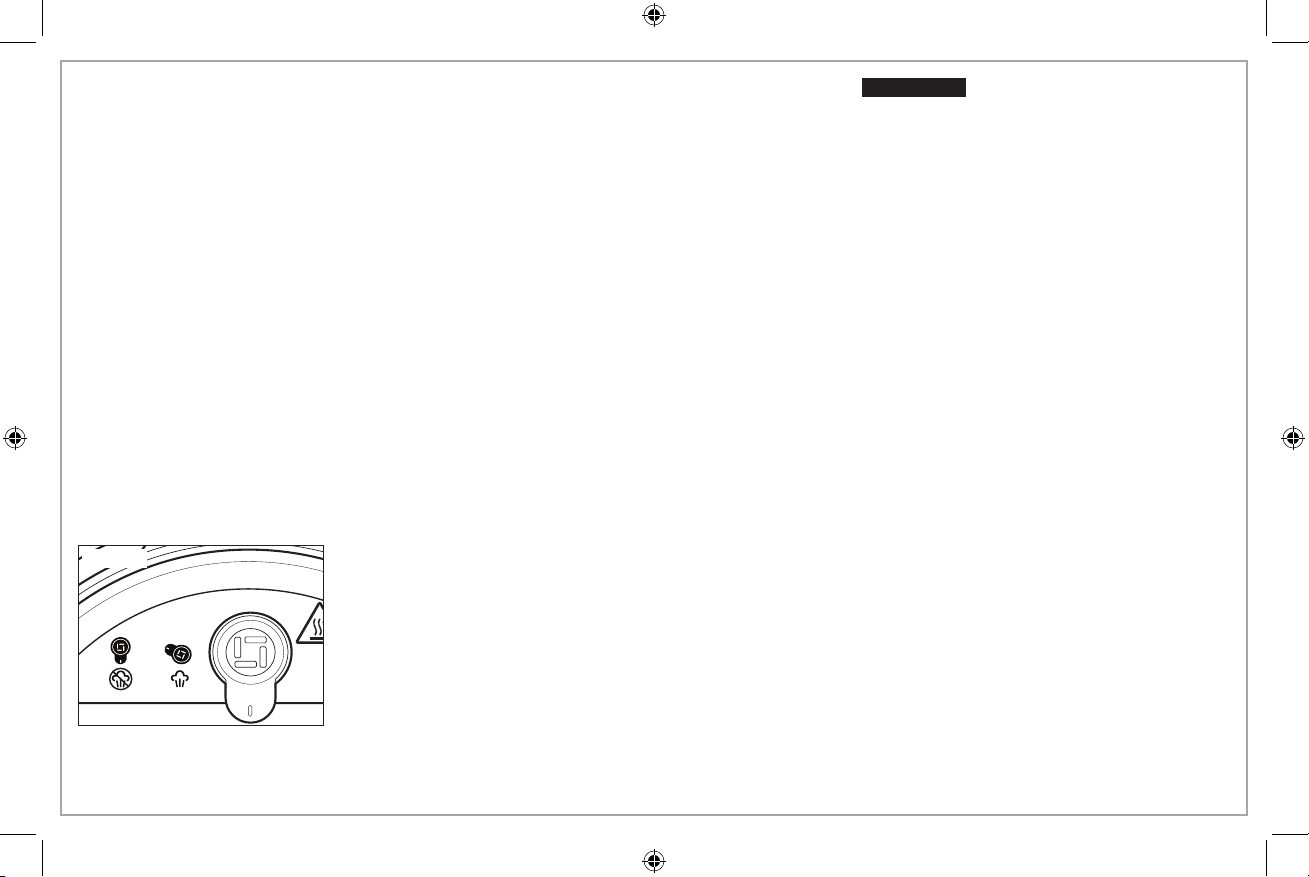
• Steam Release Valve should be in CLOSED position (Figure 1).
4. For Manual mode, press PRESSURE SELECT button. Press again to
change from LOW to HIGH. Default cooking time of 35 minutes will
be displayed. Adjust cooking time by using the + and – buttons.
5. Cooker will start cooking within 10 seconds. Display will show “ON”
until pressure is reached, then cooking time will begin to count
down. When cooking cycle is complete, Cooker automatically
switches to Warm mode.
6. Release steam by natural or quick release method. See “Releasing
Steam” instructions in “Meet Your Pressure Cooker.”
7. Press STOP/CANCEL at any time to stop cooking. Display shows
“OFF.” Always release steam before opening Lid.
8. Unplug.
NOTE: When all pressure is released, Lid will automatically unlock.
Rotate Lid counterclockwise to unlock. Remove Lid carefully,
allowing excess moisture on Lid to drain back into Cooking Pot.
w WARNING
Burn Hazard. Steam is hot. Avoid
contact with steam. Use care when pressing Steam
Release Button.
Figure 1
Loading ...
Loading ...
Loading ...