Loading ...
Loading ...
Loading ...
15
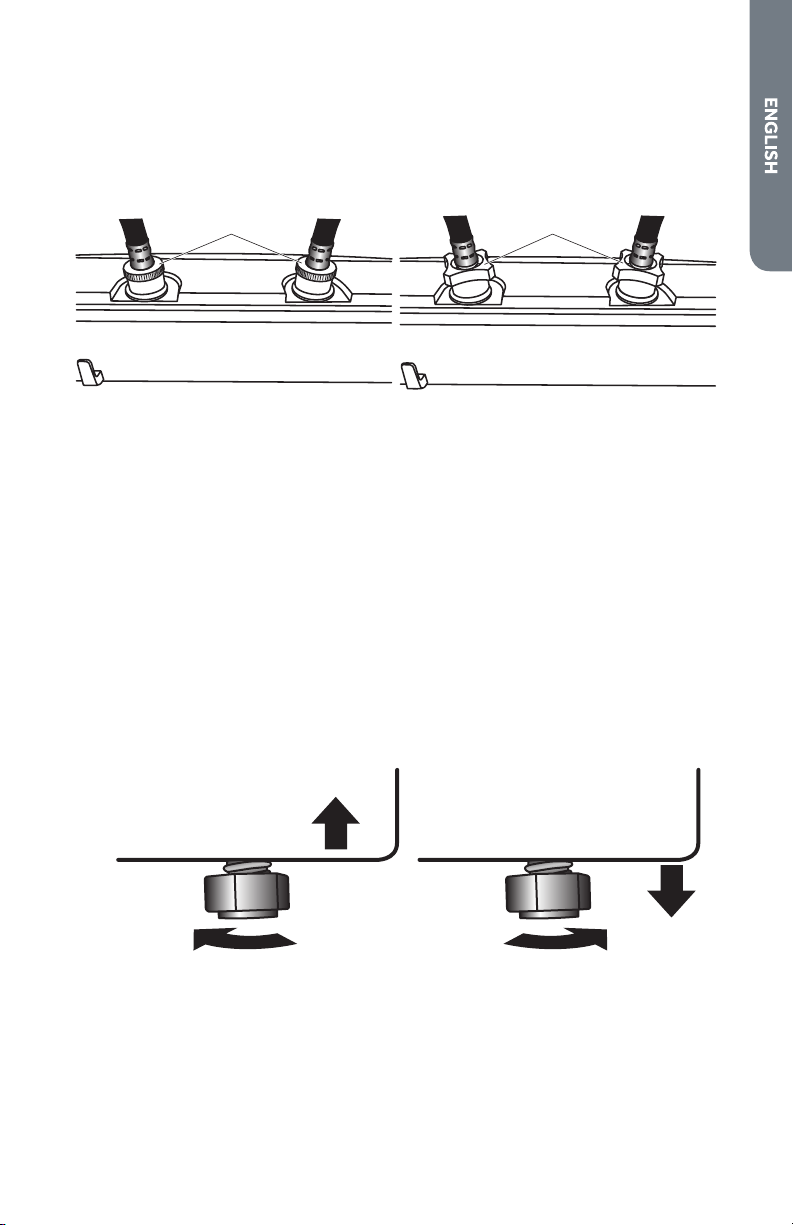
Style 1 - Using pliers, tighten the connection an additional two-thirds turn.
Style 2 - Do not use pliers to tighten the connection.
NOTE: To avoid damage to the washer inlet valves, do not use plumber’s tape or
sealants on the valve threads.
Style 1 Style 2
a a
a White End Only
4. Turn on the hot and cold water faucets and check for leaks. If there is any leaking,
check steps 1 through 3 again.
STEP 5 - LEVEL THE WASHER
IMPORTANT: Proper leveling of the washer will help reduce noise and vibration.
1. Place washer in its nal location. Check that the water and drain lines are not
strained or pinched. Make sure that all four feet are rmly in contact with the
oor and that the washer rests solidly in position.
2. Using a carpenter’s level, check to make sure the washer is level from side to
side and from front to back.
3. If the washer is not level, adjust the leveling feet. Turn clockwise to extend (raise
the washer) or counterclockwise to retract (lower the washer).
Raise Lower
Loading ...
Loading ...
Loading ...