Loading ...
Loading ...
Loading ...
Installation Instructions
Before installing this appliance in an existing chimnney, we recommend that;
1. You have your chimney cleaned by a competent chimney sweep.
2. You block o the chimney ue.
This procedure is important for the e cient operation of the heating unit and will also reduce heat loss up the chimney.
Installation.
Ensure that all packing items are removed (read any warning labels carefully).
Retain all packing for possible future use e.g. in the event of moving or returning the appliance to your supplier.
To install the appliance;
1. Clean the area where the re will be installed e.g remove ash residue from an existing replace.
2. Use the two adjustable supports at the rear of the appliance to ensure that the re is level.
3. Make sure the unit is switched OFF.
4. Hold the re by the sides of surround and gently manoeuvre into position. Plug the re into a 13amp/240 volt outlet. Ensure
that the supply cable is not trapped under the re such that it might cause it to be damaged.
Before using the manual controls rstly ll the water tank (See ‘Maintenance’, ‘Filling the water tank’).
Manual Controls.
The Opti-myst manual controls are located beneath the hinged canopy. Raise the canopy to access the controls. (See Fig.2 for
Manual Control lay out)
Switch ‘A’:- Controls the electricity supply to the Fire.
Note: This switch must be in the ‘ON’ ( I ) position for the Fire to operate either with or without heat.
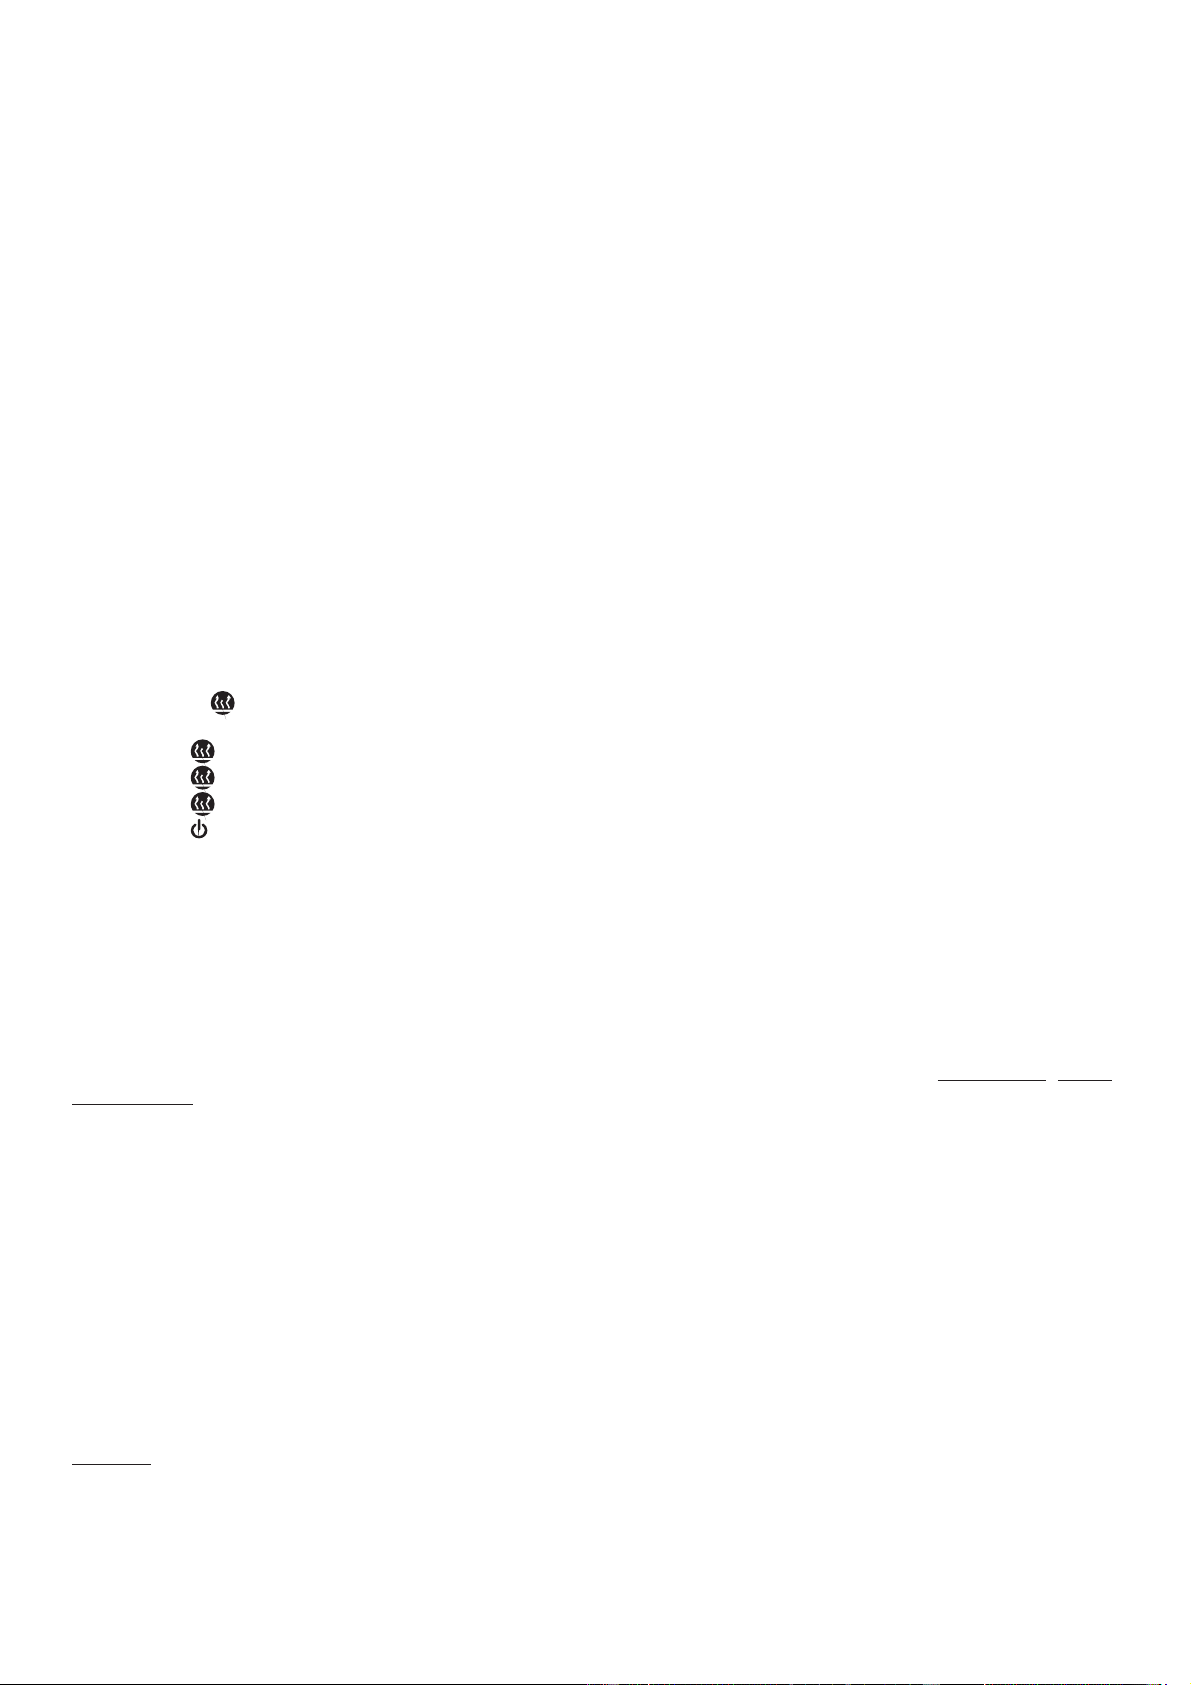
Switch ‘B’:- Press
once to turn on the ame e ect. This will be indicated by an audible beep. Although the main lights
operate immediately it will take a further 30 seconds before the ame e ect starts.
Press again to give ame e ect and half heat. This will be indicated by two beeps.
Press again to give ame e ect and full heat. This will be indicated by three beeps.
Press again to return to ame e ect only. This will be indicated by one beep.
Press to put re in to standby mode. This will be indicated by one beep.
Control Knob ‘C’:- Controls the Thermostat setting.
Turning the control knob Anti Clockwise will decrease the temperature setting, turning the control knob Clockwise
will increase the temperature setting.
Control Knob ‘D’:- Controls the intensity of the ame e ect.
Turning the control knob Anti Clockwise increases the ame e ect, turning the control knob Clockwise will decrease
the ame e ect.
When the water in the tank and in the sump runs out the main lamps will go out. See instructions under ‘Maintenance’, ‘Filling
the water tank’. When this procedure is complete, the main lamps will illuminate but it will take 30 seconds before the ames
return.
Setting the Thermostat
Plug in and switch on the re to the full heat setting. Turn the Control Knob ‘C’ fully clockwise (max temperature setting) to
warm the room rapidly. When the room temperature has reached the desired level, turn the thermostat knob back slowly until
you hear the thermostat just click o . The heater will then maintain the room temperature at the chosen level.
Note: Should your heater fail to come on when the thermostat is at a low setting, this may be due to the room temperature
being higher then the thermostat setting
Thermal safety cut-out
A thermal safety cut-out is incorporated in the fan heater to prevent damage due to overheating. This can happen if the heat
outlet was restricted in any way or if the chimney ue has not been blocked o e ectively. If the cut-out operates, unplug the
heater from the socket outlet and allow approximately 10 minutes before reconnecting. Before switching the heater back on
remove any obstruction that may be restricting the heat outlet, then continue normal operation.
Caution: In order to avoid a hazard due to inadvertent resetting of the thermal cutout, this appliance must not be supplied
through an external switching device, such as a timer, or connected to a switch that is regularly switched on and o by the
utility.
Loading ...
Loading ...
Loading ...