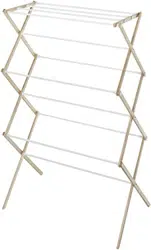
6026-2415 Natural Wood Drying Rack
©2017 Whitmor, Inc.
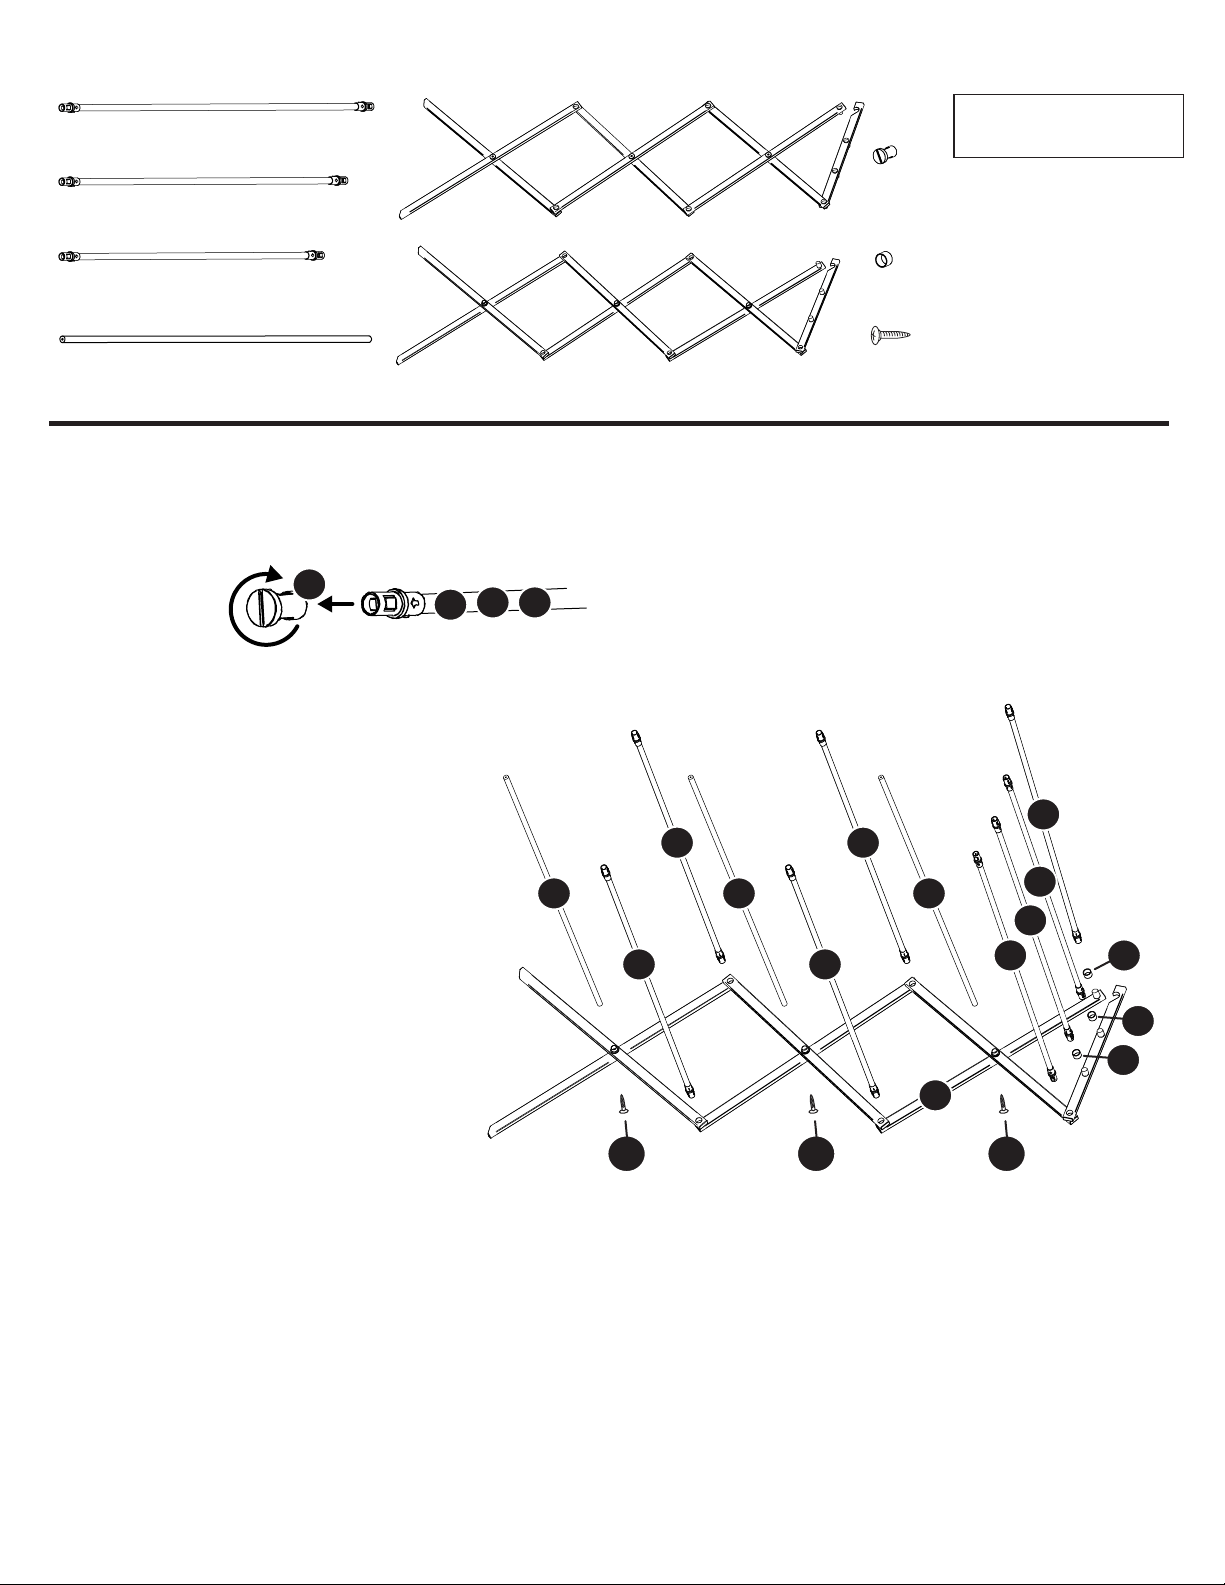
A 5 ea
Long hanging bar
B 1 ea
Medium hanging bar
G 16 ea
Locking collar
(Inserted into parts E & F)
H 6 ea
Collar ring
I 6 ea
Screw
C 2 ea
Short hanging bar
D 3 ea
Center hanging bar
E 1 ea
Left side frame
F 1 ea
Right side frame
This product is intended
for drying laundry.
Tools Needed:
Phillips Screwdriver,
and Coin or Standard
Screwdriver
STEP 1 Begin with the right side
frame (F) and place it on a hard,
flat surface like the floor. Make
sure all locking collars (G) are
inserted correctly as it came from
the box. Place 3 collar rings (H)
over exposed locking collars on
right side frame. Snap five long
hanging bars (A), one medium
hanging bar (B) and two short
hanging bars (C) into locking
collars (G) in right side frame
(see note and illustration above).
Place the three center hanging
bars (D) into center axis of side
frame. Secure center hanging
bars with three screws (I) using a
Phillips screwdriver (not
included).
I I I
A
A
D D D
H
F
A
A
C
C
B
A
H
H
Page 1
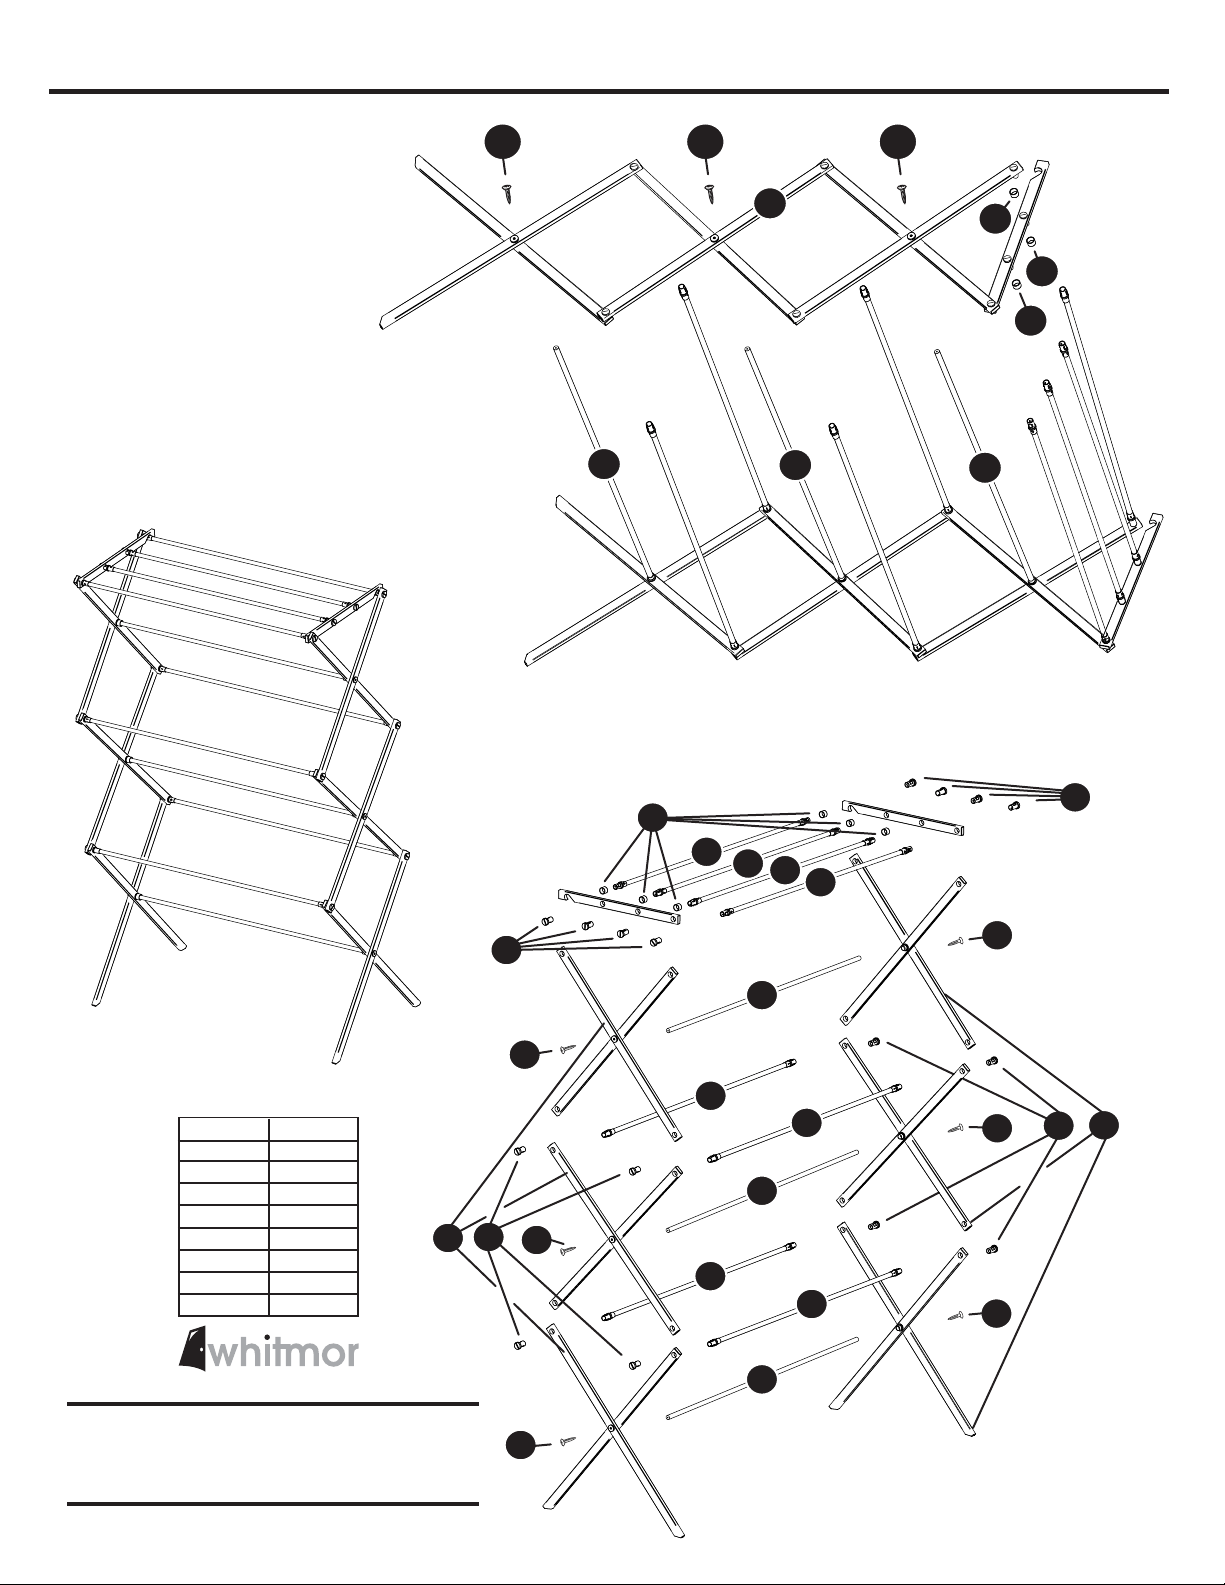
NOTE: Notice the tabs on end of hanging bars (A, B, & C). The
tabs need to line up with the notches in locking collar (G) to make a
secure connection. This requires the locking collar (G) to be rotated
with a standard screwdriver or coin (not included) during assembly.
A
B C
G
I
H
H
H
STEP 2 Next, place 3 remaining
collar rings (H) over exposed
locking collars on left side frame
(E). Place left side frame (E) onto
each hanging bar snapping in place
just like the right side was done.
Secure center hanging bars with
three screws (I) using a Phillips
screwdriver.
D
D
D
E
II
6026-2415 Natural Wood Drying Rack
©2017 Whitmor, Inc.
Page 2
STEP 3 Your final Whitmor Natural Wood
Drying Rack should look like this. Enjoy
its use.
F
G
NOTE: Top
section of side
frame (E & F)
axis is not
centered. Short
end of side frame
is up.
Parts Breakdown: Left and right side frames
should already be assembled from the box, but
this parts breakdown should help if any
questions still remain.
A
A
A
A
A
B
C
C
D
D
D
E
G
I
I
I
I
I
I
H
G
G
Part Reference
A
B
C
D
E
F
G
H
I
F6773
F6774
F6775
F6776
F6777
F6778
F6779
F6780
F6781
8680 Swinnea Road • Suite 103 • Southaven, MS • 38671
NEED HELP? For help with assembly, or if you are missing a part,
please call Whitmor’s Consumer Care Team, 1-888-944-8667 between
8 a.m. and 4:30 p.m. (Central Standard Time) Monday through Friday.
Or email: help@whitmor.com. Visit us online at www.whitmor.com
Rev. 1 | 9.14.17 Printed in China