Loading ...
Loading ...
Loading ...
9
10. Install the remaining screws
through the bracket and into
the wall studs as required.
!
NOTE: At least two of the
mounting screws must be in-
stalled into a wall stud.
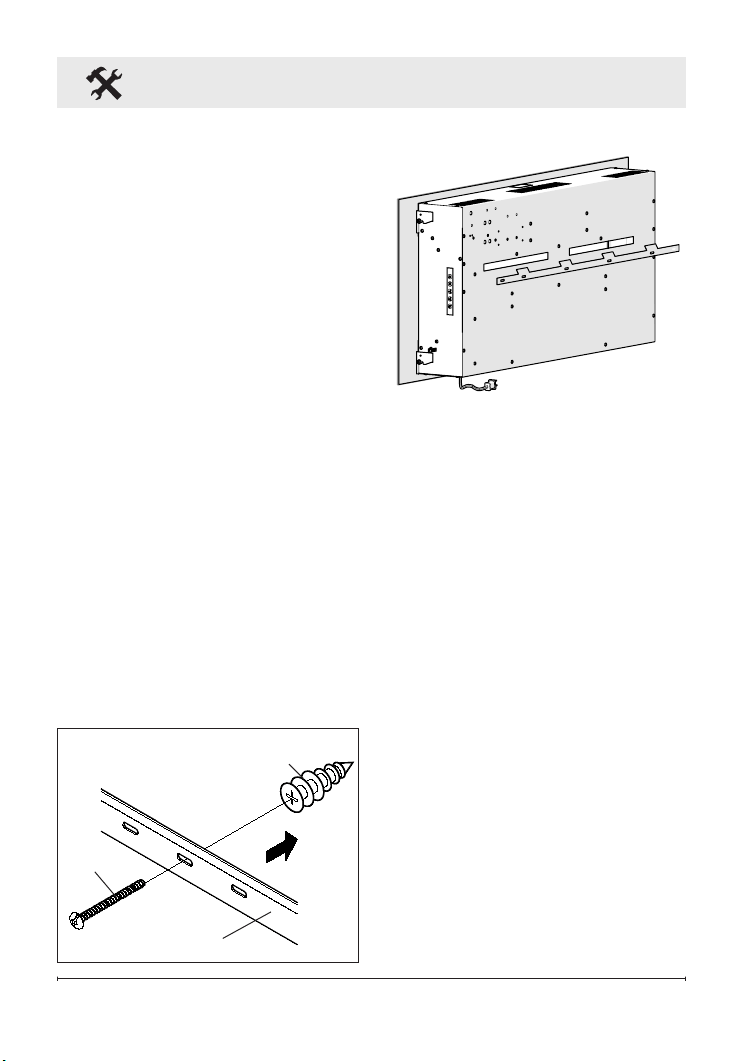
11. Mount the unit on the wall,
so that the tabs on the wall
bracket have been inserted
into the slots on the back of
the rebox, as shown. (Figure
5)
12. Carefully pour and evenly dis-
tribute the supplied glass rock
media in the Media tray of the
rebox (Figure 6).
13. Hang the front glass assembly
on the mounts of the rebox
and secure the glass onto the
unit by installing the retaining
screws (Figure 7).
14. Excess electrical cord can be
bracket.
5. Adjust the wall-mounting
bracket so the bubble on the
level is centered between the
two black lines.
6. Mark 3 other mounting screw
locations, on the wall, ensur-
ing that the wall bracket stays
level.
7. Install the supplied wall an-
chors on the drywall marked
locations by placing a #2 Phil-
lips screwdriver into the recess
of the anchor.
8. Press the anchor into the wall
in the desired marked posi-
tion while turning the anchor
clockwise until it is ush with
the wall.
9. Insert the wall anchor screws
through the wall bracket and
thread into the wall anchors.
Tighten the screw (Figure 4).
Fireplace Installation
Figure 5
Wall anchor
Screw
Wall
bracket
Figure 4
Loading ...
Loading ...
Loading ...