
Loading ...
Loading ...
Loading ...
8
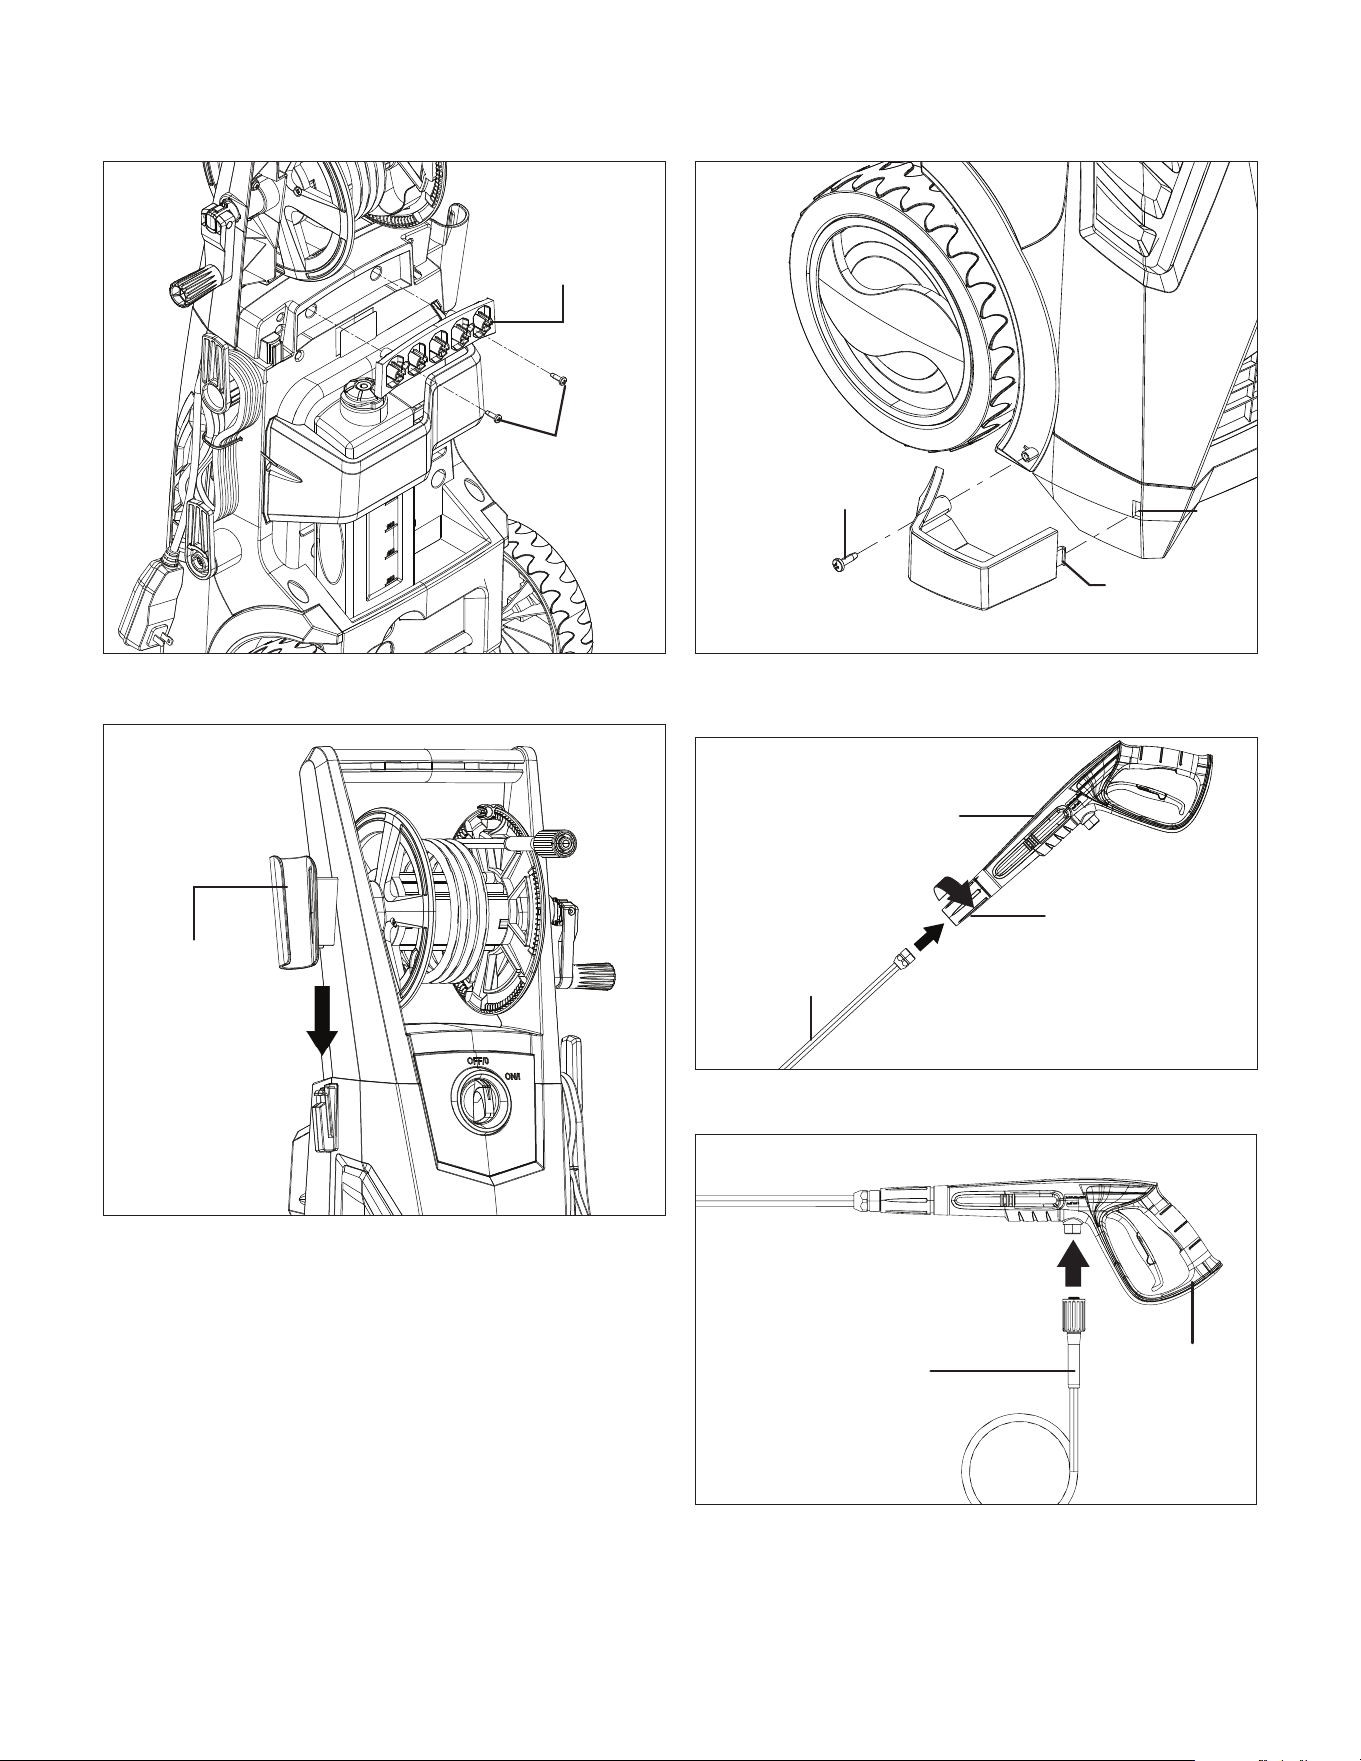
4. Slide the trigger gun holder in position (Fig. 4).
5. To assemble the spray wand protector, rst snap the tab
into the slot located at the bottom left side of the unit, and
then secure it in place with one 4.8 x 16 screw (Fig. 5).
6. Fit the stainless steel lance into the trigger gun and rotate
the collar until the two parts are completely locked (Fig. 6).
7. Connect the high-pressure hose to the trigger gun (Fig. 7).
Fig. 3
Nozzle
storage board
Fix with 4.8 x
16 screws
Fig. 4
Trigger gun
holder
Fig. 5
Tab
Slot
4.8 x 16 screw
Fig. 6
Stainless
steel lance
Trigger gun
Collar
High-pressure hose
Trigger gun
Fig. 7
Loading ...
Loading ...
Loading ...