Owner's Guide Health & Household
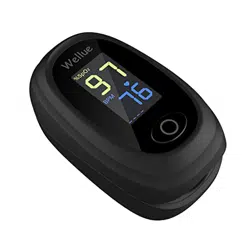
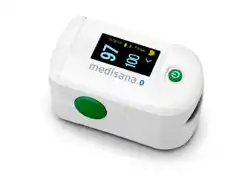
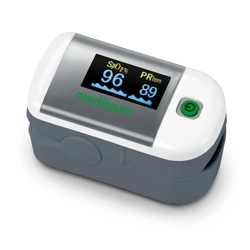
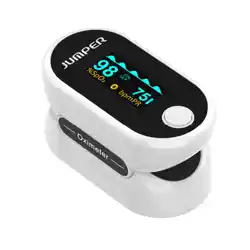
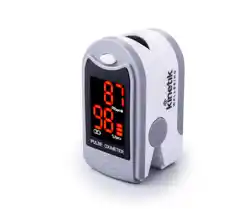
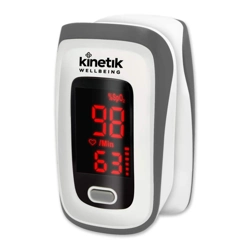
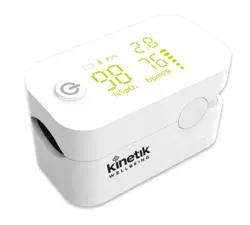
Appearance
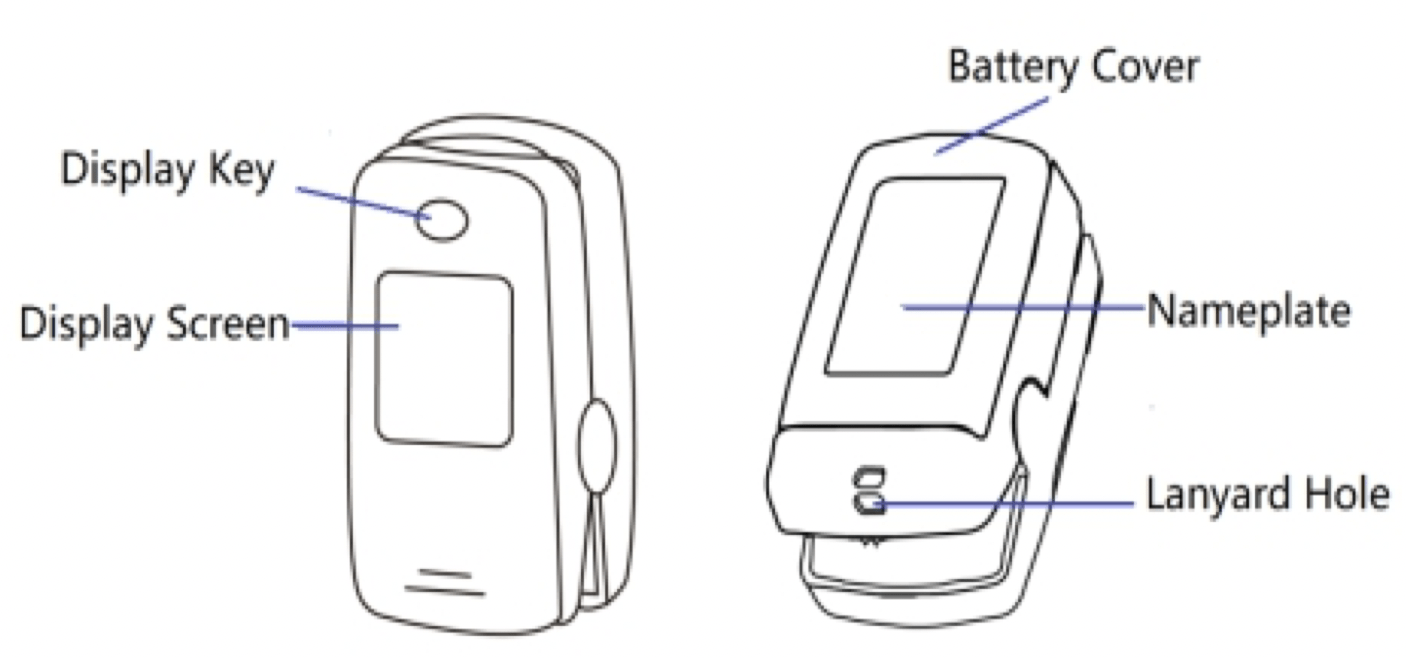
Features
- SpO2, PR, Pulse bar, Perfusion index
- Auto on/off
- Over-limit indication
Operation
1. Battery Installation. Insert two AAA size batteries into the battery compartment properly, and note the polarity markings.
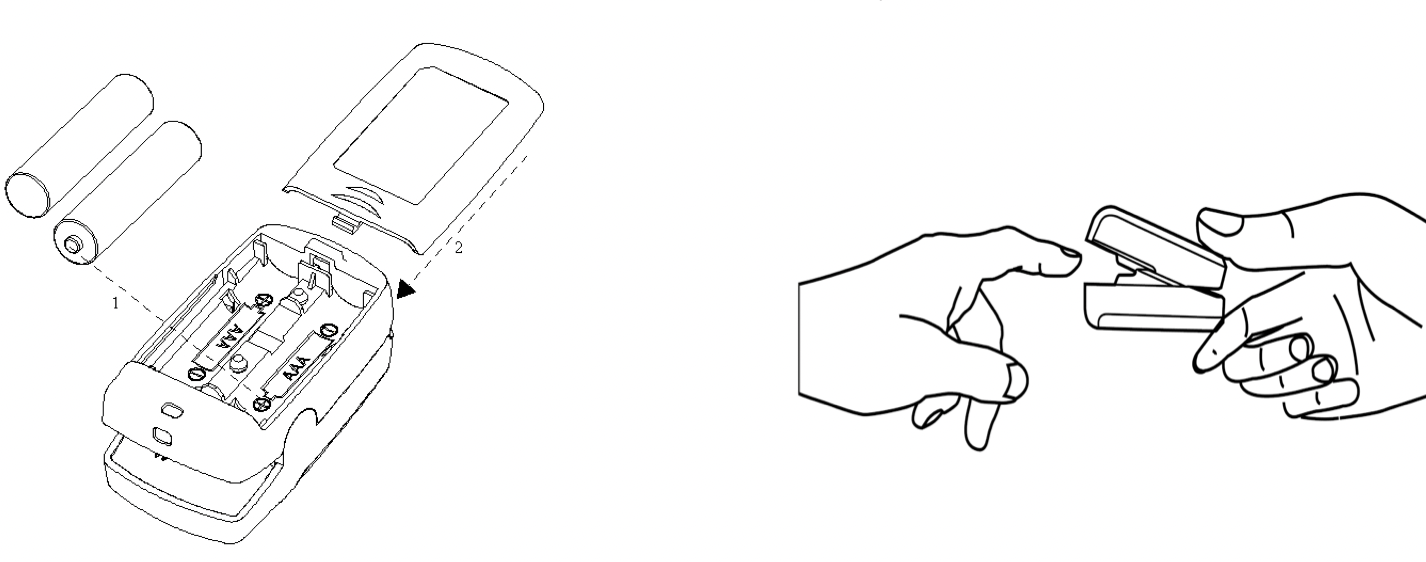
2. Start. Open the clip and put finger inside the cushions of the clip (make sure the finger is in the correct position), and then clip the finger.
Wait 2 seconds, the Oximeter will power on automatically and start to measure;
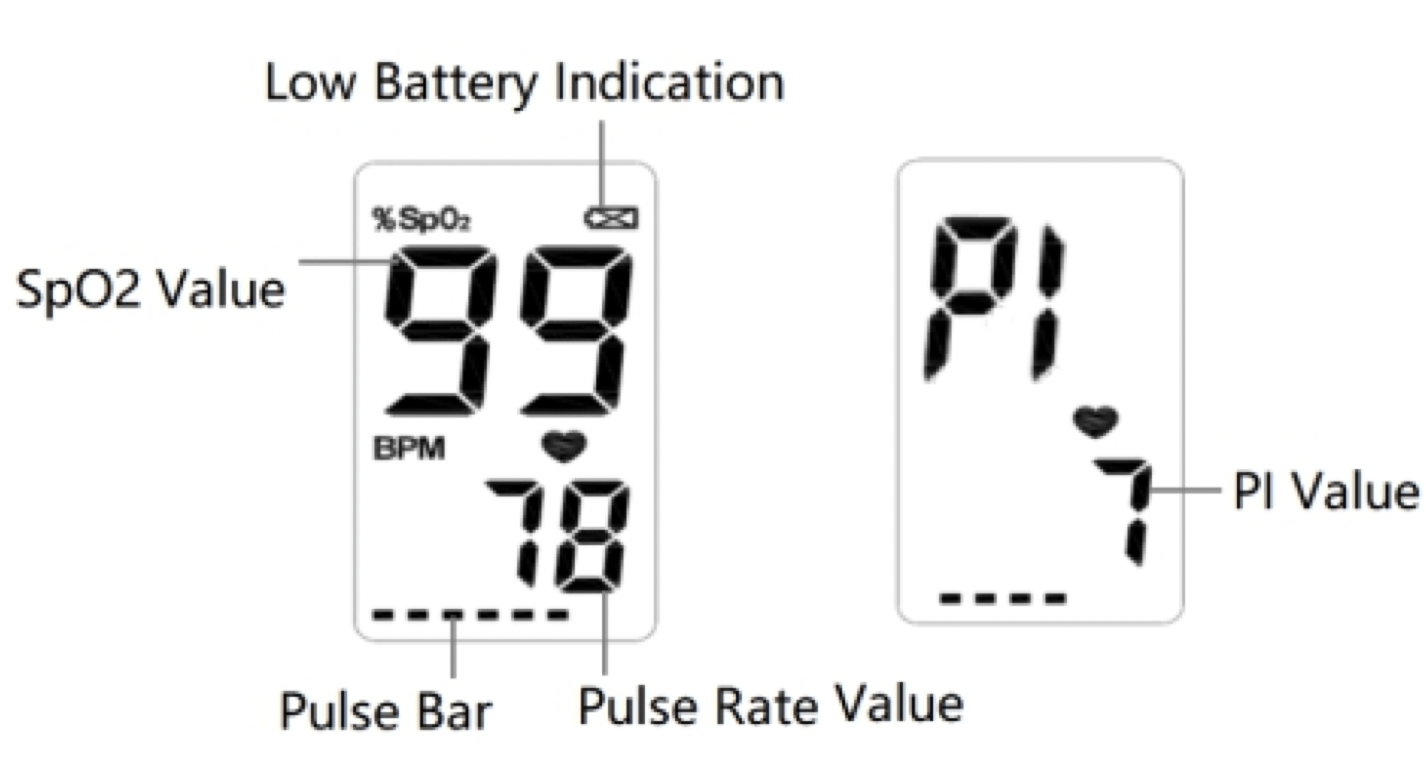
3. Readings. The screen displays as below:
4. END. When finger is out, the Oximeter shuts down automatically.
5. Display Perfusion Index . Press and hold Display Key to display the Perfusion index(PI) value.
6. Over-limit Indication. When the pulse rate or blood oxygen saturation value exceeds the upper or lower limit, the measured value will flash on the screen.
Attention to the Operation
- The finger should be put into the sensor correctly.
- Do not shake the finger and relax during measurement.
- Do not put wet finger directly into sensor. Do not let anything block the emitting light from device, i.e. do not use finger nail polish/paints.
- Vigorous exercise and electrosurgical device interference may affect the measuring accuracy.
- Nail polish may affect the measuring accuracy, and too long fingernail may cause failure of measurement or inaccurate result.
- If the first reading appears with poor waveform , then the reading is unlikely true, the more stable value is expected by waiting for a while.
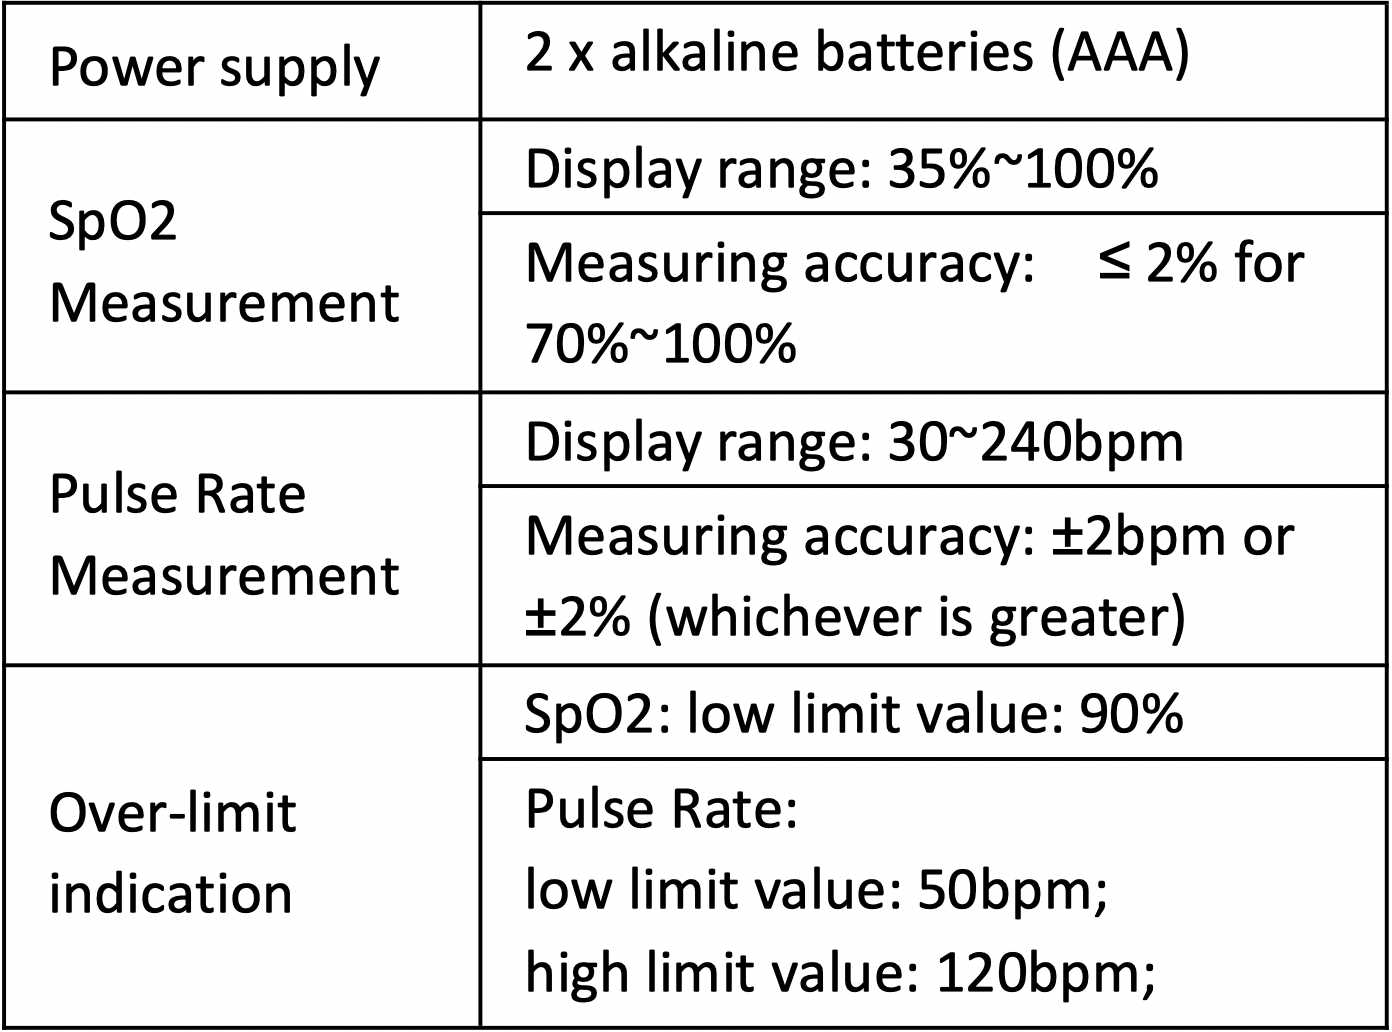
Specification