Loading ...
Loading ...
English • 3Application Guide • Bose CSP & AVM-1 AutoVolume
PRO.BOSE.COM
Overview/AVM-1 Sense Microphone
Overview
This document provides information about Bose AutoVolume, an ambient noise compensation (ANC) function,
available on Bose CSP processors.
AutoVolume compensation continuously monitors and adjusts the output level based on the ambient noise
detected in a listening area. This feature requires the Bose AVM-1 sense microphone accessory, which must be
calibrated before it can be used for the first time.
AutoVolume compensation is designed to work only in background music applications where you want
program audio to be at a lower level than the ambient noise. AutoVolume compensation is not designed to
work in applications where you want program audio to rise above the level of ambient noise.
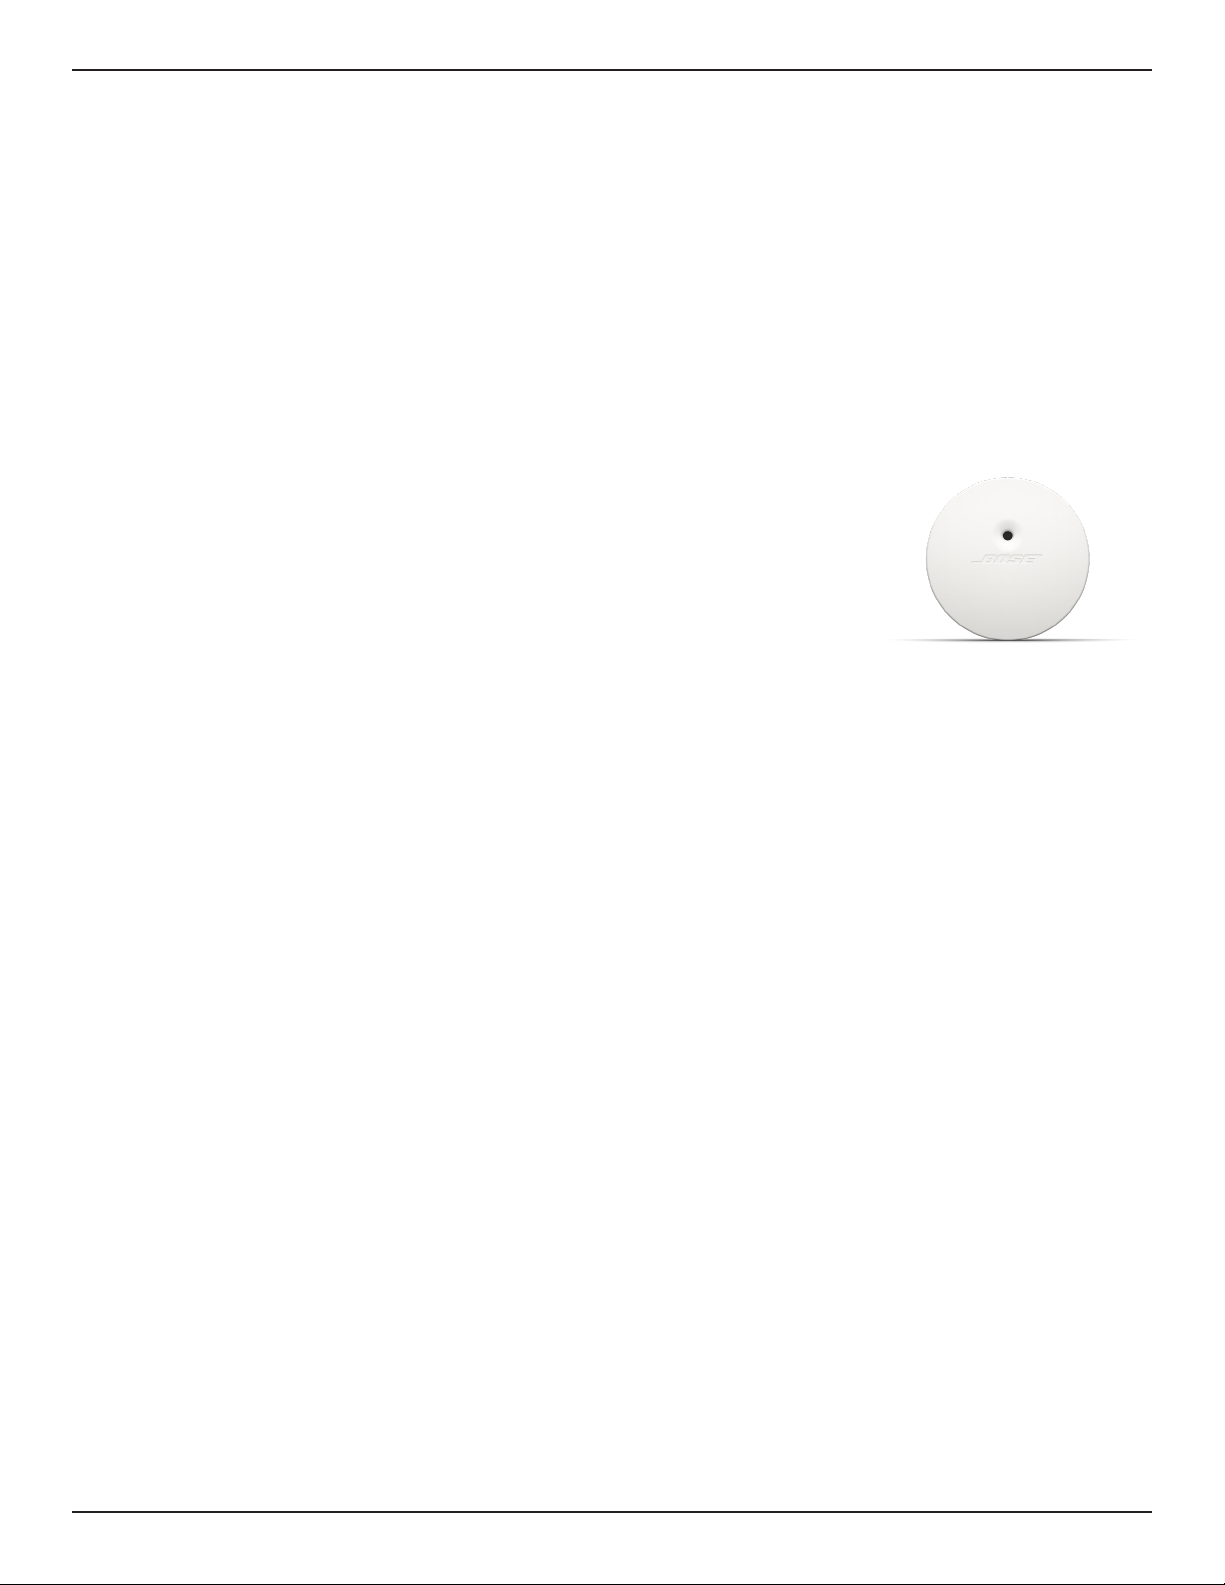
AVM-1 Sense Microphone
For complete installation instructions, see the installation guide included with
the AVM-1 or online at PRO.BOSE.COM.
General Installation Guidelines
Before installing the AVM-1 sense microphone, please note the following:
Do not install the AVM-1 in a ceiling or ceiling tile that is thicker than
2.5 centimeters (1 inch).
Avoid placing the AVM-1 near vents, HVAC equipment, or other machinery that could produce vibrations
or sounds that would be detected by the microphone.
We recommend using wire no longer than 610 meters (2,000 feet) to connect the AVM-1 to the Bose CSP.
Use shielded twisted-pair plenum wire (AWG 28 to AWG 20 [0.08 mm
2
to 0.52 mm
2
]).
We recommend installing the AVM-1 in a ceiling directly above the center of the area where ambient noise
is likely to occur. If the ceiling is less than 3.6 meters (12 feet) high, install the AVM-1 in a wall rather than
the ceiling.
Place the AVM-1 at least 1.8 meters (6 feet) from loudspeakers and at or above the height of the highest
loudspeaker. Make sure other loudspeakers are not pointed directly at the AVM-1. This will reduce the
possibility of the microphone detecting sounds that are not part of the ambient noise.
We recommend installing the AVM-1 in a ceiling, but if you must install the AVM-1 in a wall, place the AVM-1
at least 3 meters (10 feet) above the ground and no higher than 7.3 meters (24 feet). In addition, place the
AVM-1 at least 0.9 meters (3 feet) away from any boundary or structure (ceiling, HVAC materials, pipes, etc.).
Guidelines for Installation of Multiple Microphones
If you plan to install two or more AVM-1 microphones:
Maintain at least 10.7 meters (35 feet) between microphones.
Do not install multiple AVM-1 microphones if the loudspeakers in the room are installed at a height greater
than 7.6 meters (25 feet).
If the loudspeakers in the room are installed at a height of 3.7 meters to 7.6 meters (12 feet to 25 feet),
install one AVM-1 for every 324 square meters (3,600 square feet).
If the loudspeakers in the room are installed at a height less than 3.7 meters (12 feet), install one AVM-1 for
every 162 square meters (1,800 square feet).
Assign each AVM-1 to a unique listening area in the CSP Configuration Utility, and calibrate each AVM-1
for its assigned listening area. Configure the space as though it were divided into separate rooms with
physical walls, each with a single AVM-1 and with independent loudspeakers and controllers.
Loading ...
Loading ...
Loading ...