Loading ...
Loading ...
Loading ...
16 17
ninjakitchen . co.uk
ninjakitchen . co.uk
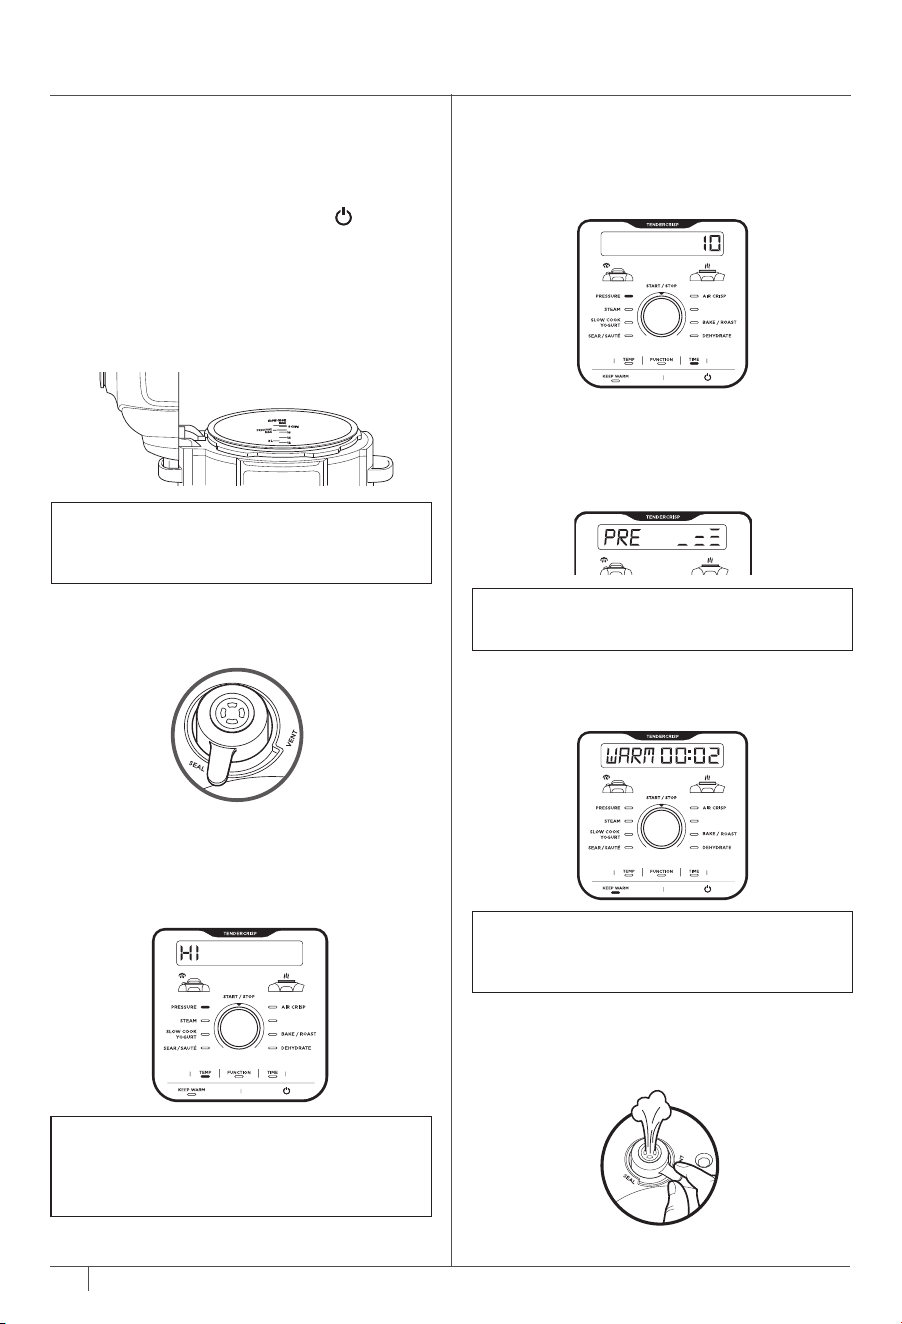
4 Press TIME, then turn the dial to adjust
the cook time in minute increments up
to 1 hour, and then 5-minute increments
from 1 hour to 4 hours.
5 Press START/STOP to begin cooking.
The unit will begin to build pressure,
and PRE will be shown on the display.
The unit will begin counting down when
it is fully pressurised.
6 When cook time is complete, the unit
will beep, automatically switch to Keep
Warm mode, and begin counting up.
7 Let the unit naturally release pressure or,
if the recipe instructs, turn the pressure
release valve to the VENT position to
quick
release the steam.
USING YOUR FOODI
®
MAX MULTI-COOKER – CONT.
USING THE COOKING FUNCTIONS
WITH THE PRESSURE LID
To turn on the unit, plug the power cord
into a wall socket, then press the
.
Pressure Cook
1 Place ingredients and at least 250ml
of liquid in the pot, as well as any
neccessary accessory. DO NOT fill
the pot past the PRESSURE MAX line.
2 Install the pressure lid and turn
the pressure release valve to the
SEAL position.
3 Press FUNCTION, then turn the
START/STOP dial to select PRESSURE.
The default pressure level will display.
Press TEMP, then turn the dial to select
HI or LO.
NOTE: When cooking rice, beans, or
other ingredients that expand, DO NOT
fill the pot more than halfway.
NOTE: After cooking is complete, you
may press KEEP WARM to turn the
Keep Warm mode o.
NOTE: If running for less than 1 hour, the
clock will count down by minutes and
seconds. If running for more than 1 hour,
the clock will count down by minutes only.
GRILL
GRILL
NOTE: Time to pressure varies and may
take up to 15 minutes.
GRILL
4 Press TIME, then turn the dial to adjust
the cook time in minute increments up
to 30 minutes. Press START/STOP to
begin cooking.
5 The unit will begin preheating to bring
the liquid to a boil. The display will
show PRE. The preheating animation
will show until the unit reaches
temperature and then the display
will show BOIL and the timer will
begin counting down.
6 When cook time is complete, the unit
will beep and automatically switch to
Keep Warm mode and begin counting
up. Ensure the float valve has dropped
before opening the lid.
Steam
1 Add 250ml of liquid (or recipe-specified
amount) to the pot, then place the
reversible rack or Cook & Crisp
TM
Basket
with ingredients in the pot.
2 Install the pressure lid and turn the
pressure release valve to the VENT
position.
NOTE: There is no temperature
adjustment when using the
STEAM function.
NOTE: After cooking is complete, you
may press the KEEP WARM button to
turn the Keep Warm mode o.
3 Press FUNCTION, then turn the
START/STOP dial to select STEAM.
OR
GRILL
GRILL
Loading ...
Loading ...
Loading ...