Loading ...
Loading ...
Loading ...
5
Before Using For The First Time
CAUTION: To protect against electric shock, do not
immerse the Pizza Oven or allow cord to come into
contact with water or other liquids.
1. Carefully unpack the Pizza Oven and
accessories, remove all packaging materials.
Remove any labels from the outer surfaces.
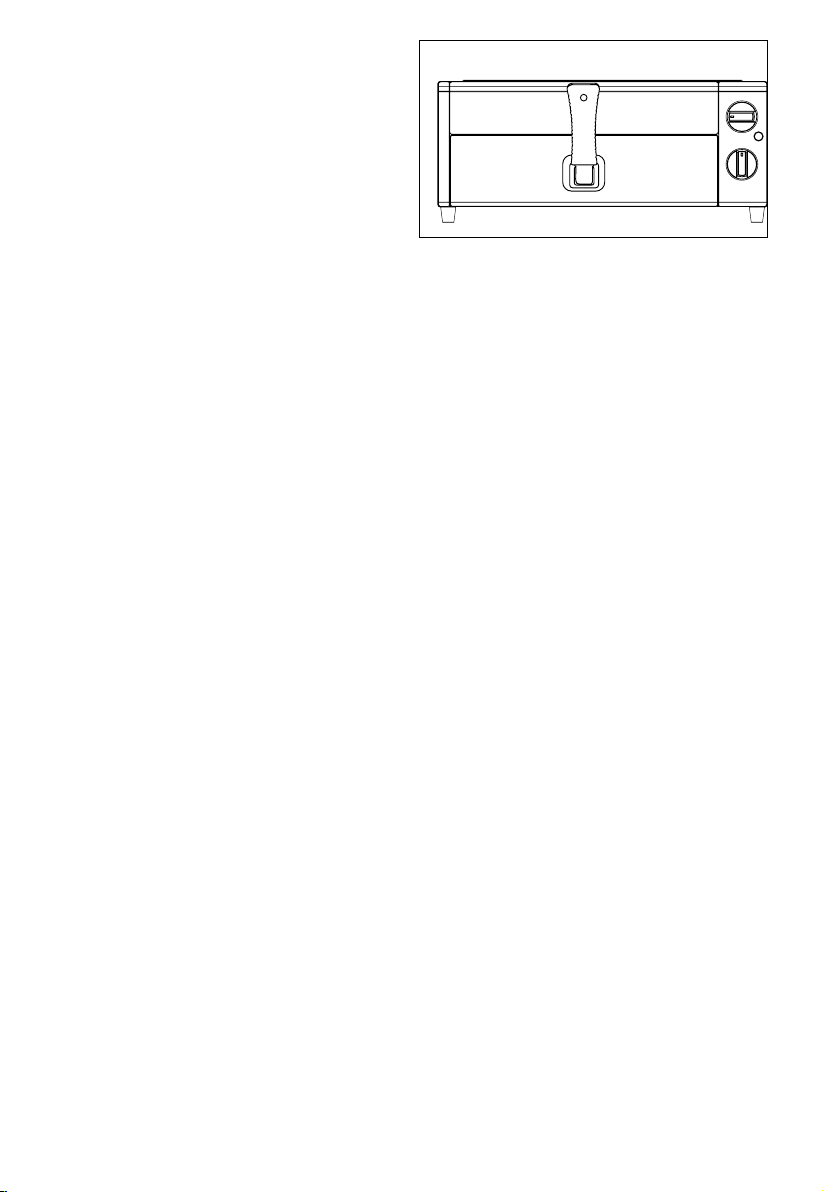
2. Lower the handle from its folded position.
(See Figure 2.)
3. Use a clean damp cloth to wipe the inside and
outside surfaces of the Pizza Oven. Wash the
pizza drawer and pizza pan in warm soapy
water, rinse and dry thoroughly. Do not use
abrasive cleaners.
4. To ensure that the Pizza Oven is free from oils used in manufacturing, turn the temperature control
dial to 450ºF. Turn the timer control dial to 5 minutes.
The power ON light will illuminate.
NOTE: When the Pizza Oven is heated for the rst time, it may emit slight smoke or odor. This is
normal and should disappear after 1 or 2 uses. This will not affect the safety of the appliance.
5. In 5 minutes, a signal will sound and the Pizza Oven will turn OFF automatically. The Pizza Oven is
ready for use.
Operating Instructions
NOTE: The pizza pan included with the Pizza Oven is suitable for thin food items such as cookies, rolls,
biscuits, snacks, nachos, chicken nuggets, or French fries.
CAUTION: Maximum depth of food to be cooked in this Pizza Oven should not exceed 1-inch.
1. Place the Pizza Oven on a clean, at, level surface. Lower the long handle from its folded position.
Make sure the handle is completely unfolded and securely locked in the extended position.
2. Your Pizza Oven will accommodate 7- to 12-inch pizza with classic or thin crust. This Pizza Oven will
not accommodate a deep dish pizza. Your Pizza Oven is ideal for baking frozen pizzas, pizza pies
prepared from mixes, or pizza pies prepared from scratch! Follow the recipe instructions for baking
time and temperature.
3. Remove all protective wrappings and cardboard disc from prepared pizza before placing in
Pizza Oven.
4. Plug Pizza Oven into a 120V AC outlet.
5. The timer control dial acts as the Pizza Oven’s ON/OFF switch. Turn the timer control dial clockwise
to select the appropriate cooking time (up to 60 minutes). The power ON light will illuminate.
At any moment turn the timer control counter clockwise to OFF position to switch off the oven
NOTE: When cooking less than 5 minutes, turn the timer control dial to 10 minutes and then back to
desired cooking time.
CAUTION: DO NOT LEAVE PIZZA OVEN UNATTENDED DURING USE.
Frozen Pizza:
IMPORTANT: For best results, remove the frozen pizza from the freezer 10 minutes before baking in
the Pizza Oven.
1. Always preheat the Pizza Oven. Turn the temperature control dial to 450ºF. Turn the timer control
dial to 10 minutes. The power ON light will illuminate. At the end of the preheat time, a signal will
sound and the Pizza Oven will turn OFF automatically.
2. Place pizza on oiled pizza pan or wire rack to bake.
3. Always follow oven temperatures and cook times suggested for your frozen, mix or scratch pizza.
NOTE: To avoid spills and messy clean-up, it recommended to use the pizza pan to bake. However,
the pizza may be placed directly on the wire rack in the pizza drawer. Brush or spray the pizza pan
or the wire rack with oil before baking to make pizza pie removal easier.
NOTE: Single topping pizza pies will bake faster than pizzas with extra toppings or vegetable
toppings.
4. HINT: For best results, especially when cooking pizza pies with heavy meat or vegetable toppings,
using oven mitts and tongs or a fork, carefully open the pizza drawer and rotate the pizza pan
1/4 turn. This will ensure even baking.
NOTE: Extend cook time to compensate for rotation time.
Figure 2
Loading ...
Loading ...
Loading ...