Loading ...
Loading ...
Loading ...
7
Unpacking
Carton Contents
• Cordless grass shear + hedge trimmer
• Telescoping pole assembly
• Hedge trimmer blade
• Hedge trimmer blade cover
• Grass shear blade
• Grass shear blade cover
• Charger
• Manual with registration card
1. Carefully remove the cordless grass shear +
hedger trimmer and check to see that all of the above
items are supplied.
2. Inspect the product carefully to make sure no breakage or
damage occurred during shipping. If you nd damaged or
missing parts, DO NOT return the unit to the store. Please
call the Snow Joe
®
+ Sun Joe
®
customer service center at
1-866-SNOWJOE (1-866-766-9563).
NOTE: Do not discard the shipping carton and packaging
material until you are ready to use your new cordless
grass shear + hedge trimmer. The packaging is made of
recyclable materials. Properly dispose of these materials in
accordance with local regulations.
IMPORTANT! The equipment and packaging material are
not toys. Do not let children play with plastic bags, foils
or small parts. These items can be swallowed and pose a
suocation risk!
Assembly
This cordless grass shear + hedge trimmer comes completely
assembled with the grass shear blade pre-installed.
mCAUTION! Wear protective gloves before handling the
blades.
mWARNING! Make sure the unit is powered o before
handling the blades.
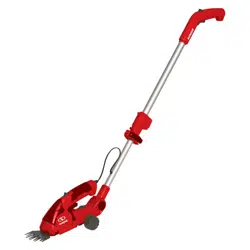
Fitting and Changing the Blades
The grass shear + hedge trimmer is equipped with two
interchangeable blades that are designed for do-it-yourself
grooming projects around your garden. The hedge trimmer
blade is used to cut hedges and shrubs (Fig. 1) while the grass
shear blade is used to cut grass and hedges where ner detail
is required (Fig. 2).
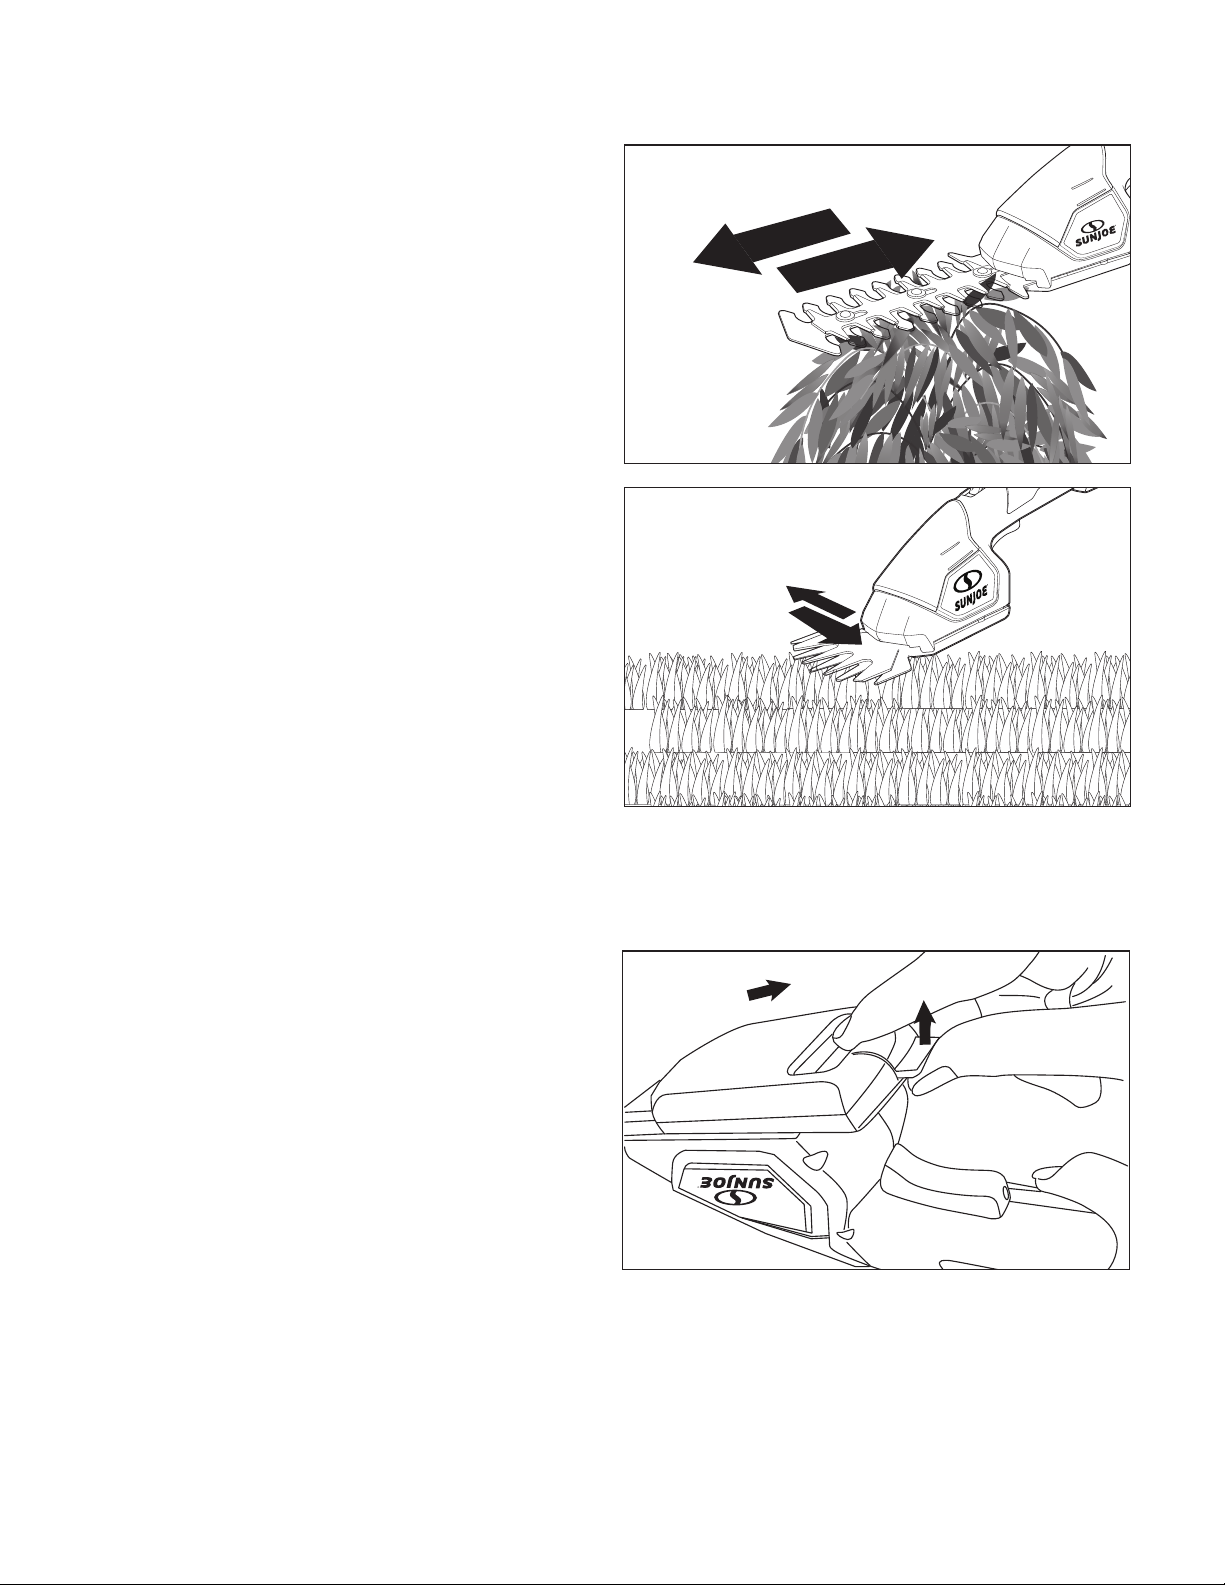
1. To t or change the blade, place the grass shear + hedge
trimmer on a hard surface. Turn the unit upside down in
one hand and use the other hand to gently lift the tab of
the blade cover. Slide the tab back until the cover can be
removed (Fig. 3).
R
Fig. 1
R
Fig. 2
R
Fig. 3
Loading ...
Loading ...
Loading ...