Loading ...
Loading ...
Loading ...
11
3. The battery will take approximately 3 hours to charge.
Charging may take up to 5 hours due to the level of charge
left in the battery and the ambient temperature.
NOTE: A charge level indicator LED light will always be
illuminated when the charger is plugged in and the mains
power is turned on. The charge indicator indicates the charge
status of the grass shear + hedge trimmer as shown below:
Operation
IMPORTANT! The product is intended for light-duty trimming
of shrubs and lawn edges for residential properties.
NOTE: Charge the battery for 3 to 5 hours then use it until it
runs down (i.e. the tool will only slowly operate and the yellow
charger indicator will be illuminated). Recharge for 3 to 5 hours
again before resuming operation.
mWARNING! The blades continue to move for a few
seconds after the tool is switched OFF. Turn OFF the tool and
wait until the blades come to a complete stop before adjusting
or cleaning.
mCAUTION! Never touch the blade rail while the tool is
in operation and be aware of the sharp edges even when the
grass shear + hedge trimmer is not in use.
NOTE: Do not touch the rotating blades.
Pole Length Adjustment (Optional)
1. Loosen the telescopic lock by ipping it up (Fig. 17).
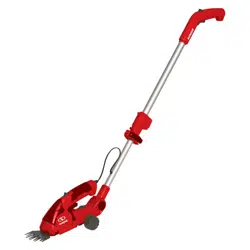
2. Pull the lower pole out or push it together to adjust to the
desired length (Fig. 18).
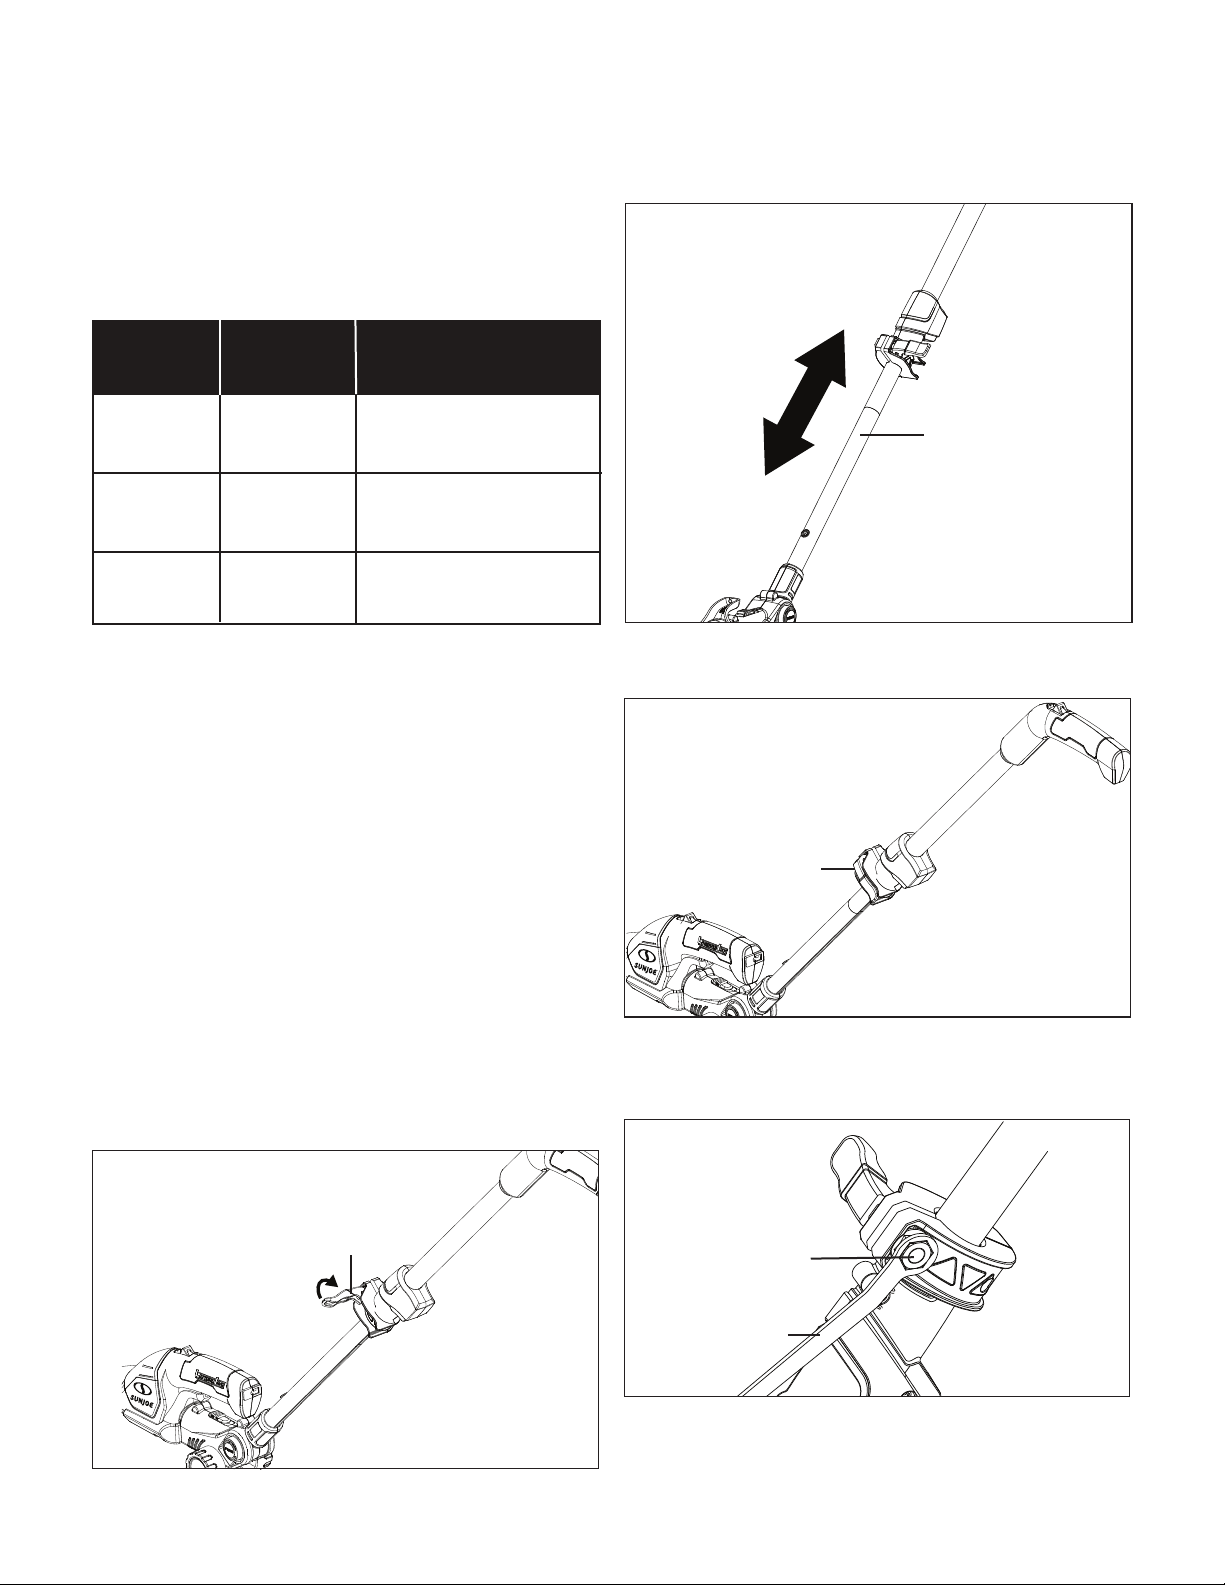
3. Tighten the telescopic lock by latching it back down
(Fig. 19).
NOTE: The cam-lock nut may need to be loosened slightly in
order to adjust the telescoping pole length (Fig. 20). Use pliers
or hex key wrench, as needed.
Condition
Charging
Fully
Charged
Low Charge
Colour of
LED's
Red
Green
Yellow
LED's Illuminated
1- Red, 2- Not illuminated,
3- Not illuminated
1- Not illuminated, 2- Green,
3- Not illuminated
1- Not illuminated,
2- Not illuminated, 3- Yellow
R
Fig. 17
Telescoping lock
Fig. 18
Lower pole
R
Fig. 19
Telescoping lock
Fig. 20
Hex key wrench
Cam-lock nut
Loading ...
Loading ...
Loading ...