08/53246/0 Issue 0
The product complies with the European Safety Standards EN60335:2-30 and the European Standard Electromagnetic Compatibility (EMC) EN55014:1, EN55014:2,
EN61000:3-2 and EN61000:3-3 which cover the essential requirements of EMC Directive 2014/30/EU and the LVD Directive 2014/35/EU.
DXUCTW2B
DXUCTW2BE
23
5
235
235
235
574
569
DXUCTW2B DXUCTW2BE
6
7
DO NOT COVER
1
2
3
5
4
6
7
A
B
1
2
3
4
5
A
DO NOT COVER
IMPORTANT: THESE INSTRUCTIONS SHOULD BE READ CAREFULLY AND RETAINED FOR FUTURE REFERENCE
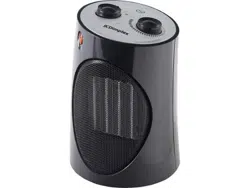
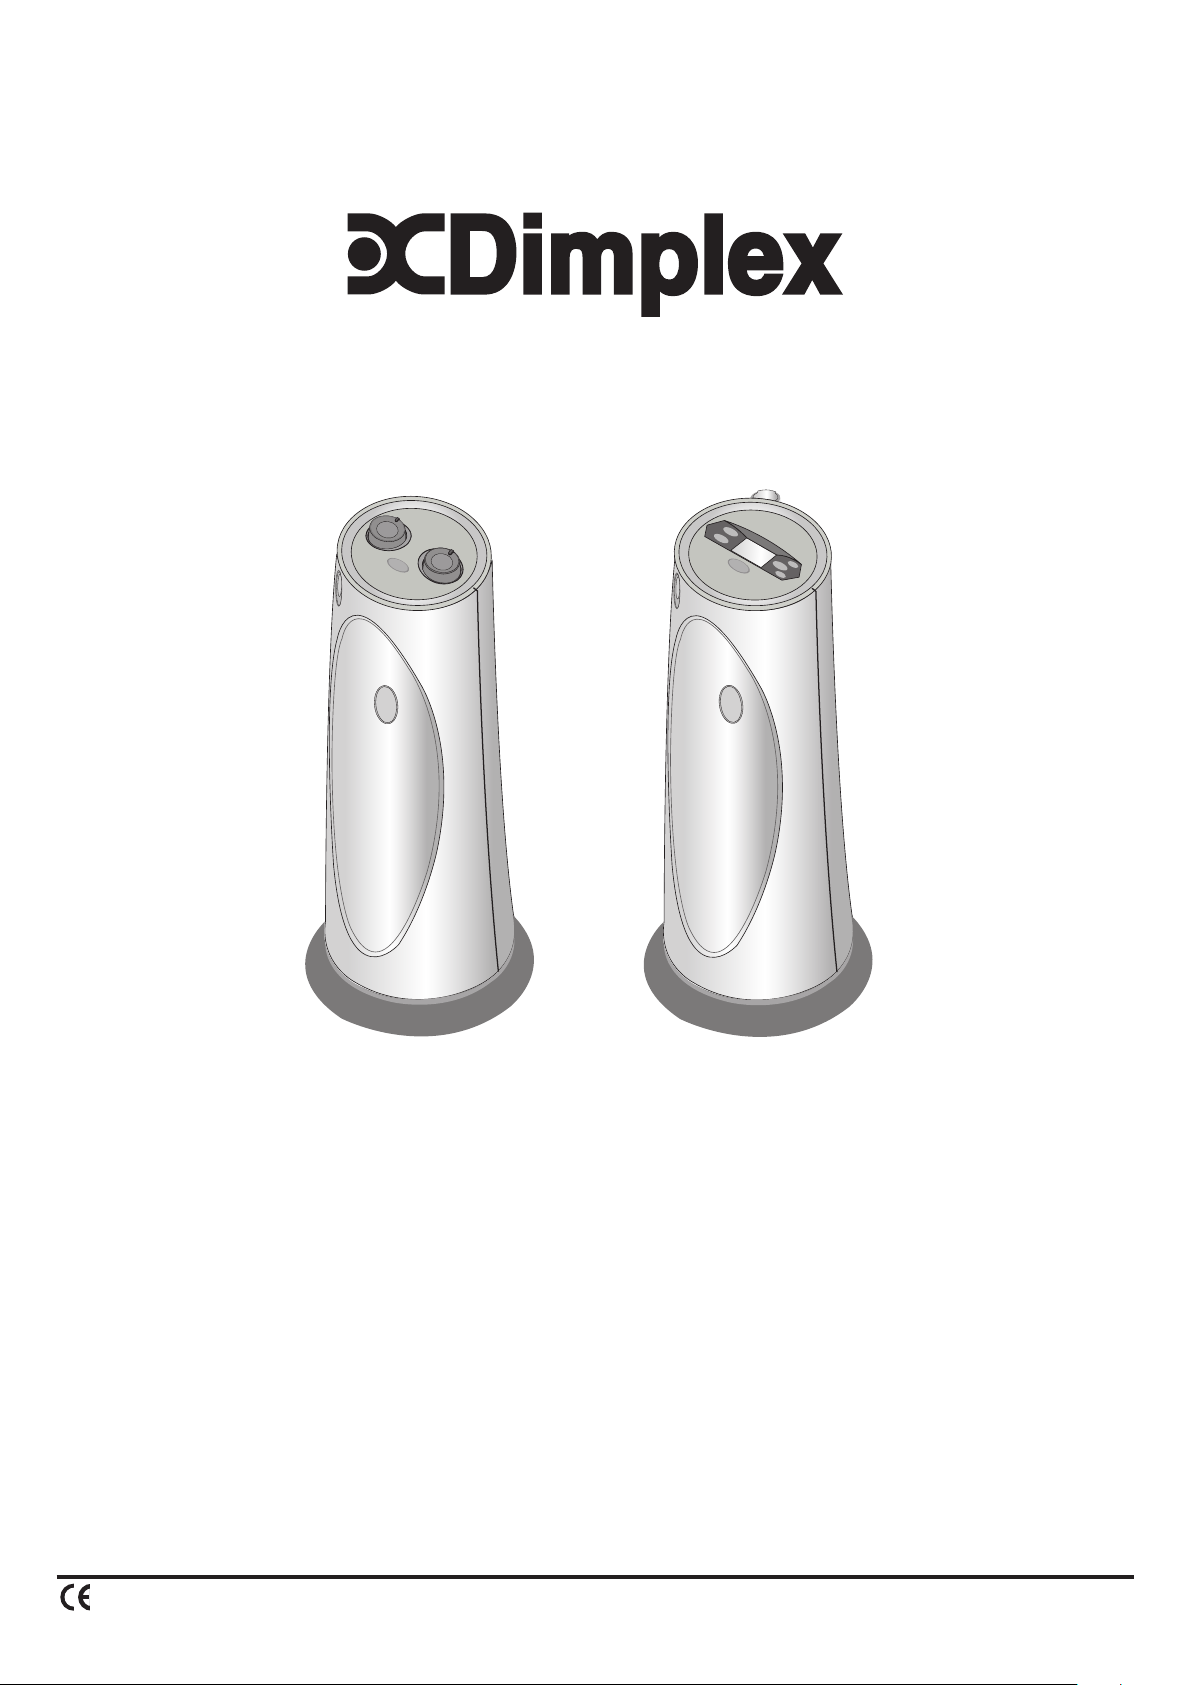
DXUCTW2B & DXUCTW2BE Ceramic Fan Heaters
Important Safety Advice
This appliance may only be used for normal
domestic use and not for industrial purposes.
DO NOT use the heater in the immediate
surroundings of a bath, a shower or a swimming
pool.
DO NOT place the heater directly below a xed
socket outlet.
The socket-outlet must be accessible at all times
to enable the mains plug to be disconnected as
quickly as possible.
WARNING: In order to avoid a hazard due to
inadvertent resetting of the thermal cut-out,
this appliance must not be supplied through an
external switching device, such as a timer, or
connected to a circuit that is regularly switched
on and off by the utility.
WARNING: In order to avoid overheating, do not
cover the heater.
The heater carries the warning symbol
indicating that it must not be covered.
IMPORTANT: If the mains lead of this appliance is
damaged, it must be replaced by the manufacturer
or its service agent or a similarly qualied person
in order to avoid a hazard.
CAUTION: Some parts of this product can
become very hot and cause burns. Particular
attention has to be given where children and
vulnerable people are present.
This appliance can be used by children aged from
8 years and above and persons with reduced
physical, sensory or mental capabilities or lack of
experience or knowledge if they have been given
supervision or instruction concerning the use of
the appliance in a safe way and understand the
hazards involved. Children shall not play with the
appliance. Cleaning and user maintenance shall
not be made by children without supervision.
Children of less than 3 years should be kept away
unless continuously supervised. Children aged
from 3 years and less than 8 years shall only
switch on/off the appliance provided that it has
been placed or installed in its intended normal
operating position and they have been given
supervision or instruction concerning the use of
the appliance in a safe way and understand the
hazards involved. Children aged from 3 years and
less than 8 years shall not plug in, regulate and
clean the appliance or perform user maintenance.
IMPORTANT: Avoid use of and extension cord
because the extension cord may overheat and
cause risk of re.
The heater should always be used on a at, stable surface.
DO NOT use the heater on deep pile carpets or the long hair type of
rugs, or less than 750mm (30”) away from any overhanging surface.
Keep combustible materials such as drapes and other furnishings
away from the sides and rear and at least 500mm away from the
front of the heater.
DO NOT use heater to dry your laundry.
The instruction leaet belongs to the appliance and must be kept in
a safe place. If changing owners, the leaet must be surrendered to
the new owner.
DO NOT operate the heater with the mains lead overhanging the
front outlet grille.
Any damage resulting from improper use and non-observance of the
safety information will invalidate any liability and warranty.
All liability is disclaimed for any frost damage caused by a heating
capacity that is insufcient for the room size, bad heat insulation of
the room, incorrect use or force majeure (e.g. power failure).
Never operate the appliance with wet hands.
Do not expose the appliance to rain or other moisture. The appliance
is not for outdoor use. The appliance must only be stored indoors.
Do not store or use any ammable materials or sprays in the vicinity
of the appliance when the appliance is in use.
Do not use the appliance in ammable atmospheres (e.g. in the vicinity
of combustible gases or spray cans).
The appliance should not be used in areas which are a re risk, such
as garages, stables, or wooden sheds.
The appliance is not suitable for connection to permanent wiring.
Electrical connection
This heater must be used on an ~ supply only and the voltage marked
on the heater must correspond to the supply voltage. This heater is
tted with a rewirble plug incorporating a 13 amp fuse. In the event
of replacing the fuse in the plug supplied, a 13 amp fuse approved by
ASTA to BS 1362 must be used. If any other type of plug is used, a 15
amp fuse must be tted in the plug, the adaptor, or at the distribution
board.
IMPORTANT: If the plug is not suitable for your socket, the 13 amp
plug should be removed. Before wiring the appropriate plug, please
note that the wires in this mains lead are coloured in accordance with
the following code :
BLUE : NEUTRAL
BROWN : LIVE
As the colours of the wires in the mains lead may not correspond
with the coloured markings in your plug, proceed as follows:
Connect the BROWN wire to the terminal marked ‘L’ or coloured
RED. Connect the BLUE wire to the terminal marked ‘N’ or coloured
BLACK. Note: ‘L’ or ‘N’ wire must not be connected to the EARTH
terminal marked ‘E’ or or coloured GREEN or GREEN AND YELLOW.
If in doubt, consult your electrician.
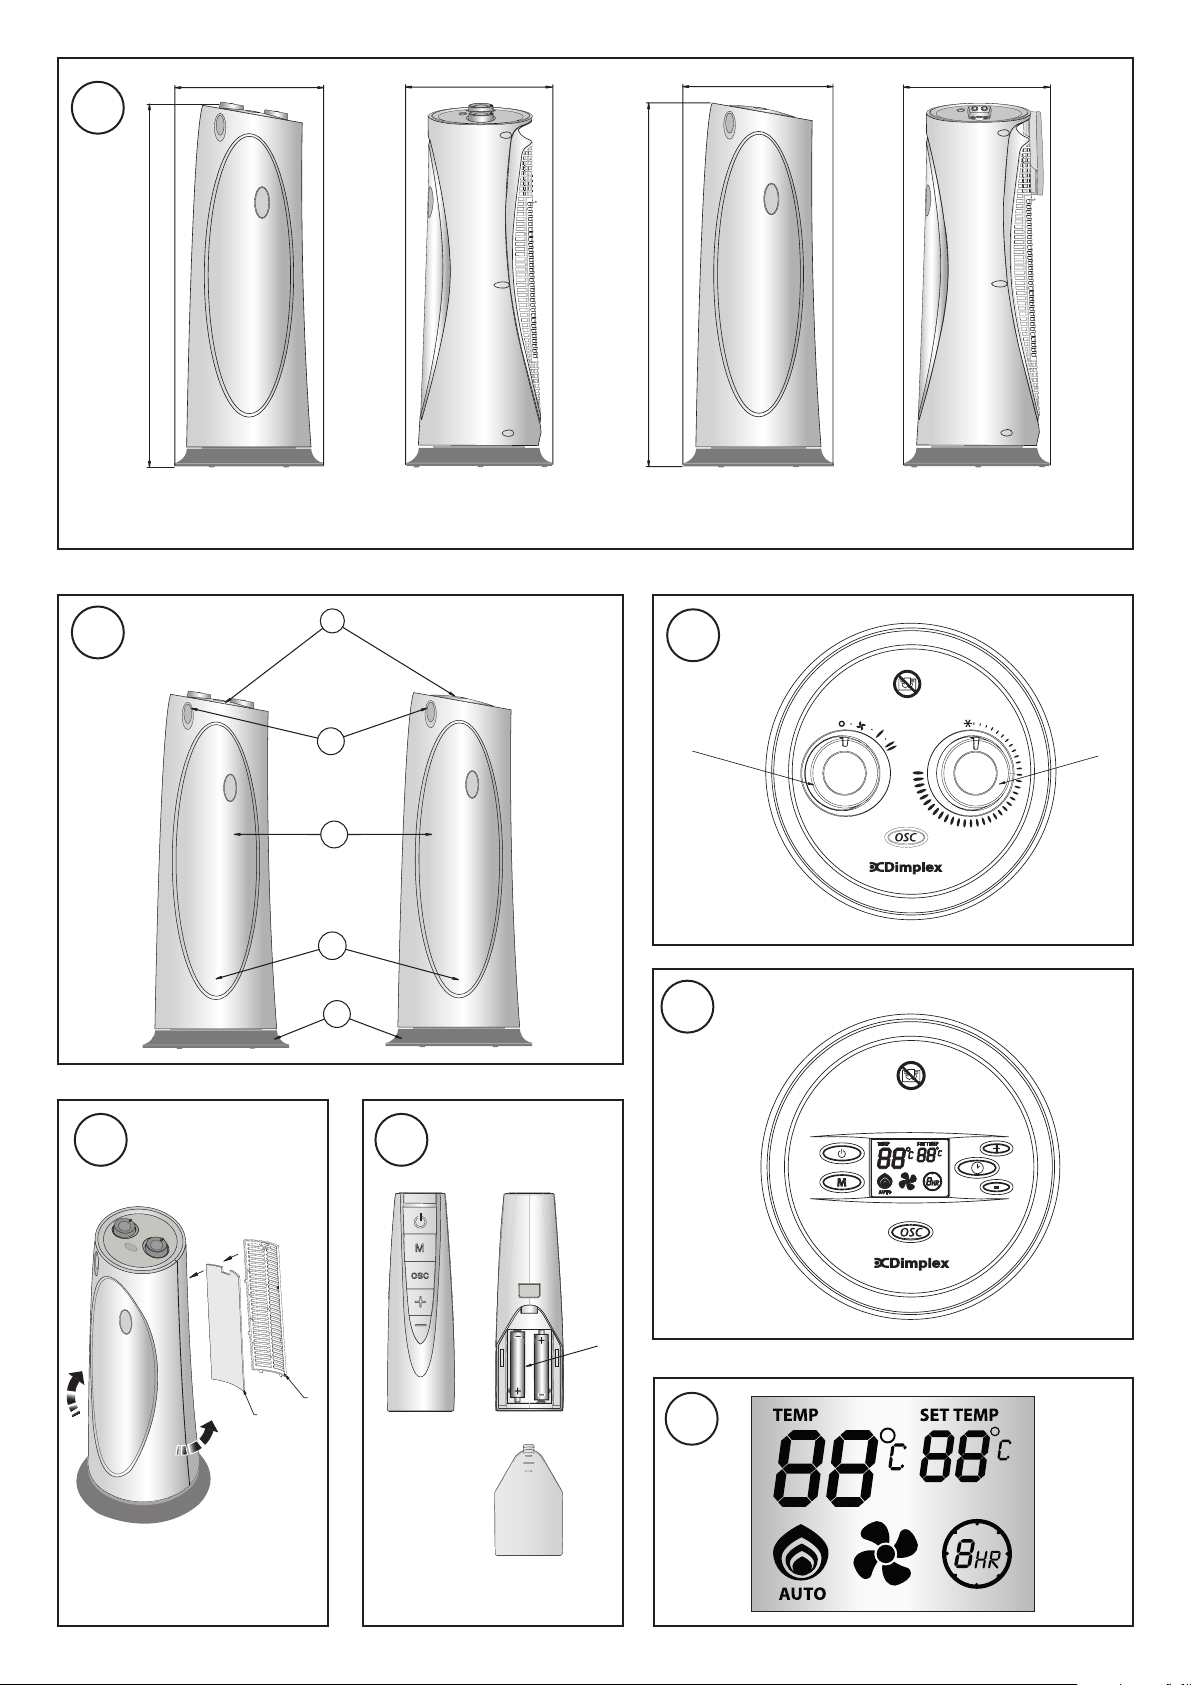
Operation – DXUCTW2B model
Switch (S) – see Fig. 3
With the selector switch, the fan can be switched on or the heat setting
selected. The power indicating light illuminates (see ‘2’ in Fig. 2) when
the Switch (s) is turned on.
Thermostat (T) – see Fig. 3
In order to maintain a certain room temperature, set the controller to
‘max.’. Operate the appliance at full power until the required room
temperature is reached. Set back the thermostatic controller until the
appliance switches off with an audible ‘click’. This temperature will be
kept almost constant by the thermostatic control switching on and off
automatically. Please note that the appliance can only be switched
on when the thermostat setting is higher than the room temperature.
With the control knob (T) set to and the control knob (S) set to the
required heating output the appliance switches on automatically when
the temperature falls below +5°C . . .+8°C.
Operation – DXUCTW2BE model
The heat output is controlled electronically, according to the room
temperature. When the unit is plugged in the power light illuminates
(see ‘2’ in Fig. 2). The unit is now in stand by mode. The power light
will remain lit until the heater is disconnected from the power outlet.
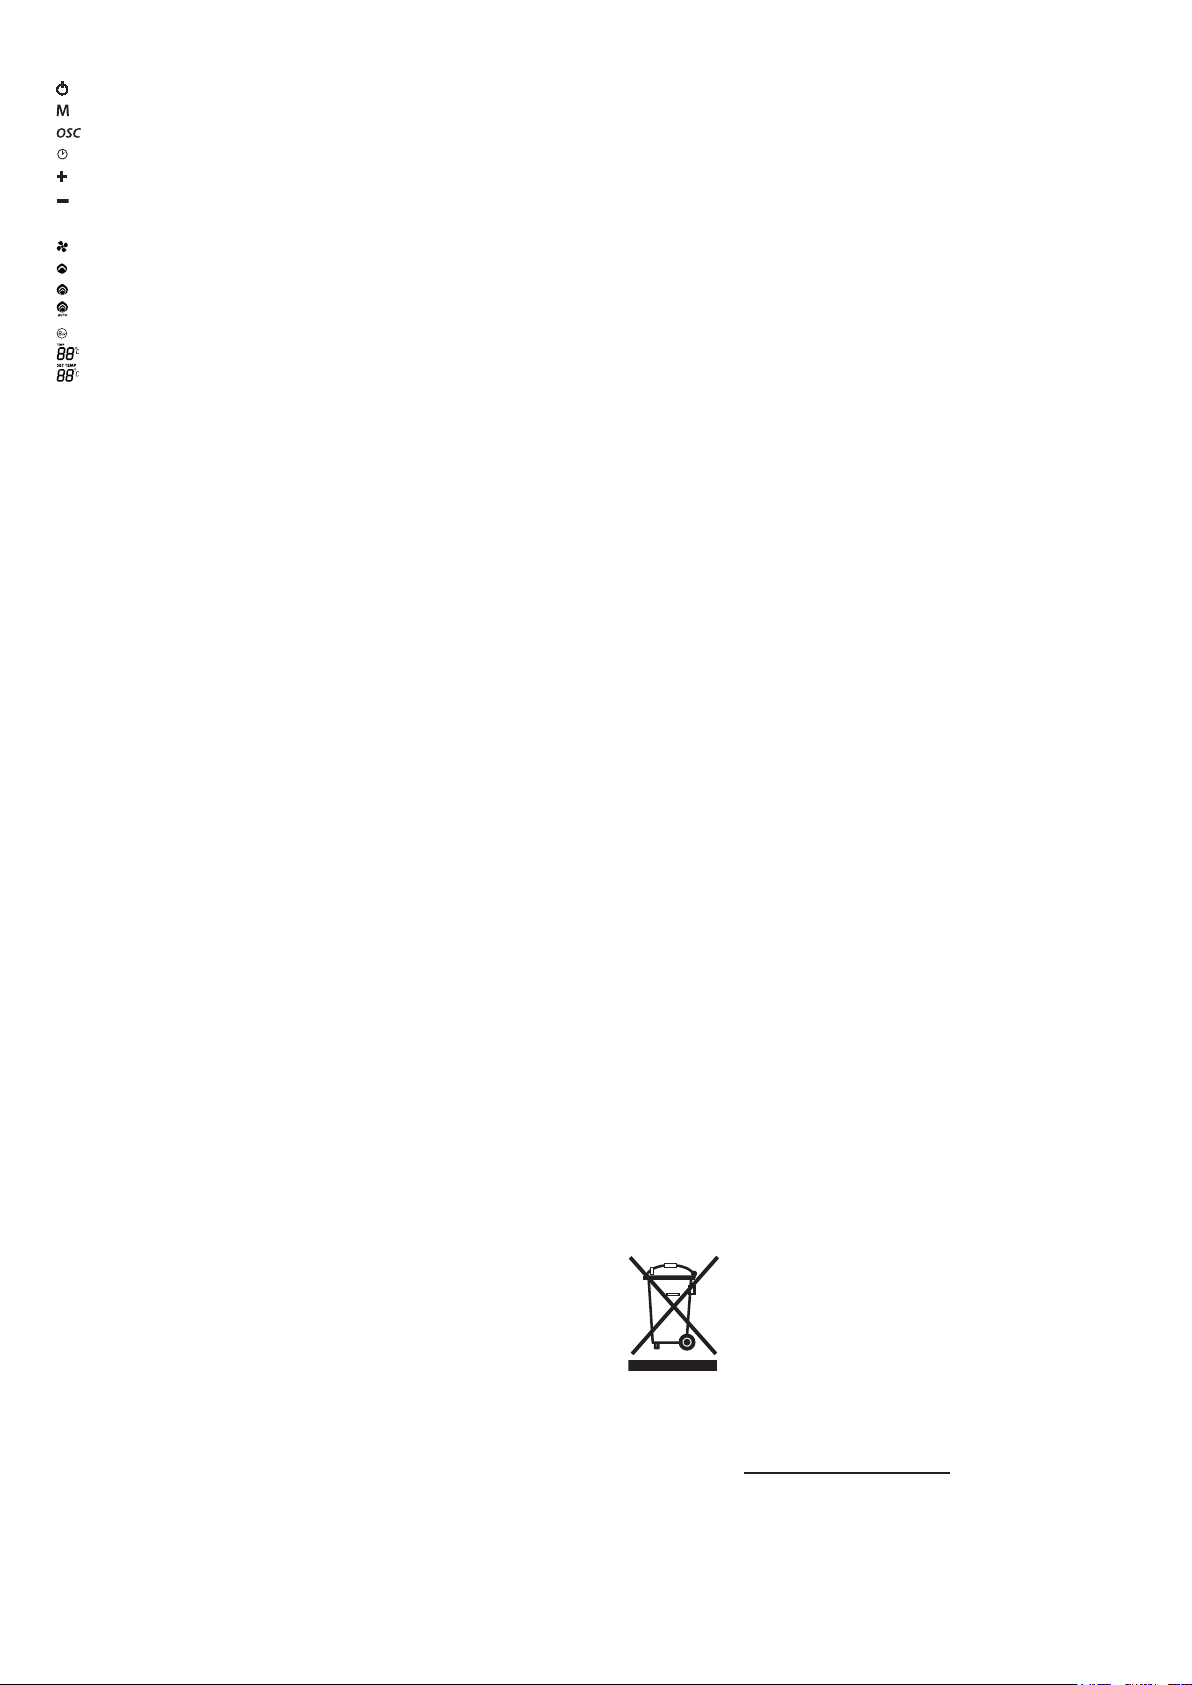
Table 1
Stand by button
Mode button
Oscillation button
Timer button
Up button
Down button
Table 2
Fan symbol
Low heat mode
High heat mode
Auto heat mode
Timer symbol
Air Temperature symbol
Set Temperature symbol
Pressing the Stand by button see Table 1 and Fig 4 will start the
heater. Pressing the Stand by button again will return the heater
to stand by mode. Upon turning the heater on, the unit will be
in Auto heating mode with a set temperature of 35°C. The set
temperature, heating mode and fan icons appear on the display – see
Table 2 and Fig. 7. The current air temperature will also appear on the
display. The display is back lit and to conserve energy the back light
will turn off after 15 seconds if no control buttons have been pressed.
If the Mode, Oscillating or Timer button (see Table 1 and Fig. 4) is
pressed, the back light will turn on again.
In Auto heating mode the set temperature can be
adjusted as desired using the Up/Down buttons (see
Table 1 and Fig. 4), located on the control panel. Pressing the Mode
button selects the heating mode. Pressing the Mode button will cycle
the heater through the heating modes Auto mode/Fan only/Low heat/
High heat. By pressing this button once Fan only mode is selected,
pressing twice provides Low heat mode, pressing three times High
heat mode is selected. Pressing the Mode button once more returns
the heater to Auto heat mode. When the heater is in Low heat, High
heat or Fan only mode the current air temperature will appear on
the display, the set temperature indicator will not be displayed – see
Table 2 and Fig. 7.
Note: If switched to stand by mode the heater will retain its last heat
setting. The last heat setting will be cleared from memory once the
heater is disconnected from the power outlet.
Thermostat
Press the Mode button until the display shows Auto heat mode - see
Table 2 and Fig. 4. To adjust the set temperature, press “+” to increase
the temperature and “-” to decrease the temperature - see Table 1 and
Fig. 4. The set temperature can be adjusted from 5°C to 35°C and this
will be shown on the display. When the air temperature rises above
the set temperature, the heat will switch off but the fan will continue
to run for approximately 20 seconds. When the air temperature drops
below the set temperature, the unit will come back on.
Note: When in heating mode if the unit is set to stand by mode the
fan will continue to run for approximately 20 seconds.
Runback Timer Mode - DXUCTW2BE model only
The heater is tted with a run-back timer feature which can be set in any
of the operating modes – Auto, Fan only, Low heat or High heat mode.
The run time can be set by pressing the Timer button - see Table 1 and
Fig. 4. If the Timer symbol (see Table 2) is not shown pressing the
Timer button once activates timer mode and “1HR” will appear on the
display – see Fig. 4. Pressing the Timer button again will advance
the set running time to “2HR” and this will appear on the display. If
the timer button is pressed and held the hour display continues to
count up until “8HR” appears on the display. At this point releasing
and pressing the Timer button again will deactivate the timer mode
and the Timer symbol will disappear from the display but the heater
will continue to run.
Once the run time has been set the heater will run and the Timer
symbol will remain on the display until the set time runs out. At this
point the heater will switch to stand by mode. To turn the heater back
on, press the Stand by button.
Oscillating Function – see Fig. 5
This heater is provided with an oscillating function. When the
Oscillation button is pressed (see Table 1, Fig. 3 & Fig. 4) the heater
will oscillate back and forth. Press the Oscillation button again and
the oscillation will stop.
Remote Control Operation – DXUCTW2BE – see Fig.6
The batteries for the remote control are not supplied. The remote
control should only be tted with AAA/LR03 type batteries. To install
batteries please follow diagrams behind the battery cover on the
remote control (see ‘A’ in Fig. 6). The buttons on the remote control
correspond to the buttons on the control panel. The display on the
control panel of the heater will show the appropriate symbols when
various functions are activated.
Note: The runback timer function cannot be activated using the
remote control.
Ioniser - see ‘4’ in Fig 2
The heater is provided with an ioniser which helps to clean, freshen
and revitalise air.
Tilt Switch
The tilt switch will prevent the heater from working if the heater is
accidentally tipped over in any direction.
Safety Cut-out
The heater is tted with a thermal cut-out. If the air inlet or outlet
grilles are restricted in anyway the cut-out switches the heater off
automatically. To bring the heater back into operation, remove the
cause of over heating then unplug the unit from the electricity supply
for a few minutes. When the heater has cooled sufciently reconnect
and switch on the heater.
Fuse Link
A thermal fuse link is provided as an added safety feature. If the fuse
link operates and opens circuit it is the result of abnormal overheating
within the appliance and servicing of the appliance by a competent
service engineer will be required in order to ensure the future safe
operation of the heater. Customer services should be contacted, who
will arrange the replacement of any faulty parts and the tting of a
new fuse link.
Air Filter – see Fig. 5
This heater is provided with an air lter. Dust and uff can accumulate
in the lter and to avoid overheating of the element the lter should be
cleaned when required. To clean the lter remove the lter bracket from
the back of the heater – see ‘A’ in Fig. 5. The lter (see ‘B’ in Fig.5) can
be taken from the lter bracket and dust or uff can then be removed
using a vacuum cleaner. When cleaning of the lter is complete the
lter should be retted to the lter bracket. The lter bracket should
then be retted to the rear of the product.
Note: Disconnect the heater from the power supply before cleaning
the lter.
Cleaning
Switch off the appliance rst and disconnect the plug from the socket.
Clean the housing with a moist cloth, vacuum cleaner or brush. Do not
use any abrasive or caustic cleaning agents. Do not use any ammable
cleaning agents e.g. petrol or spirit for cleaning the appliance. Never
immerse the appliance in water. Air inlet and outlet area should be
cleaned with a vacuum cleaner regularly· If the appliance is not used
for extended periods, it must be protected against excessive dust
and dirt.
Recycling
For electrical products sold within the European
Community. At the end of the electrical products useful
life it should not be disposed of with household waste.
Please recycle where facilities exist. Check with your
Local Authority or retailer for recycling advice in your
country.
After sales service
Your product is guaranteed for 3 years from the date of purchase.
After sales information or assistance with this product can be found
on our website: www.dimplex.co.uk/support
Your rights under this guarantee are additional to your statutory rights,
which in turn are not affected by this guarantee.
Please do not return a faulty product to us as this may result in loss
or damage and delay in providing you with a satisfactory service.
If after following these steps your product still does not operate you
should return it to your point of purchase.
Please retain your receipt as proof of purchase.