Loading ...
Loading ...
Loading ...
31-2000730 Rev. 0 7
Installation Preparation
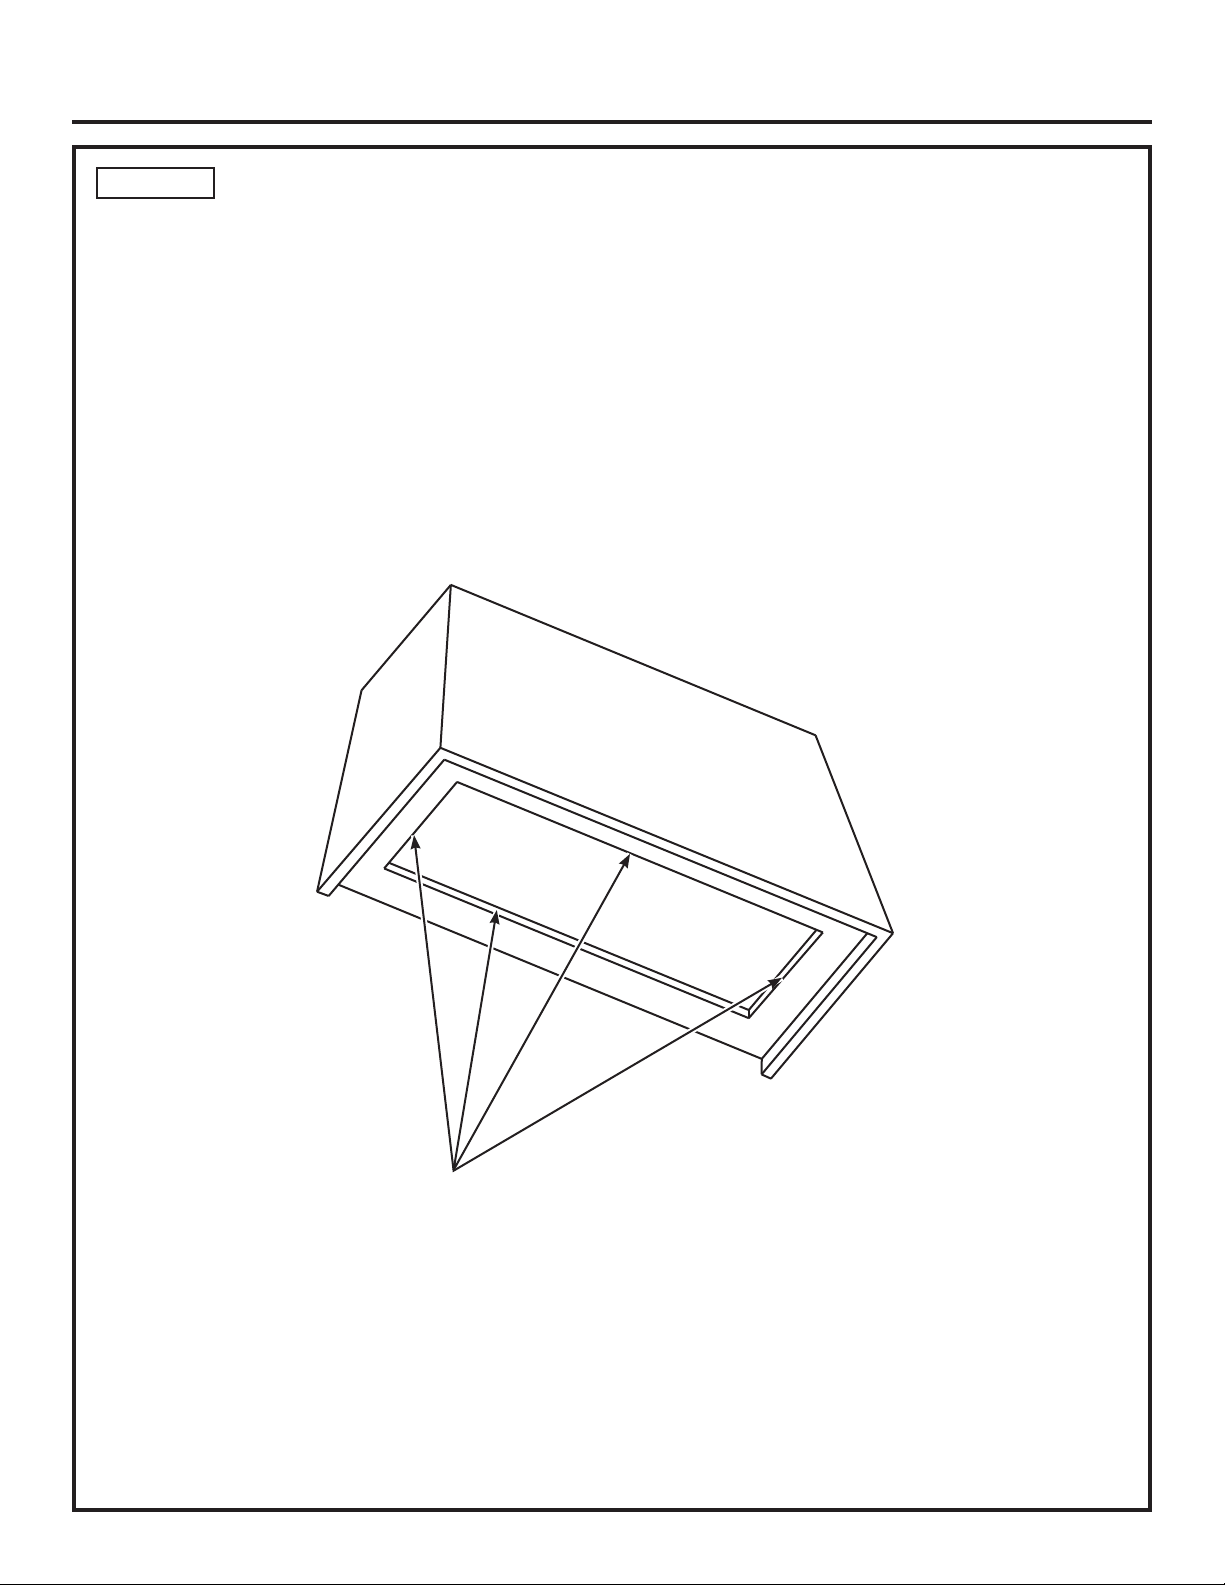
STEP 3
INSTALL HOOD INSERT INTO HOOD
5HIHUQRZWRWKHLQVWDOODWLRQLQVWUXFWLRQVIRUWKH&XVWRP+RRG,QVHUW=9&ZLWKWKHIROORZLQJH[FHSWLRQV
Ŷ'LVUHJDUGDQ\UHIHUHQFHWREXLOGLQJDFXVWRPZRRG
canopy.
Ŷ'LVUHJDUGDQ\UHIHUHQFHWRWKH+RRG/LQHU,WLVQRW
required when using this hood.
Ŷ)RUGXFWSODQQLQJ\RXZLOOQHHGWRUHIHUWRWKHVH
instructions as some of the dimensions are different.
Ŷ<RXPD\UHPRWHPRXQWWKHFRQWUROIRUWKH+RRG,QVHUW
if desired.
Ŷ6NLS6WHS,QVHUW+RRG/LQHU<RXPD\GLVFDUGWKH
Liner, it is not required.
Ŷ6WDUWDW6WHS&RQQHFW(OHFWULFDO
Ŷ%HVXUHWRIROORZWKHUHPDLQGHURIWKH&XVWRP+RRG
Insert installation instructions to properly fasten the
Insert to the Hood.
Ŷ3D\VSHFLDODWWHQWLRQWRWKHVWHSWKDWVD\VWRSXVK
the Insert firmly up prior to driving screws. This will
prevent any visible gaps between the Insert and the
Hood.
Use provided screws to attach the Insert to the Hood as directed
in the Insert Installation Instructions.
Loading ...