Loading ...
Loading ...
4 5
INSTRUCTIONS FOR USE
To reduce the risk of electric shock, this unit is equipped with a polarized plug (one blade
wider than the other). This plug will fit in a polarized outlet only one way. If the plug does not
fit fully in the outlet, reverse the plug. If it still does not fit, contact a qualified electrician to
install the proper outlet. Do not change the plug in any way.
1. Plug into a 120-volt outlet.
2. It is highly recommended that you wear socks while using this foot massager. Do not use
the unit with shoes.
3. Place massager on the floor in front of your chair or seat and place feet in massager.
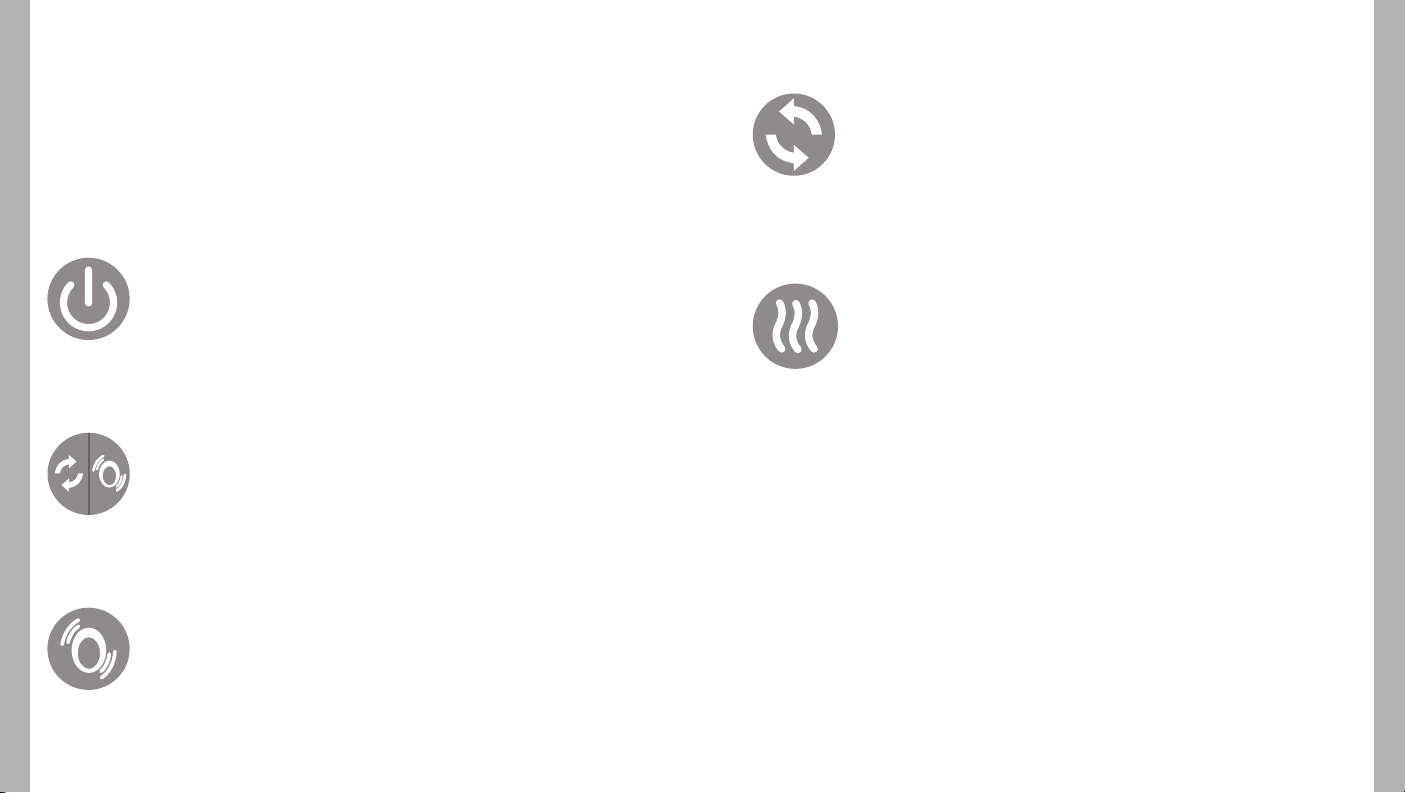
4. To activate massage, press the power button once (Fig. 1). The button will illuminate white
to confirm your selection. The unit will start with both air and knead at low intensity.
MODE BUTTON
1. Pressing the “MODE” button starts the unit with both air and knead in low intensity. Both
sides of the button will be illuminated (Fig. 2).
2. Pressing the button again will change the unit to air only. The right side of the “MODE”
button will illuminate green.
3. Pressing the button a second time will change the unit to knead only. The left side of the
“MODE” button will illuminate blue.
4. Pressing the button once more will return the unit to air and knead. “AIR” intensity,
“MODE,” and “KNEAD” intensity buttons will all be illuminated.
NOTE: You can adjust the intensity of air or kneading by pressing the “AIR”/“KNEAD” button.
AIR INTENSITY BUTTON
1. Pressing the “AIR” intensity button will allow you to adjust the intensity of the air pressure
(how firmly it squeezes your feet) (Fig. 3).
2. When first turned on, air intensity will begin in the lowest setting, with the button
illuminated dull green.
3. Pressing the button again will change the foot pressure to medium, indicated by a brighter
green.
4. Pressing the button a third time will change the pressure to high, indicated by the
brightest green.
5. Pressing the button once more will return the pressure to its lowest setting.
Fig. 1
Fig. 2
Fig. 3
KNEAD INTENSITY BUTTON
1. Pressing the “KNEAD” intensity button will allow you to adjust the intensity of the
massaging mechanism (Fig.4).
2. When first turned on, “KNEAD” intensity will begin in the lowest setting, with button
illuminated dull blue.
3. Pressing the button again will change the massage intensity to medium, indicated
by a brighter blue.
4. Pressing the button a third time will change the intensity to high, indicated by the
brightest blue.
5. Pressing the button once more will return the intensity to its lowest setting.
HEAT BUTTON
1. To activate soothing heat, first select ”AIR” or “KNEAD.” Then press the “HEAT”
button, and it will illuminate red (Fig. 5).
2. To turn heat off, press the button again and the red light will turn off.
NOTE: For your safety, heat can only be turned on if an air and/or knead program is selected.
When finished, turn the unit off and unplug.
MAINTENANCE
TO STORE
Place massager in its box or in a safe, cool, dry place. Avoid contact with sharp edges
or pointed objects. To avoid breakage, DO NOT wrap the power cord around the unit. DO
NOT hang the unit by the power cord.
TO CLEAN THE MASSAGER
Unplug the unit and allow it to cool before cleaning. Clean only with a soft, slightly damp
sponge. NEVER allow water or any other liquids to come into contact with the unit.
• DO NOT immerse in any liquid to clean.
• Never use abrasive cleaners, brushes, or strong chemicals that might or might not
be flammable and/or damaging to the product to clean.
• DO NOT attempt to repair the massager. There are no user-serviceable parts. For
service, contact the Consumer Relations telephone number listed in the Warranty
section.
TO CLEAN THE WASHABLE LINERS
Unzip and remove the washable liners. Hand wash only with cold water and a mild
detergent. Lay flat to dry.
• Do not bleach.
• Do not iron.
• Do not dry clean.
Fig. 5
Fig. 4
Loading ...
Loading ...
Loading ...