SPECIAL NOTE: Please connect the device
using the App directly. Tap on the top right corner
on the App home page to search for your device,
and then tap on the device ID to start connecting.
If you have used your phone Bluetooth setting to
connect, which is not the correct way, please
disconnect it from the Bluetooth setting and try
connecting using our APP directly. Besides,
please make sure you have made the necessary
settings (check Settings->FAQ on our App) to
allow the App to
run in the background or the
notifications and weather info will not be pushed
to the device.
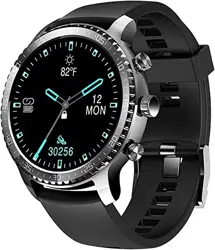
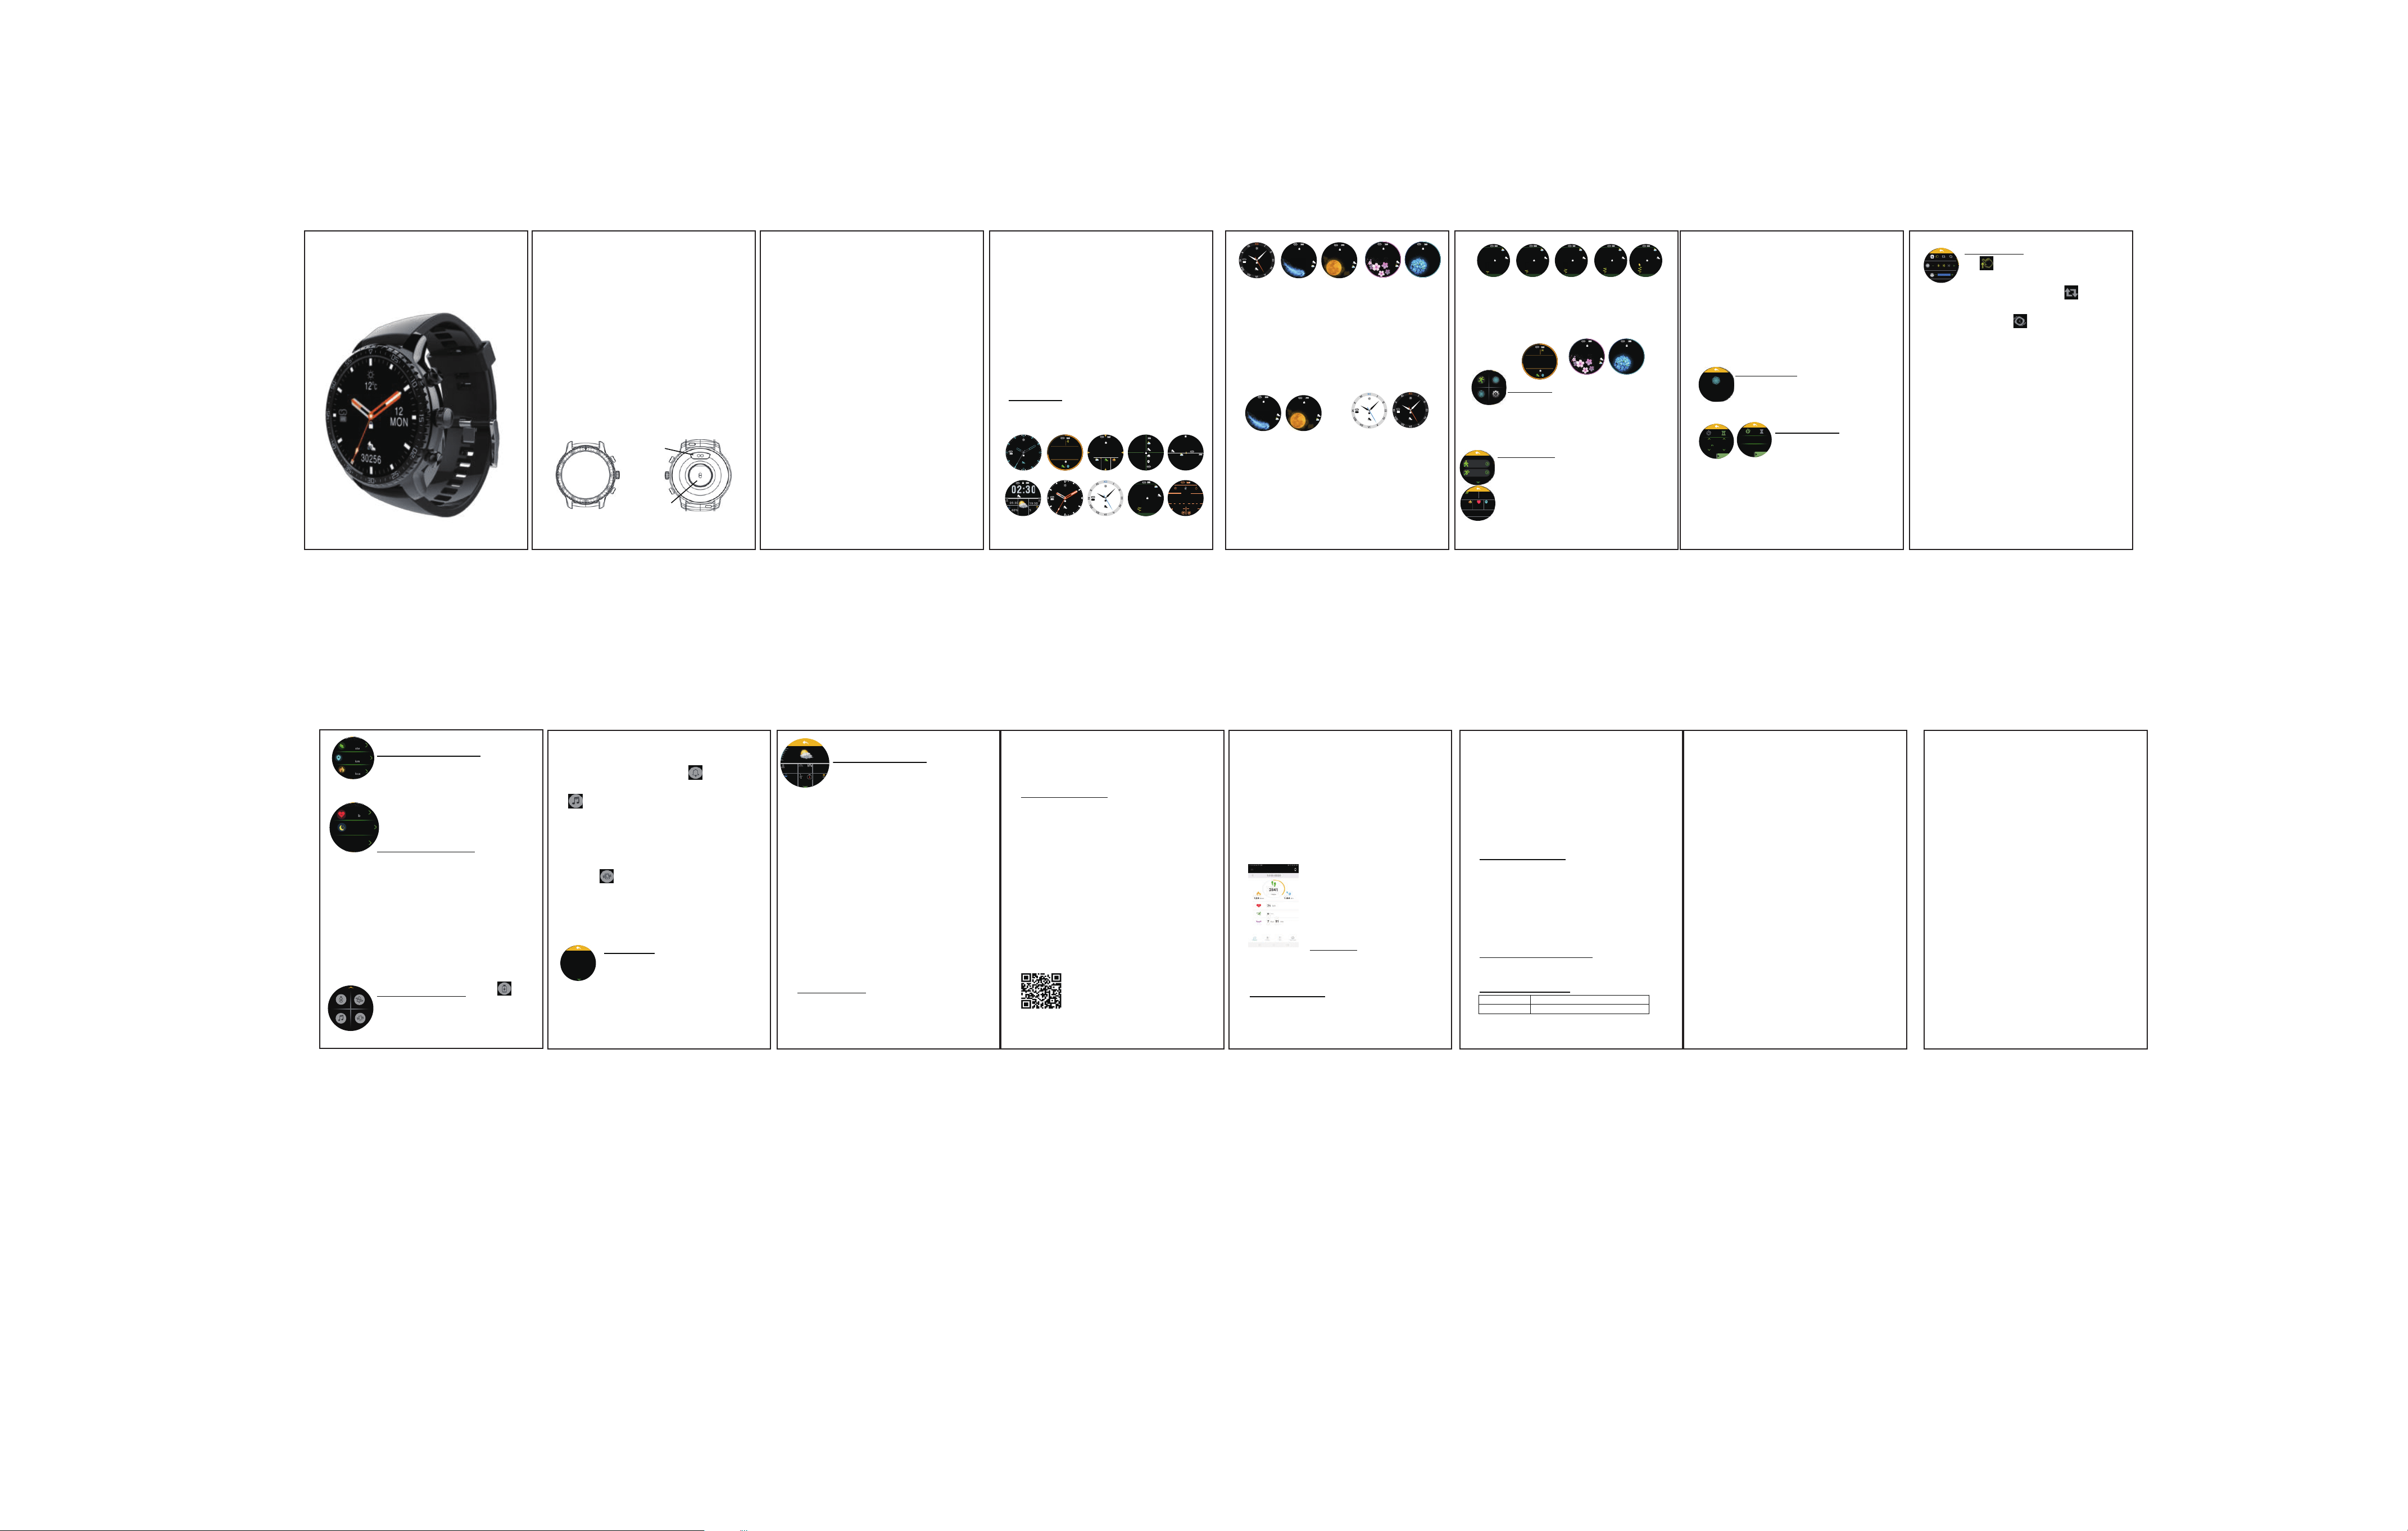
PRODUCT OVERVIEW
Touch screen
&
Display area
Middle button
Bottom button
Top button
Charging points
Heart rate sensor
NOTES ON PRODUCT MODEL Product model
with suffix “W”represents that the product support
both wireless charging and charging with the
USB cable provided in the package.
HOW TO TURN ON Press and hold the Top
Button for 3s to turn on the device.
***If it is not turned on, please charge the device
first***
HOW TO CHARGE THE DEVICE Connect your
charging cable into USB power output (5V±0.25V,
output current 500mA~2000mA), and attach the
other end to the charging points on your device
. If
there is a repelling force, please reverse the pins
direction to try again.***Please use ONLY the
charging cable provided in the package***
For product model with suffix “W” which supports
wireless charging, simply leave the device facing
up at the centre of your wireless charging pad
(wireless charger is not included in this package,
you can use the same wireless charger that you
use for your smart phones) ***Typically takes up
to 4 hours for a full charge using wireless
charging***
SMART BRIGHTNESS CONTROL While the
screen is on, simply press and hold on the touch
screen and the brightness will be set to the
maximum temporarily until the screen is off. This
is especially useful when you are under the
sunlight where you can’t really read the screen
when the brightness level is too low. For “Always
on” mode, do press the Top button once to unlock
the screen before you press and hold on the
touch screen.
Home Screen
It comes with 15 clock faces which can be
changed in the settings
.
On the home screen, you can swipe left, right, up
and down to other pages described below, while
tapping on some of the icons (for example
weather icons) may give you some surprises too.
Do explore it to find out more.
The 2 pairs of clock faces below will switch
between day-mode (7am-7pm) and night-mode
(7pm-7am) automatically:
This “Growing Flower” clock face below, features
a little plant that will grow accord
ing to the
completion rate of your steps goal. Once you
have achieved the goal for the day, the plant will
eventually grow into a beautiful flower.
The clock faces below features a dashboard that
will change colour according to the completion
rate of your steps goal. Once you have achieved
the goal for the day, the whole ring will turn into
the glowing colour.
Menu Page
Tap on the icon to enter the
different menus or functions, which includes
Sports Menu, Settings Menu, Timer Function and
Relax Function.
Sports Menu Swipe up or down to go
through the list of Sports and tap on the icon
to start the corresponding workout session.
During the session, swipe up for music
control and swipe down to check
notifications. Other than showing total steps,
the number of steps taken in the previous
minute can also be found below the “60s” icon.
For cycling, the steps & distance will not be
available. For sessions less than 5 minutes, the
data will not be saved. For Walking, Running,
Hiking and Cycling, you c
an initiate the workout
session from the GPS page on the App while the
device is connected, and the track will be
recorded on the map. Please note the GPS
accuracy is depending on the GPS location
service from your phone, and it doesn’t rely on
the device at all.
Relax Function
Follow the instruction
on the screen for a guided breathin
g
session and tap on the back icon on th
e
top left corner to exit
Timer Function Swipe left
and right to switch between
the Stopwatch and Timer
mode. For Timer mode, the
device will vibrate and the screen will be turned
on 10sec before the time is up. And it will vibrate
again when the time is up.
Settings Menu
Clockface setting: Tap
on
to enter the manual selection
mode, and then swipe up and down to
select different clockfaces. Tap on
for auto
mode where the clockface will change everyday
automatically. Tap on
for “shake to change”
mode where you can change the clockface by
shaking the watch while looking at the clockface.
Brightness setting: Tap on the + and - sign to
adjust. Recommended using the lowest
brightness. Increase the brightness level will
result in significant drop in battery life.
Display Time Setting: Tap on the + sign to
increase the display time. Other than the default
“+0s”, there are 3 more options: “+3s”, “+5s” and
“Always On”. Increase the display time will resu
lt
in significant drop in battery life. If “Always On” is
turned on, the brightness will be set to the lowest
and the device will enter “locked” state after
10seconds of idle and a lock icon will be
displayed on screen. To unlock, press the Top
Button on the device.
USER MANUAL
02:18
03/02
s m t w t f s
17c 65%
30256 1423
12:30
30/03
SUN
30256
-12°°c
12:30
30/03
SUN
30256
-12°°c
12:30
30/03
SUN
30256
-12°°c
12:30
30/03
SUN
30256
-12°°c
10
58
30/03
SUN
30256
-12°°c
12:30
30/03
SUN
30256
-12°°c
05
30
30/03
SUN
30256
-12°°c
05
30
30/03
SUN
20.5
1423
30256
-12°°c
12:30
30/03
SUN
30256 1423
-12°°c
-12°°c
25/12
MON
30256 20.4
12:30
-12°°c
25/12
MON
30256 20.4
12:30
12:30
30/03
SUN
30256
-12°°c
12:30
30/03
SUN
30256
-12°°c
12:30
30/03
SUN
30256
-12°°c
30256
12°°c
12
MON
30256
12°°c
12
MON
12
MON
12°°c
30256
12
MON
12°°c
30256
30256
12°°c
12
MON
30256
12°°c
12
MON
30/03
05:30
5
19:30
60%
SUN
23056
12°°c
09
02
30/03
SUN
9999
-12°°c
08
21
30/03
SUN
7563
-12°°c
07
57
30/03
SUN
4263
-12°°c
07
10
30/03
SUN
2356
-12°°c
06
30
30/03
SUN
1346
-12°°c
01:36:28
610
12533 138
20:30
60s
116 10.6
km
kcal
00:00.00
Breathe in
01 00
s
+3s
20
58
P
ersonal Details P age 1 This page
s
hows an overview of the current day
a
ctivities, tap on the respective icons to
check the details.
Personal Details Page2
Enter Heart
Rate page to start measuring heart rate manually.
***Please keep the Heart Rate Sensor clean
and have good contact with your wrist, stay still
during the measurement for better accuracy. The
reading is just for reference and not intended for
medical use***
Enter Sleeping Details page to check the
previous night sleeping data. The results are
affected by many factors and might not be
recorded sometimes, please refer to FAQ on our
App for more info.
S
hortcut Control Page Tap on for
l
owest brightness to save power.***This
ECO button will be disabled when “Always On”
display is enabled*** Tap on
for Do not
disturb (DND) mode to block notifications. Tap on
to launch the music control page. Please
connect the device to the App and make sure the
music App is running for this feature to work
correctly. Do note that this might not work for
some of the Music Apps with different control
protocol.
Tap on
to find your phone and your phone
will start ringing and vibrating. Tap again to stop.
This feature will work only when the device is
connected to your phone and within the Bluetooth
range.
N
otifications Swipe down from the
h
ome page or during a Workout session
t
o read the last 5 push-notifications
r
eceived from your phone, swipe right to
the last page to delete all. Do note that for each of
the notification received, only the first page of the
contents will be displayed.
W
eather Details Page Tap on the
w
eather icon on any of the home screen
t
o enter this page which shows
temperature range, sunrise & sunset time,
atmospheric pressure, humidity, wind speed &
direction, UV index and more. Swipe down from
this page to check the weather forecast for the
coming 15days. Please keep the device
connected to the App and ensure that the App is
allowed to run at the background so that the
weather info can be pushed to your device.
Please also grant the location access permission
for the App to know where you are. Do note that
the w
eather info is only updated once every hour
and it is based on the nearest station which might
be up to 30miles away from your exact location.
So, there might be some slight different from the
real-time weather that you might have acquired
from other weather sources.
Shortcut Buttons
While the screen is on (or “unlocked” for the case
when “Always On” is enabled), press the Middle
button to enter Stopwatch directly, and press the
Bottom button to enter Sports Menu directly.
Alerts and Reminders
There are alerts and reminders such as Incoming
Call Alert (can tap on the “hang up” icon to reject
the call), Sedentary Reminder, Alarm, Schedule
Reminder, Unusual Heart Rate Alert (during
workout session) and more. These features
require the corresponding settings on the App,
please make the changes on the App while the
device is connected.
***Incoming call and notifications works only
when the device is connected to the App. If
notifications do not work, please check if
DND
mode has been enabled. If it still doesn’t work, go
to Settings->Application->Notification Access
Authorization, then turn off the notification access
for the App and then turn it on again***
ABOUT THE MOBILE APPLICATION
(the “App”)
Download the “TINWOO” from AppStore for
iPhones and from GooglePlay for Android phones.
***To allow the App to function correctly,
please grant the per missions for all the
access which your system will prompt you
during the installation. Failing which, some of
the features might not work properly***
Home Page
This page displays
the current status and come with the icons to
enter into the other main pages
Connecting Device
On the home page, tapping
on the icon at the top right corner to enter the
device searching page. Within 30 seconds, you
should see a list of devices available for
connection. Tap on the device ID to initiate the
connection which normally takes not more than
30 seconds. If the connecting process takes
longer than 30 seconds, you can tap on the
screen to stop it and then tap on your device ID to
start connecting again.
Photo-shoot ing mode
Once device connected,
tap on the icon at the top right corner to enter the
device management page, and then tap on the
“Take Photo” to enter Photo-shooting mode
and your connected device will also enter
selfie-control mode automatically, Then, you can
use your device as the remote selfie-control,
simply shake your device to take a shot.
Frequently Asked Questions
Please refer to the FAQ on the App
Product Specifications
Display
1.3inch round display, 240*240
Controller
Nordic 52832,
REMARK: This product is an electronic monitoring
product and is not
intended as a medical reference. We reserve the
right to modify or improve any of the functions
described in this manual without any prior notice.
At the same time, we hold the right to continuously
update the product content. Please refer to the actual
product
km
kcal
steps
30256
20.4
1423
bmp
82/96%
8h 33m
1/5
Smart watches
Smart watches Smart
watches Smart watches
05:30
4
19:30
40%
3m/s
1013
-12°°c
-10°°c
-18°°c
TINWOO