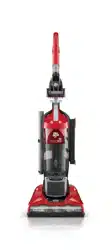
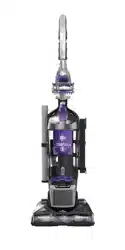
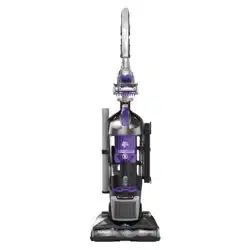
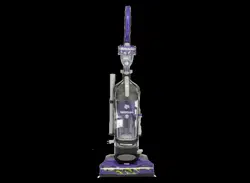
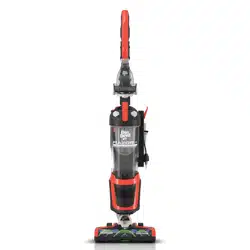
USER MANUAL Power MAX Pet Upright Vacuum
QUICK START
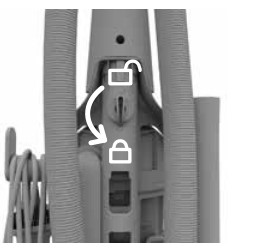
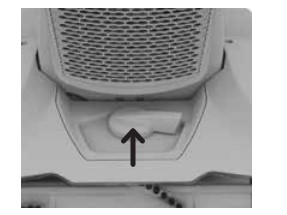
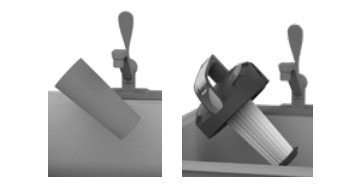
- INSERT HANDLE WITH KNOB IN UNLOCKED (
 ) POSITION.
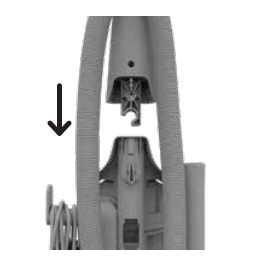
- TURN YELLOW KNOB COUNTERCLOCKWISE TO LOCK (
 ).
). 
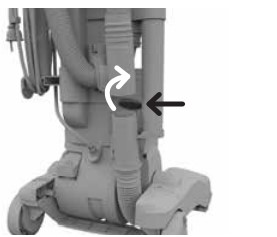
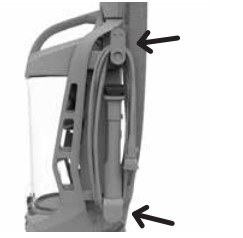
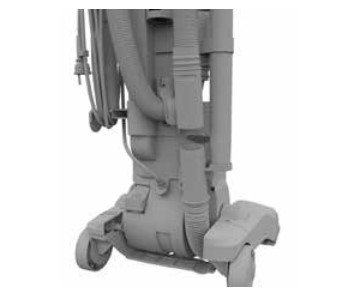
- PUSH GREY LOWER HOSE DOOR BACK AND ATTACH HOSE.
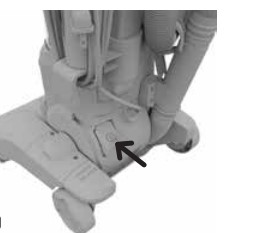
- PLUG IN THE CORD AND PRESS HERE TO POWER UP.
- SET YOUR HEIGHT ADJUST* FOR MAXIMUM CLEANING PERFORMANCE.
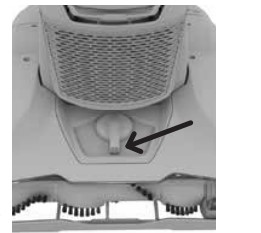
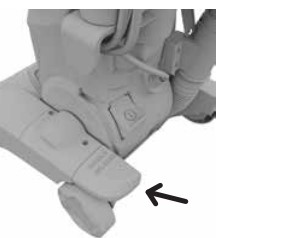
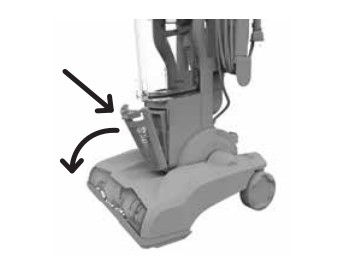
- PUSH HERE AND PULL HANDLE BACKWARDS TO RECLINE.
- WRAP CORD AROUND CORD HOOKS AND ATTACH PLUG END TO THE CORD.
HEIGHT ADJUST*
THE FOLLOWING HEIGHT SETTINGS ARE RECOMMENDED FOR MAXIMUM CLEANING PERFORMANCE.
- Hard Floor Setting: Great for tile, hardwood, linoleum and more.
- Low Carpet Setting:
 Great for low pile carpet, door mats and area rugs.
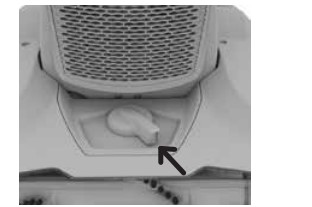
- Mid Carpet Setting:
 Great for mid pile carpet.
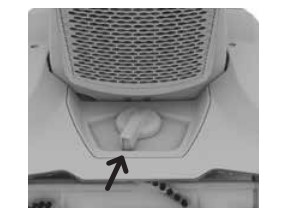
- High Carpet Setting:
 Great for plush and shag style carpets
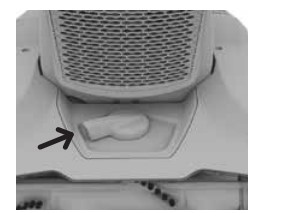
NOTE: If you’re not sure what type of carpet you have, choose a setting and if the upright is hard to push, change the height to the next highest setting.
*Feature not included on all models.
COMPLETE ON-BOARD TOOLKIT
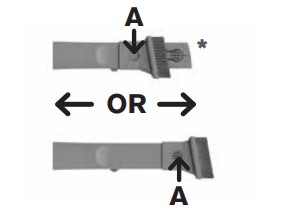
2-IN-1 COMBO TOOL: Use the Crevice Tool for tight spaces, corners and along stair edges and baseboards. Try the Dusting Brush for furniture, table tops, lamps, blinds and more.Press the lock button (A) down and slide to switch between modes.
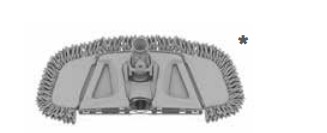
VAC+DUST FLOOR TOOL WITH SWIPES™*: Vacuum and dust most hard floor surfaces.

EXTENSION WAND: Attach to cleaning wand for longer reach on above and hard floor cleaning.
TURBO TOOL®: For upholstered furniture, draperies, mattresses and stairs.
*Accessories not included on all models.
ABOVE FLOOR CLEANING
- Remove On-Demand Cleaning Wand for convenient above floor cleaning.
- Attach extension wand and 2-in-1 tool* for improved cleaning.
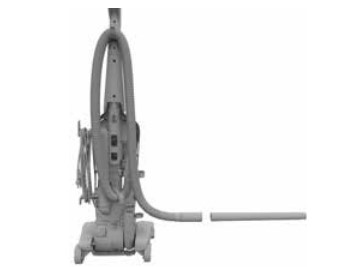
CAUTION: Use extra care when cleaning on stairs. To avoid personal injury or damage, and to prevent the cleaner from falling, always place cleaner at bottom of stairs or on floor. Do not place cleaner on stairs or furniture, as it may result in injury or damage. When using tools, always ensure handle is in upright position.
*Accessories not included on all models.
HOW TO
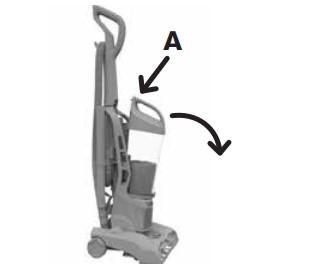
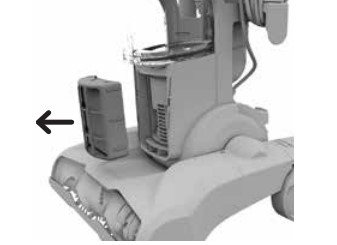
EMPTY THE DIRT CUP
- Dump the dirt when it's full.
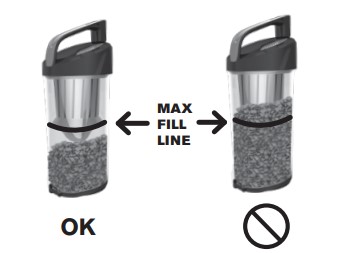
- Push the release button (A) then pull out the dirt cup.
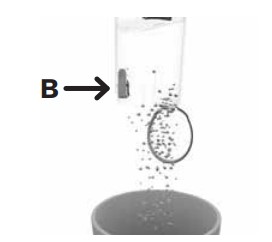
- Now ditch the dirt by pushing the lower button (B). Give it a wipe to remove dust.
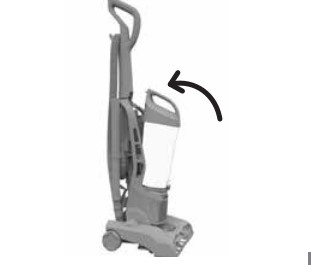
- Place back in bottom first. Push the top of the cup against the back panel and it'll click into place.
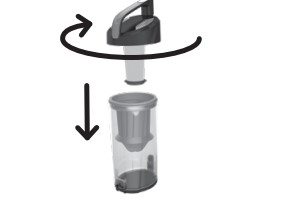
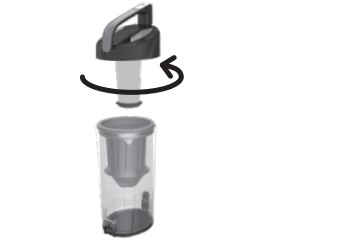
CLEAN THE RINSABLE FILTER
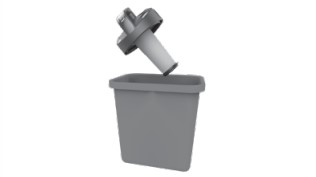
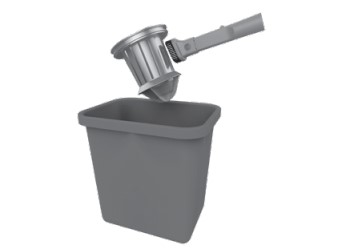
- Remove the dirt cup. Twist the handle to remove the top from the dirt cup. Gently remove the filter from the the handle.

- Tap clean into a trashcan.
- All pieces are rinsable. Allow to dry 24 hours before using.
- TWIST the filter back into the handle, place the handle back on the dirt cup and twist to close. Replace the dirt cup into the vacuum.
CLEAN THE EXHAUST FILTER
- Push the tab on the front of the cover to pivot out.
- Pull out the filter, rinse dirt from both sides, and let air dry for 24 hours before reinstalling or until dry.
- Put the dry filter back. Now line up the filter cover with the bottom tabs first and then snap back into place.

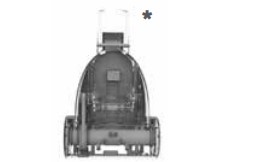
CLEAN THE CYCLONIC ASSEMBLY
- Twist counter-clockwise to open the dirt cup. Pull cyclonic assembly out of dirt cup.
- Use the Dusting Tool to clean the cyclonic assembly.*
*Accessories not included with all models.
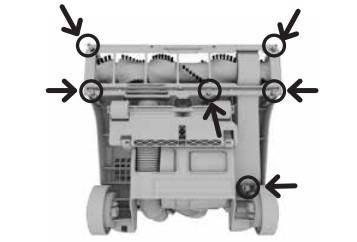
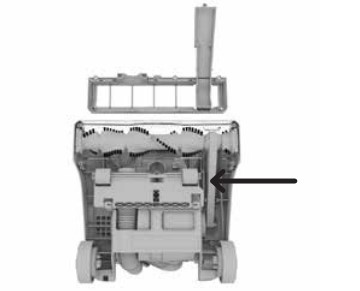
CLEAN THE BRUSHROLL
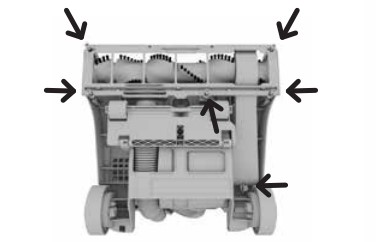
- Turn your vacuum over. Use a Phillips screwdriver to take off the 6 screws. Remove the bottom plate.
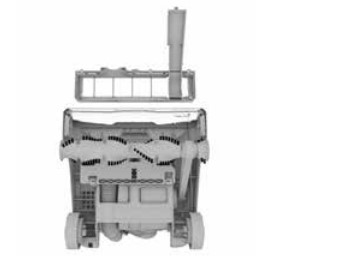
- Clean the brushroll.
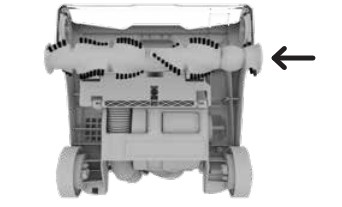
- Slide on belt with the lettering on the outside.
REPLACE THE BELT
- Turn your vacuum over. Use a Phillips screwdriver to take off the 6 screws. Remove the bottom plate.
- Then take off that old belt. Slide on a new belt with the lettering on the outside.
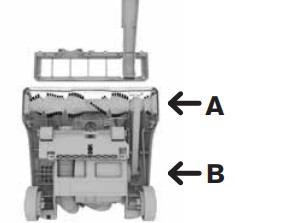
- Slip belt around the brushroll in area without bristles (A) and metal pin (B). Each end of the brushroll will fit into pockets on each side of the nozzle (C). Put the plate back on and screw together.

 LUBRICATION: The motor and brushroll are equipped with bearings which contain sufficient lubrication for their lifetime. The addition of lubricant could cause damage. Do not add lubricant to motor or brushroll.
NOTE: Any other servicing should be done by an authorized service representative. If appliance is not working as it should, has been dropped, damaged, left outdoors or dropped into water, take it to a service center prior to continuing use.
TROUBLESHOOTING
Any other servicing should be done by an authorized service representative. If appliance is not working as it should, has been dropped, damaged, left outdoors, or dropped into water, take it to a service center prior to continuing use.
WARNING: To reduce the risk of personal injury - Unplug before cleaning or servicing.
Vacuum won’t run
- Power cord not firmly plugged into outlet.
- Plug unit in firmly.
- No voltage in wall plug.
- Check fuse or breaker in home.
- Blown fuse or tripped breaker.
- Replace fuse/reset breaker in home.
- Thermal Protector activated.
- Unplug and allow vacuum to cool for 30min. (This willl reset the thermal protector)
Dust escaping from vacuum
- Dirt cup full.
- Empty dirt cup.
- Dirt cup not installed correctly.
- Review Dirt Cup removal & replacement.
- Hose not installed correctly.
- Review Hose installation.
- Rinsable and/ or Filter made with HEPA media not installed completely.
- Review Filter Removal and Cleaning.
Smoky/burning smell detected
- Belt broken or stretched.
- Replace brushroll belt.
- Brushroll is clogged.
- Clear/remove debris from brushroll.
Vacuum tools won’t pick-up
- Hose clogged
- Remove hose and tools; remove obstruction.
- Dirt cup full
- Empty dirt cup.
- One or both filters are clogged.
- Remove both filters and clean.
- Release handle/wand to actuate internal valve.
- Pull handle up and out of unit.
- Vacuum not picking up debris
- Brushroll could be turned off or the belt could be broken.
NOTE: Any other servicing should be done by an authorized service representative. If appliance is not working as it should, has been dropped, damaged, left outdoors or dropped into water, take it to a service center prior to continuing use.