J
G
F
G
H
H H
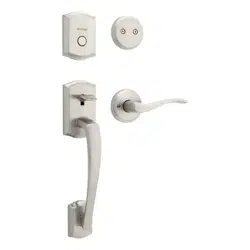
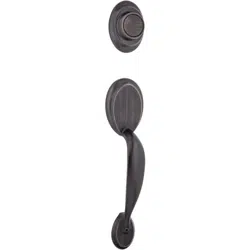
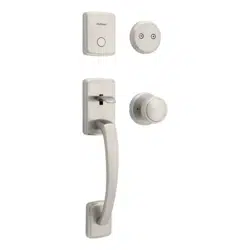
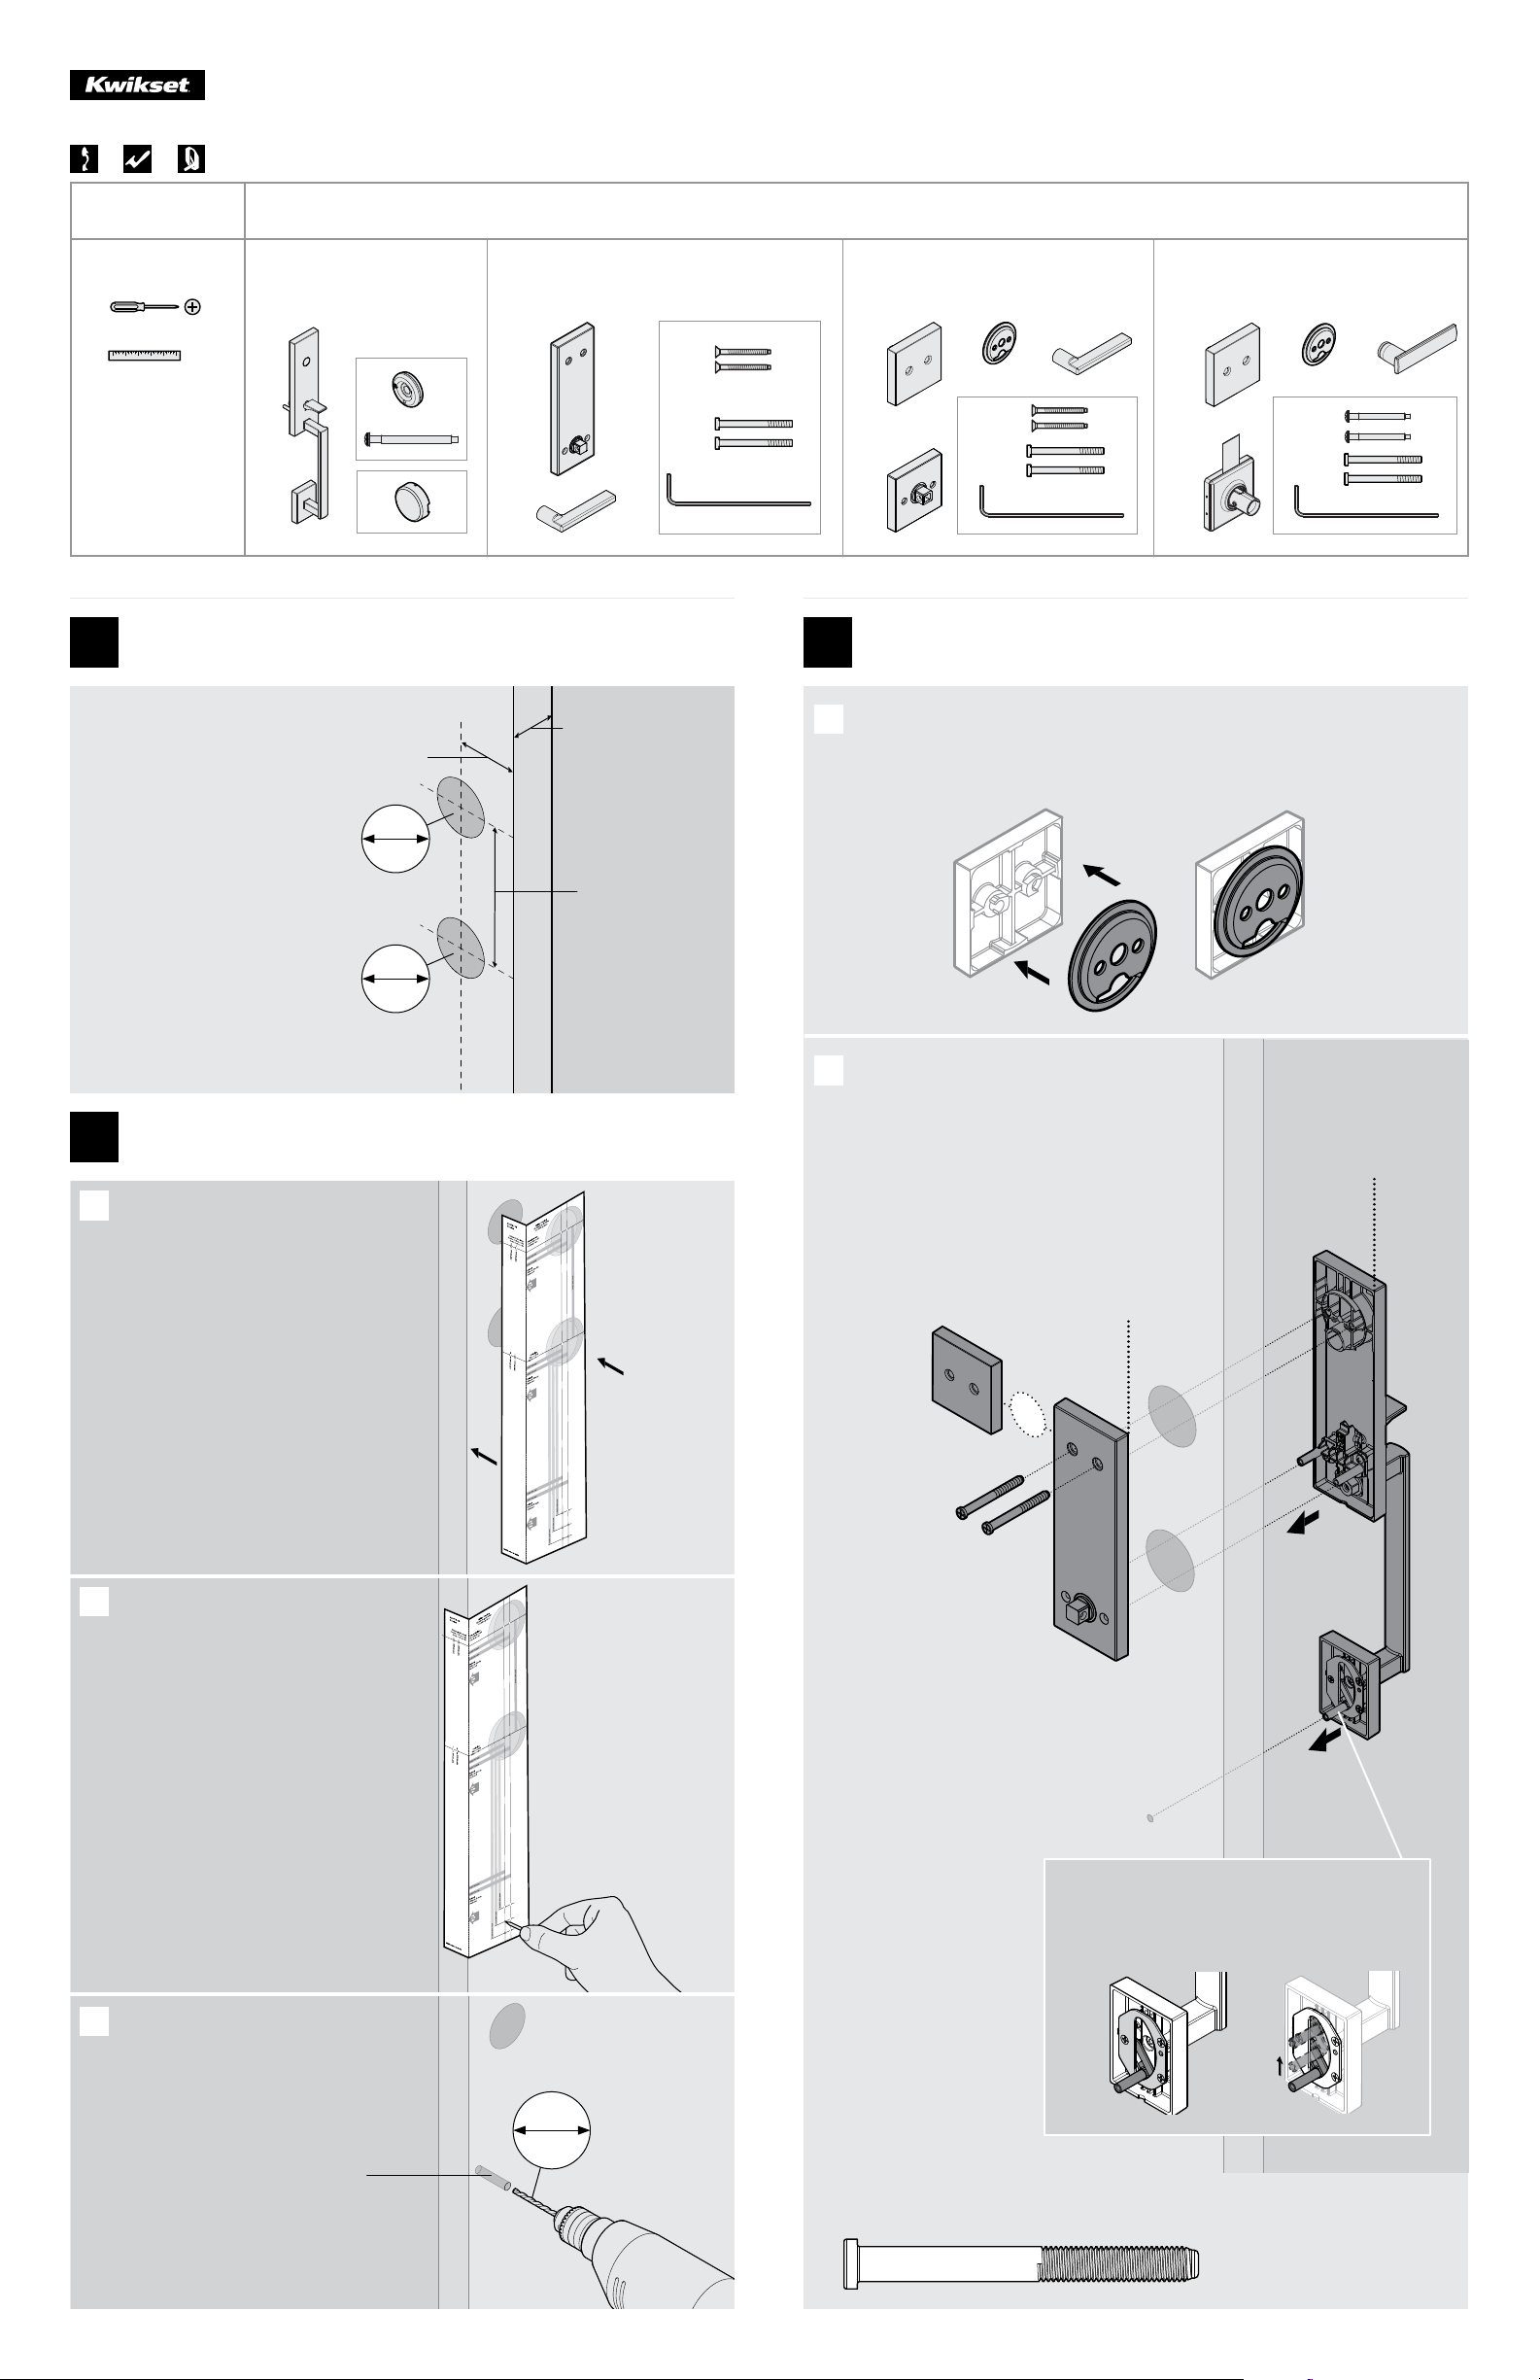
Parts in the box
Piezas en la caja
Required tools
Herramientas necesarias
Handleset
Conjunto de manija
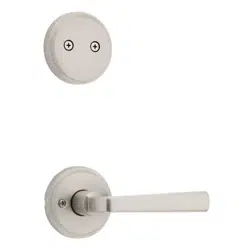
Interior Option 2: Visible Screws
Opción 2: Palanca con tornillos visibles
Interior Option 3: Hidden Screws
Opción 3: Palanca con tornillos escondidos
A
E
L
V
U
B1
B2
C
W
F
G
Installation Guide
Guía de instalación
18003275625
www.kwikset.com
67962001 Rev 01
819 / 973 Dmy
Note: Installation is the same, regardless of model shown.
Nota: La instalación es la misma sin importar el modelo que se ilustre.
Interior Option 1: Full Trim
Opción 1: Escudo completo
J
D
E
X
X
1 / 2
For Interior Option 2 or 3 ONLY: The mounting plate should be
pre-installed on the interior. If removed, re-install.
Para la opción interior 2 o 3 SOLAMENTE: La placa de montaje debe ser
pre-instalada en el interior. Si se removio, reinstale la placa.
or
o
Install handleset and deadbolt.
Secure with mounting screws.
Instale el conjunto de manija y el cerrojo
Asegure con el tornillo de montaje.
B
Post is adjustable and can be moved
to any position within the slot.
El poste es ajustable y se puede mover a
cualquier posición dentro de la ranura.
If drilling a new door, use the
supplied template and the complete
door drilling instructions available
at kwikset.com/doorprep
Si va a perforar una puerta nueva,
utilice la plantilla suministrada y
las instrucciones completas para
la perforación de la puerta estan
disponibles en kwikset.com/doorprep
Fold the supplied template along the fold
line and place on the exterior side of your
door so that the holes in the template are
aligned with the holes in your door.
Doble la plantilla suministrada a lo largo
de la línea de pliegue y coloquela sobre
el borde exterior de su puerta de manera
que los oriicios en la plantilla queden
alineados con los oriicios de su puerta.
23/8" (60 mm)
or • ou
23/4" (70 mm)
13/4" — 21/4"*
44 mm — 57 mm*
51/2"
140 mm
21/8"
54 mm
21/8"
54 mm
exterior
exterior
exterior
exterior
Exterior
Exterior
*Call Kwikset to order
a service kit for 21/4”
(57 mm) thick doors.
*Llame a Kwikset para
pedir un kit de servicio
para puertas gruesas
con un espesor de
entre 57 mm (21/4”).
If you already have the bottom hole drilled
in your door, conirm that its location falls
between the highest and lowest holes at
the bottom of the template. If it does not fall
within this range, drill a new hole in step 3.
If the bottom hole is not drilled, use the template
to mark the location of the new hole on your
door. Make sure it is aligned with the other
holes in the door. Drill a new hole in step 3 at
the 91/8” (232 mm) mark on the template.
Si el oriicio inferior está perforado de
antemano en su puerta, conirmar que está
alineado con uno de los oriicios inferiores
de la plantilla. Si no cae dentro de este rango
perforar un nuevo oriicio en el paso 3.
Si el oriicio inferior no se perfora, utilice la
plantilla para marcar la ubicación del oriicio
nuevo en la puerta. Asegúrese de que el oriicio
está alineado con los otros oriicios en la puerta.
Perfore un nuevo oriicio en el paso 3 en la
marca de 232 mm (91/8”) en la plantilla.
Through door
A través de la puerta
7/16"
11.11 mm
A
B
Prepare door and check dimensions
Prepare la puerta y revise las dimensiones
1
Install handleset and deadbolt
Instale el conjunto de manija y el cerrojo
3
Conirm bottom hole location
Conirme la ubicación del oriicio inferior
2
Drill new bottom hole (if needed).
Perfore un nuevo oriicio inferior (si es necesario)
C
A
exterior
exterior
interior
interior
exterior
exterior
J
D
A
G (x2)
G
actual size
tamaño real
J
X
F
E
Loosen the
pre-installed
set screw.
Aloje el tornillo
de ijación
preinstalado.
H
counterclockwise
antihorario
Tighten the pre-
installed set screw.
Apriete el tornillo
preinstalado.
L
F
(x2)
B
A
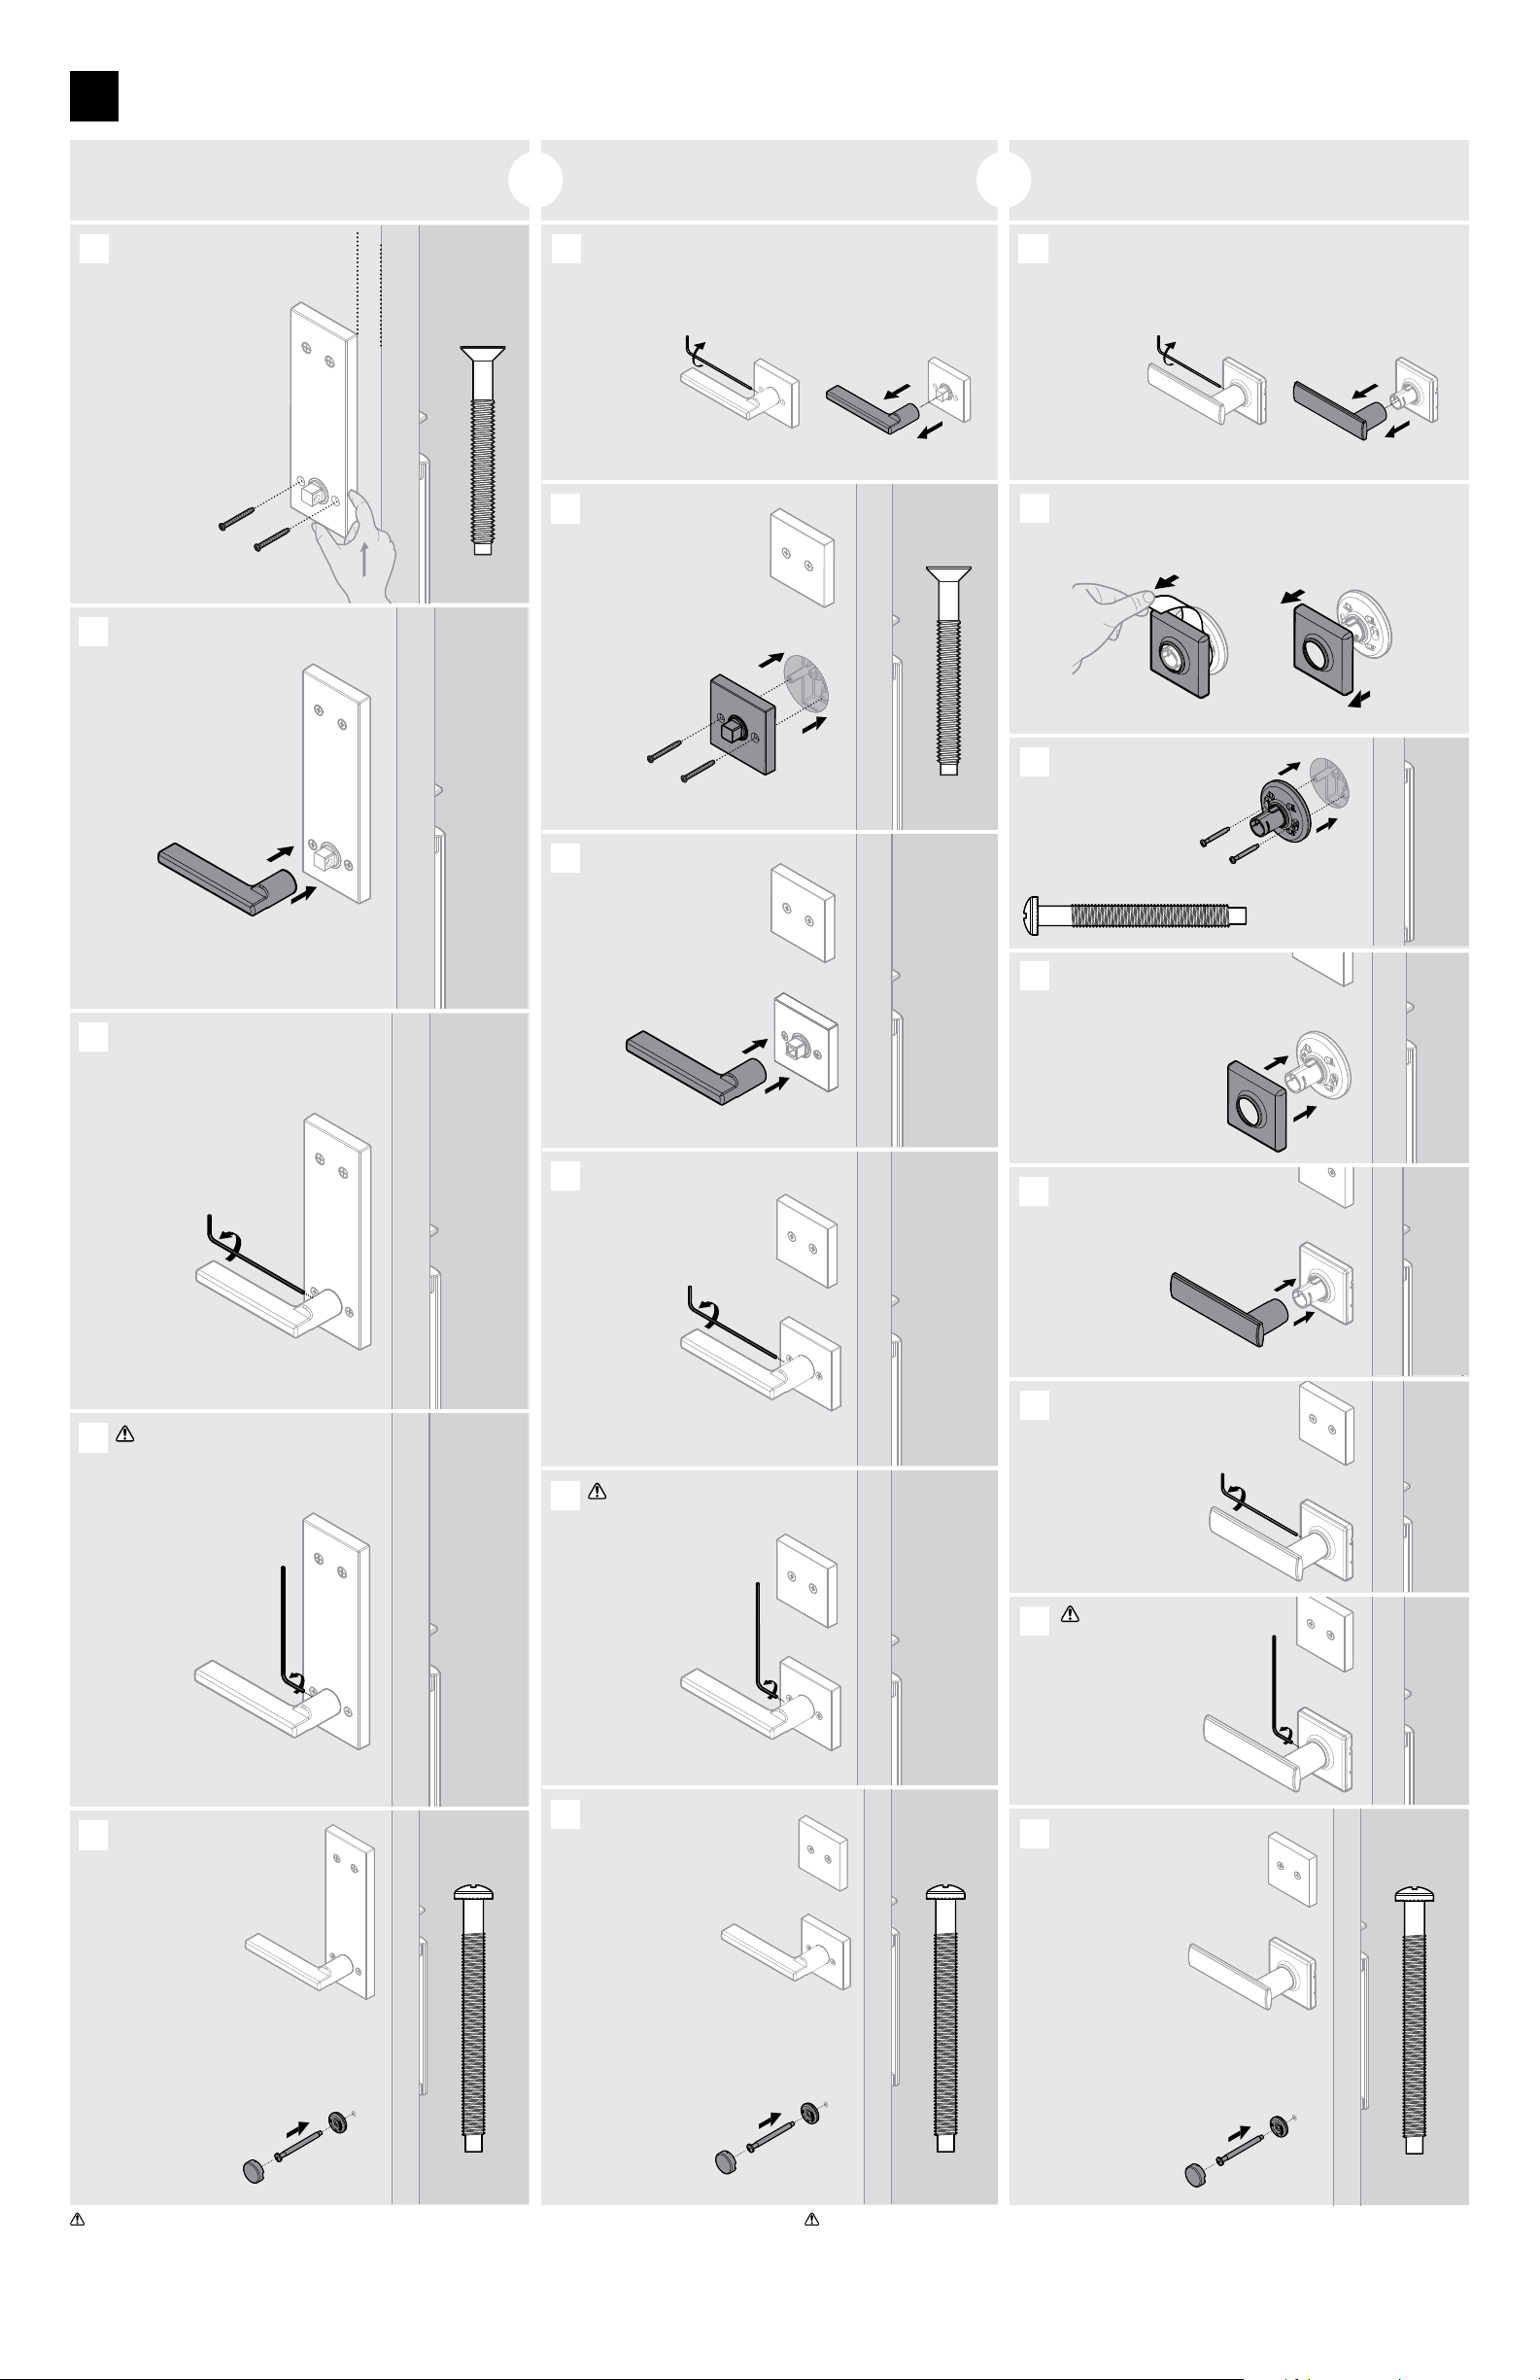
Install lever base.
Instale la base de la palanca.
A
Remove lever or knob (if needed)
Retire la palanca o perilla (si es necesario)
A
Remove lever (if needed)
Retirez le levier (si nécessaire)
E
J
U
U
U
clockwise
horario
Pull on paper insert to separate
rose cover and lever base.
Tire de la tapa de papel para separar
la roseta y la base de la palanca.
Install rose cover.
Instale la roseta.
Tighten the pre-
installed set screw.
Apriete el tornillo
preinstalado.
clockwise
horario
Install lever or knob.
Instale la palanca o perilla
Install lever.
Instale la palanca.
Install lever base.
Instale la base de la palanca.
C
D
B
C
D
E
F
W (x2)
H
Install base.
Instale la base de la palanca.
Install lever or knob
Instale la palanca o perilla
4
F
actual size
tamaño real
H
E
clockwise
horario
Secure the
handleset with
the washer, screw,
and screw cover.
Fije el conjunto
de manija con la
arandela, el tornillo,
y la tapa del tornillo.
V
Loosen the
pre-installed
set screw.
Aloje el tornillo
de ijación
preinstalado.
H
counterclockwise
antihorario
clockwise
horario
G
H
H
Secure the
handleset with
the washer, screw,
and screw cover.
Fije el conjunto
de manija con la
arandela, el tornillo,
y la tapa del tornillo.
C
B2
B1
B2
actual size
tamaño real
Install lever.
Instale la palanca.
B
Tighten the pre-
installed set screw.
Apriete el tornillo
preinstalado.
C
D
Fully tighten the set
screw using the short
end of the allen wrench.
Apriete completamente
el tornillo de ijación
con el extremo corto
de la llave Allen.
E
Secure the
handleset with
the washer, screw,
and screw cover.
Fije el conjunto
de manija con la
arandela, el tornillo,
y la tapa del tornillo.
C
B2
B1
B2
actual size
tamaño real
C
B2
B1
©2019 Spectrum Brands, Inc.
Interior Option 2: Visible Screws
Opción 2: Palanca con tornillos visibles
Interior Option 3: Hidden Screws
Opción 3: Palanca con tornillos escondidos
Interior Option 1: Full Trim
Opción 1: Escudo completo
2 / 2
WARNING: This Manufacturer advises that no lock can provide complete security by itself. This lock
may be defeated by forcible or technical means, or evaded by entry elsewhere on the property. No
lock can substitute for caution, awareness of your environment, and common sense. Builder’s
hardware is available in multiple performance grades to suit the application. In order to enhance
security and reduce risk, you should consult a qualiied locksmith or other security professional.
ADVERTENCIA: El fabricante se permite informar que ningún bloqueo solo puede ofrecer una
seguridad completa. Este bloqueo puede ser puesto fuera por la fuerza o por medios técnicos
o evitarse mediante el uso de otra entrada en la propiedad. Sin bloqueo puede reemplazar el
seguimiento de su entorno y el sentido común. Diferentes grados de materiales de instalación
están disponibles para diferentes aplicaciones. Con el in de aumentar la seguridad y reducir el
riesgo, usted debe consultar a un cerrajero caliicado u otro profesional de la seguridad.
Fully tighten the set
screw using the short
end of the allen wrench.
Apriete completamente
el tornillo de ijación
con el extremo corto
de la llave Allen.
Push up on lever base
while tightening screws to
keep latch horizontal and
centered.
Empuje hacia arriba la base
de la palanca mientras
aprieta los tornillos para
mantener el pestillo
horizontal y centrado.
H
E
clockwise
horario
D
F (x2)
H
actual size
tamaño real
F
Keep
parallel.
Mantienes
paralelo.
B2
actual size
tamaño real
Fully tighten the set
screw using the short
end of the allen wrench.
Apriete completamente
el tornillo de ijación
con el extremo corto
de la llave Allen.
clockwise
horario
or
ou
or
ou
W
actual size
tamaño real