Loading ...
Loading ...
Loading ...
9. Reassemble your system
Once the SSD is securely seated in the storage bay, put your system
back together and reconnect the battery if installing into a laptop.
10. Turn on your computer
This next part is the fun part: watch how fast your computer boots
up!
11. Have some fun
Now try clicking on some of your favorite apps to see how fast they
load. This is the power of your new SSD, but you’re not done yet!
Page 6
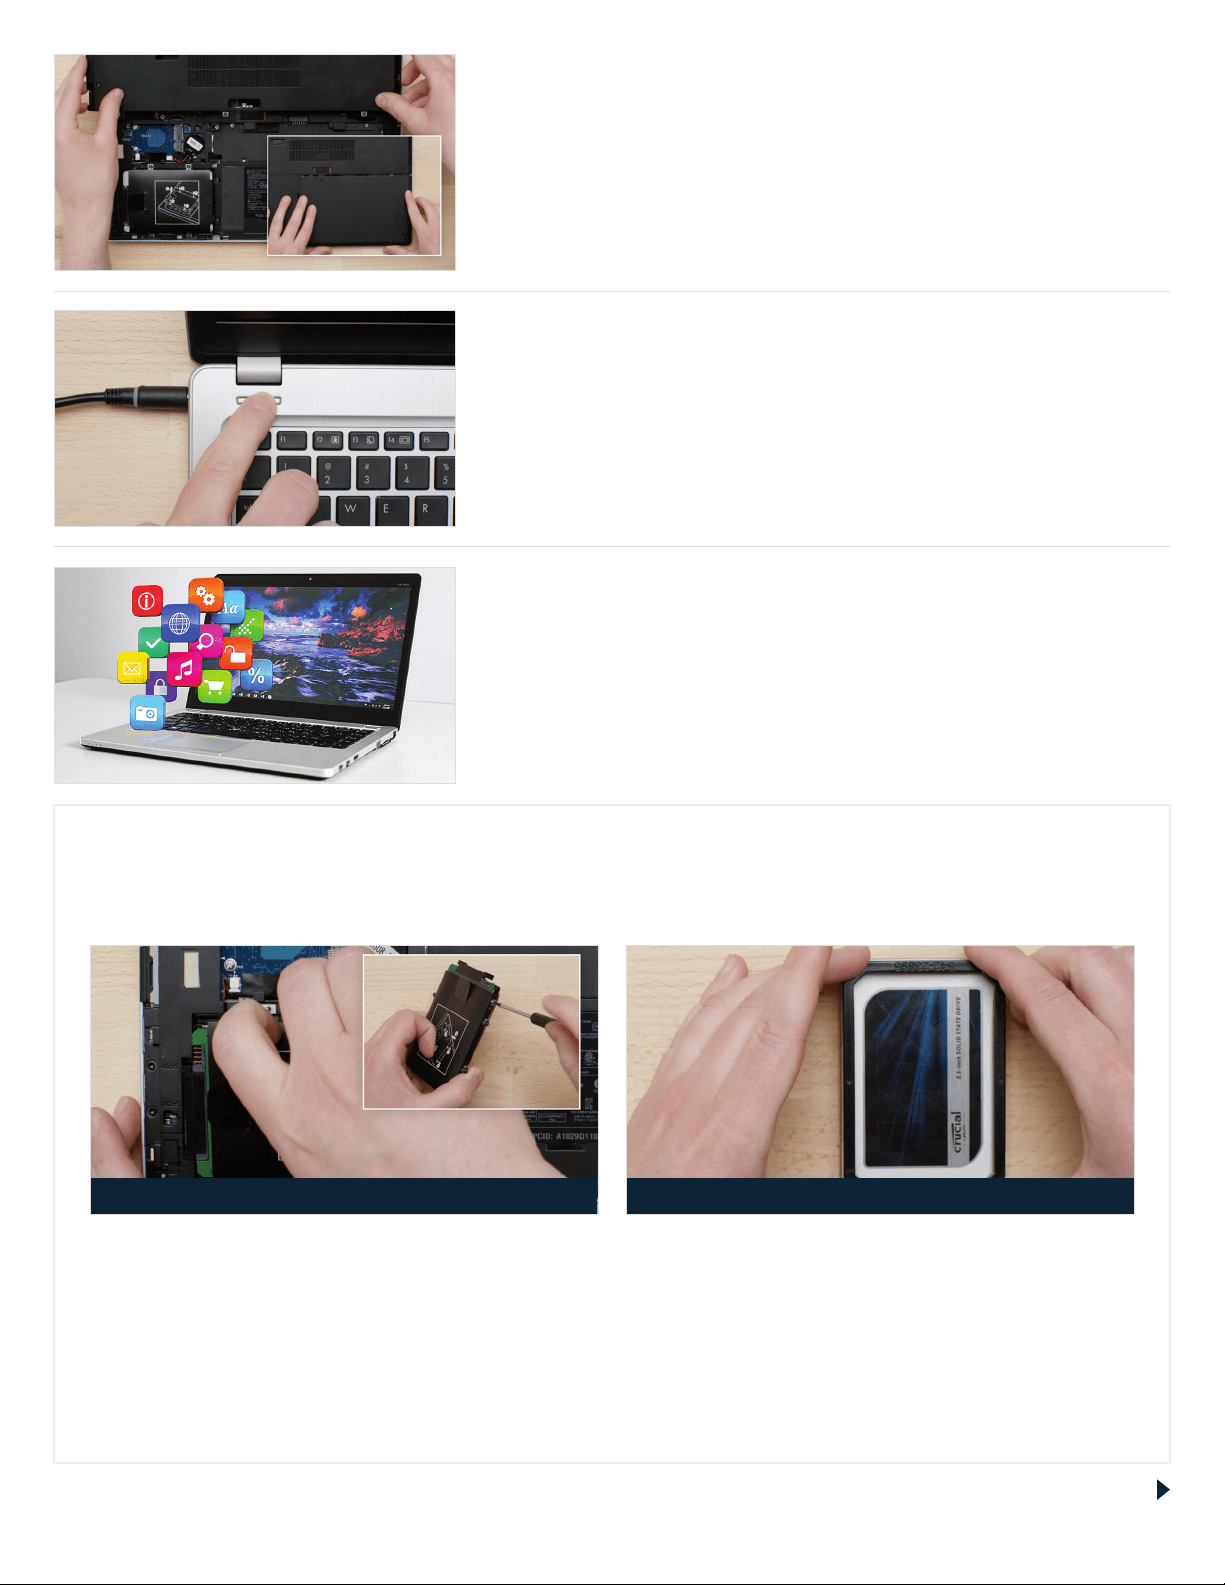
For laptops
Look closely at the old storage drive you removed for any brackets, adapters, support frames, braces, pull tabs, or
screws that might be attached to it. If anything is attached to the old drive, remove it and put it on the SSD in the
same manner. Now reinsert the SSD into the storage bay. If it still doesn’t fit snug, use the spacer you set aside earlier
and attach it to the SSD by peeling o the adhesive and sticking it onto the drive as shown. Attaching the spacer
allows the SSD to achieve the same level of thickness as the existing drive you removed. Note: Many installations
don’t require the spacer, so you may not need to use it.
HELPFUL TIP
When you first slot your SSD into the storage drive bay, it might not fit securely. If this occurs,
here’s what to do based on the type of system you’re installing into.
Brackets, adapters, support frames, braces, pull tabs, or screws Spacer
Loading ...
Loading ...
Loading ...