Do not place the product in corners, directly at walls or under cabinets. For a proper operation allow at least the distances given below.
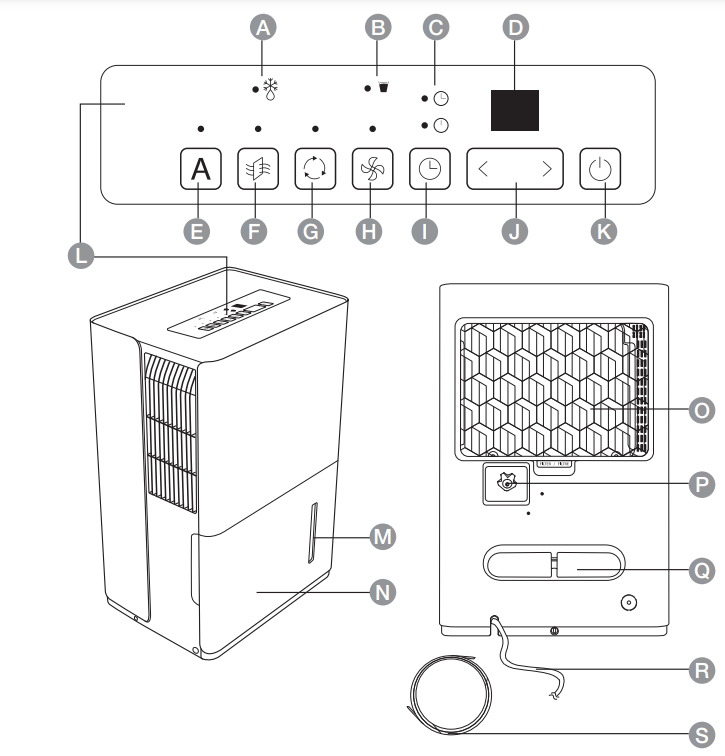
Control Panel
NOTICE During normal operation, the display (D) shows the actual room humidity (% RH).
Button
Function
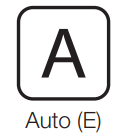
Press to activate the automatic mode. The button indicator lights up.
The product automatically operates dependently on the temperature and humidity to provide the optimum comfort for the user.
Press again to deactivate the automatic mode. The button indicator goes off.
NOTICE In this mode a preset humidity value cannot be set manually.
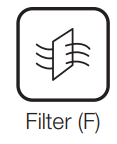
After approx. 250 hours of operation, the indicator over the filter button lights up to remind the user to clean the filter.
After cleaning the filter, press and hold the filter button for 3 seconds to switch the filter indicator off and to zero the filter counter.
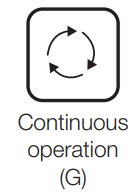
Press to toggle between continuous operation and operation on demand.
Button indicator on - Continuous operation: The product operates continuously and absorbs as much humidity as possible.
Button indicator off - Operation on demand: Set manually the desired room humidity with the < > buttons (J). The setting is shown on the display (D). The adjustable value is 35 % RH to 85 % RH.
After no button was pressed for 5 seconds, the setting is saved and the display (D) switches to the actual room humidity.
The product switches off, when the desired room humidity is undercut by 1 %.
The product switches on, when the desired room humidity is exceeded by 5 %.
Press to increase the fan speed for a faster room air circulation. The button indicator lights up.
Press again to set the fan speed to normal speed. The button indicator goes off.
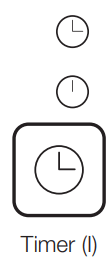
Set a timer when the product will switch on or off. Press the button to toggle between the on and the off timer. Which timer is actually selected is shown by the timer indicators (C).
on timer
off timer
Set the timer with the < > buttons (K). The setting is shown on the display (D). The adjustable value is 0.5 hour to 24 hours.
After no button was pressed for 5 seconds, the setting is saved and the display (D) switches to the actual room humidity or goes off.
When a timer is set the appropriate timer indicator (C) lights up.
NOTICE The product restarts with its previous settings.
NOTICE Both timer can be set simultaneously. Both timer are counting on from the present time. The first possible timer action will be implemented. Thus, it is not possible to set both timer on the same value.
Using the < > (J) buttons:
The relative humidity value is inputted in increments of 5.
The timer can be set.
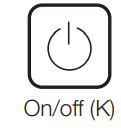
Press to switch the product on/off.
Functions
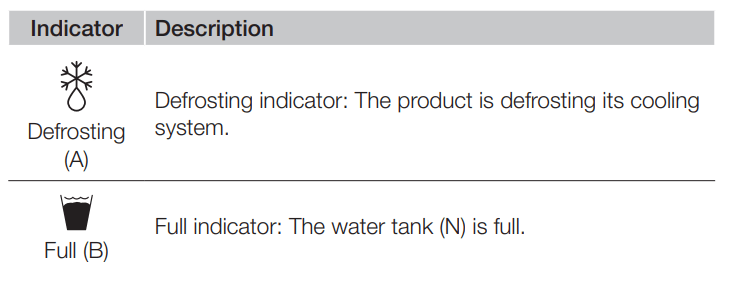
NOTICE The product does not operate, when the water tank (N) is full or is not placed properly into the housing. In that case the full indicator (B) lights up, and the display (D) shows an error code.
Switching on/off
Connect the product to the a suitable socket outlet. The display (D) and the full indicator (B) shortly light up.
Press the on/off button (K) to switch the product on/off.
Refer to the “Operation (Control Panel)” chapter to make the settings.
Emptying the water tank
When the water tank (N) is full the product stops its operation. The full indicator (B) lights up, and the display (D) shows an error code.
Hold the water tank (N) on its sides and carefully pull it out.
Drain the water into a sink.
Place the water tank (N) properly into the housing.
The product restarts automatically.
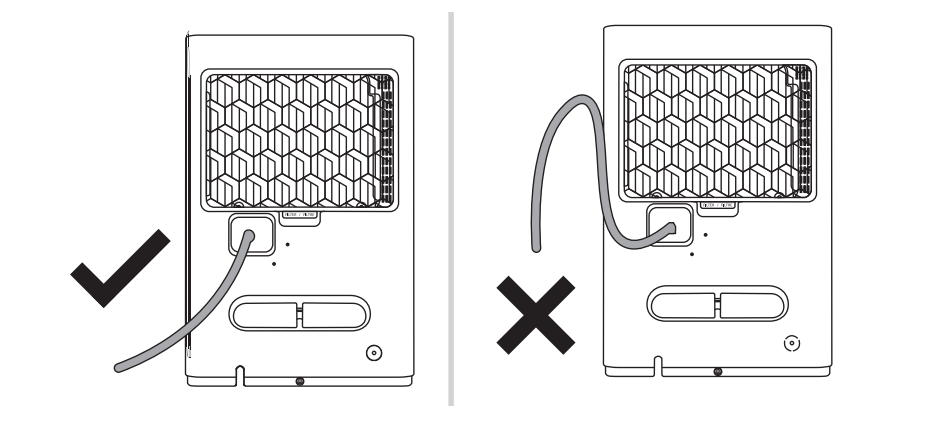
Using a drain hose (continuous drainage)
When using a drain hose, the collected water is drained out of the drain hose outlet (P). No water is collected in the water tank (N).
NOTICE The drain hose outlet (P) has no pump. The connected hose must be sloping downwards.
Open the drain hose outlet (P) by turning it in a counter-clockwise direction.
Connect a hose by using a 1" (2.54 cm) female connector (both separately purchased).
Place the end of the drain hose at a suitable drain
Defrost function
The product automatically performs defrosting in regular intervals according to the ambient room temperature. The defrost indicator (A) lights up when this feature is activated.
NOTICE Risk of damage! Do not switch the appliance off or pull the power plug from the socket outlet during the defrosting operation.
NOTICE During the defrosting operation, the dehumidification function and air circulation function may intermit.
Cleaning and Maintenance
WARNING Risk of electric shock! To prevent electric shock, unplug the product before cleaning.
WARNING Risk of electric shock! During cleaning do not immerse the electrical parts of the product in water or other liquids. Never hold the product under running water.
Cleaning
To clean the product, wipe with a soft, slightly moist cloth.
Dry the product after cleaning.
Never use corrosive detergents, wire brushes, abrasive scourers, metal or sharp utensils to clean the product.
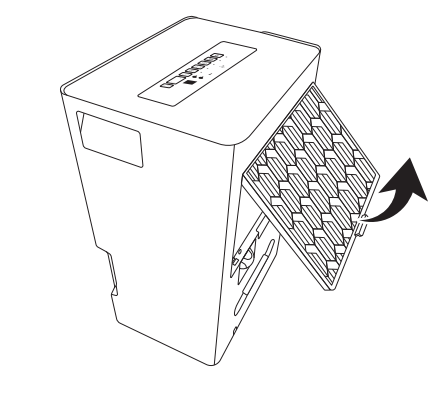
Air filter
Clean the air filter grille (O) on a bi-weekly basis.
Pull out the air filter with grille (O) carefully on its handle.
Clean the filter with grille (O) with a vacuum cleaner or a soft brush. If necessary, clean the filter under running water.
Let the filter with grille (O) dry.
Reassemble the filter (O) into the housing.
Storage
WARNING Risk of suffocation! Appliance should be installed, operated and stored in a room with a floor area larger than the minimum applicable area mentioned for your model (see “Specifications”).
Drain all water out of the product and let it dry.
Store the product in its original packaging in a dry area. Keep away from children and pets.
Avoid any vibrations and shocks.
Maintenance
Any person who is involved with working on or breaking into a refrigerant circuit should hold a current valid certificate from an industry-accredited assessment authority, which authorizes their competence to handle refrigerants safely in accordance with an industry recognized assessment specification.
Servicing shall only be performed as recommended by the equipment manufacturer. Maintenance and repair requiring the assistance of other skilled personnel shall be carried out under the supervision of the person competent in the use of flammable refrigerants
Troubleshooting
Problem
Cause / Solution
The product does not switch on.
Check if the power plug is connected to the socket outlet. Check if the socket outlet works.
Check the water level in the water tank (N).
Check that the water tank’s (N) is properly fitted into the housing.
The product does not dry the air as it should.
Wait to get enough time to remove the humidity.
Make sure there are no curtains, blinds or furniture blocking the front or back of the product.
The desired humidity level may not be set low enough.
Check that all doors, windows and other openings are securely closed.
The room temperature is too low, below 41 °F (+5 °C).
A kerosene heater or another equipment is giving off water vapor in the room.
The product makes a loud noise during operation.
The air filter is clogged.
The product is tilted instead of staying upright as it should be.
The floor surface is not leveled.
Water on floor
The drain hose connection may be loose.
The drain hose outlet (P) might be opened.
Error code
Cause / Solution
AS
Humidity sensor error.
Bring the product to a repair service.
ES
Temperature sensor error.
Bring the product to a repair service.
P2
Water container is full.
Empty the bucket.
Water container is not placed properly.
Rearrange the water container until it fits properly in the housing.
 Defrost indicator
  Full indicator
 On /
On /  off timer indicators
  Auto button
 Filter button
 Continuity mode button
 Turbo button
  Timer button
 decrease / increase buttons
 On/off button
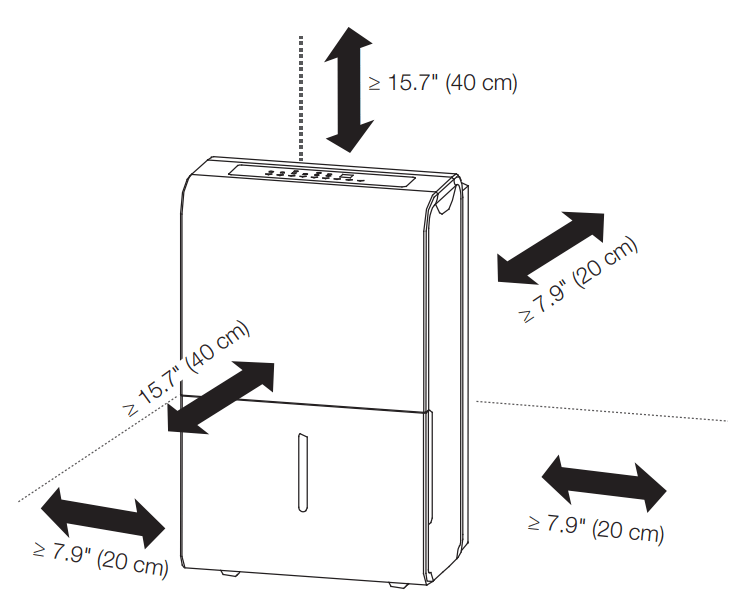

 on timer
  off timer
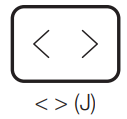
 indicator (B) lights up, and the display (D) shows an error code.
 on/off button (K) to switch the product on/off.
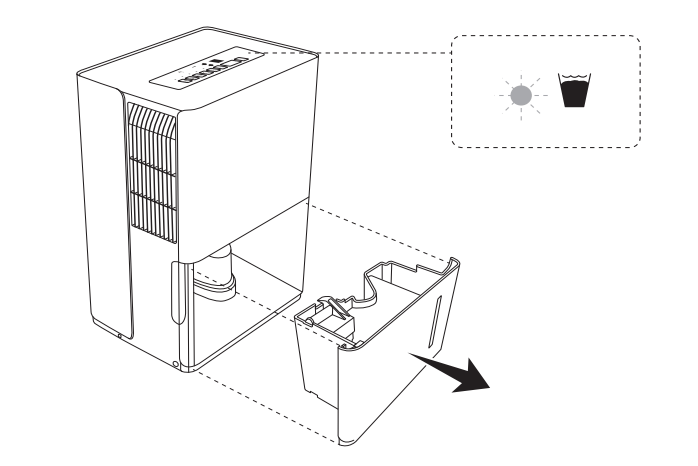
 defrost indicator (A) lights up when this feature is activated.