Ed : 03/17 Rev : 00
INSTRUCTION

1
CONTENT
CONTENT --------------------------------------------------------------------------------------------------------------------------------1
IMPORTANT SAFETY PRECAUTIONS -------------------------------------------------------------------------------------2
TECHINICAL PARAMETERS---------------------------------------------------------------------------------------------------3
PRODUCT OVERVIEW -----------------------------------------------------------------------------------------------------------3
ASSEMBLY INSTRUCTIONS ----------------------------------------------------------------------------------------------------4
FOLDING & UNFOLDING INSTRUCTIONS -------------------------------------------------------------------------------7
GROUNDING METHODS -----------------------------------------------------------------------------------------------------------8
OPERATION GUIDE -------------------------------------------------------------------------------------------------------------------9
GETTING STARTED GUIDE -----------------------------------------------------------------------------------------------------14
WARM-UP EXERCISES ------------------------------------------------------------------------------------------------------------15
SAFETY EXERCISES ---------------------------------------------------------------------------------------------------------------16
MAINTENANCE INSTRUCTIONS ---------------------------------------------------------------------------------------------17
BELT ADJUSTMENT ----------------------------------------------------------------------------------------------------------------18
EXPLODED DRAWING -------------------------------------------------------------------------------------------------------------19
PARTS LIST ------------------------------------------------------------------------------------------------------------------------------20
ERROR CODE AND SIGNIFICANCE----------------------------------------------------------------------------- 21
3
Input supply voltage:220V
Working temperature: 0-40
Speed range: 0.8-16KM/H Incline range:12 levels of Motor incline
Max. user weight: 110kg Distance display range: 0.00-99.9km
Calories display range: 000-999
Time display range: 00:00-99:59 (min : sec)
Heart rate range: 50-200 (time / min)
Running surface: 420*1300mm
Product size: 1700*710*1380MM Folding size: 900*710*1510MM
Technical Parameters
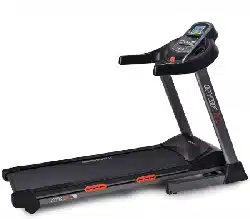
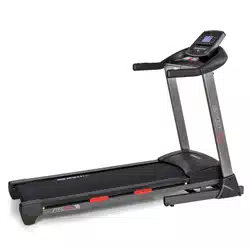
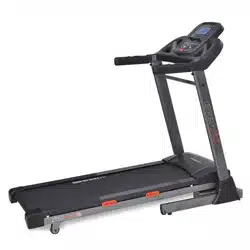
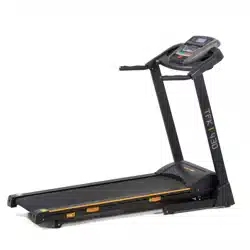
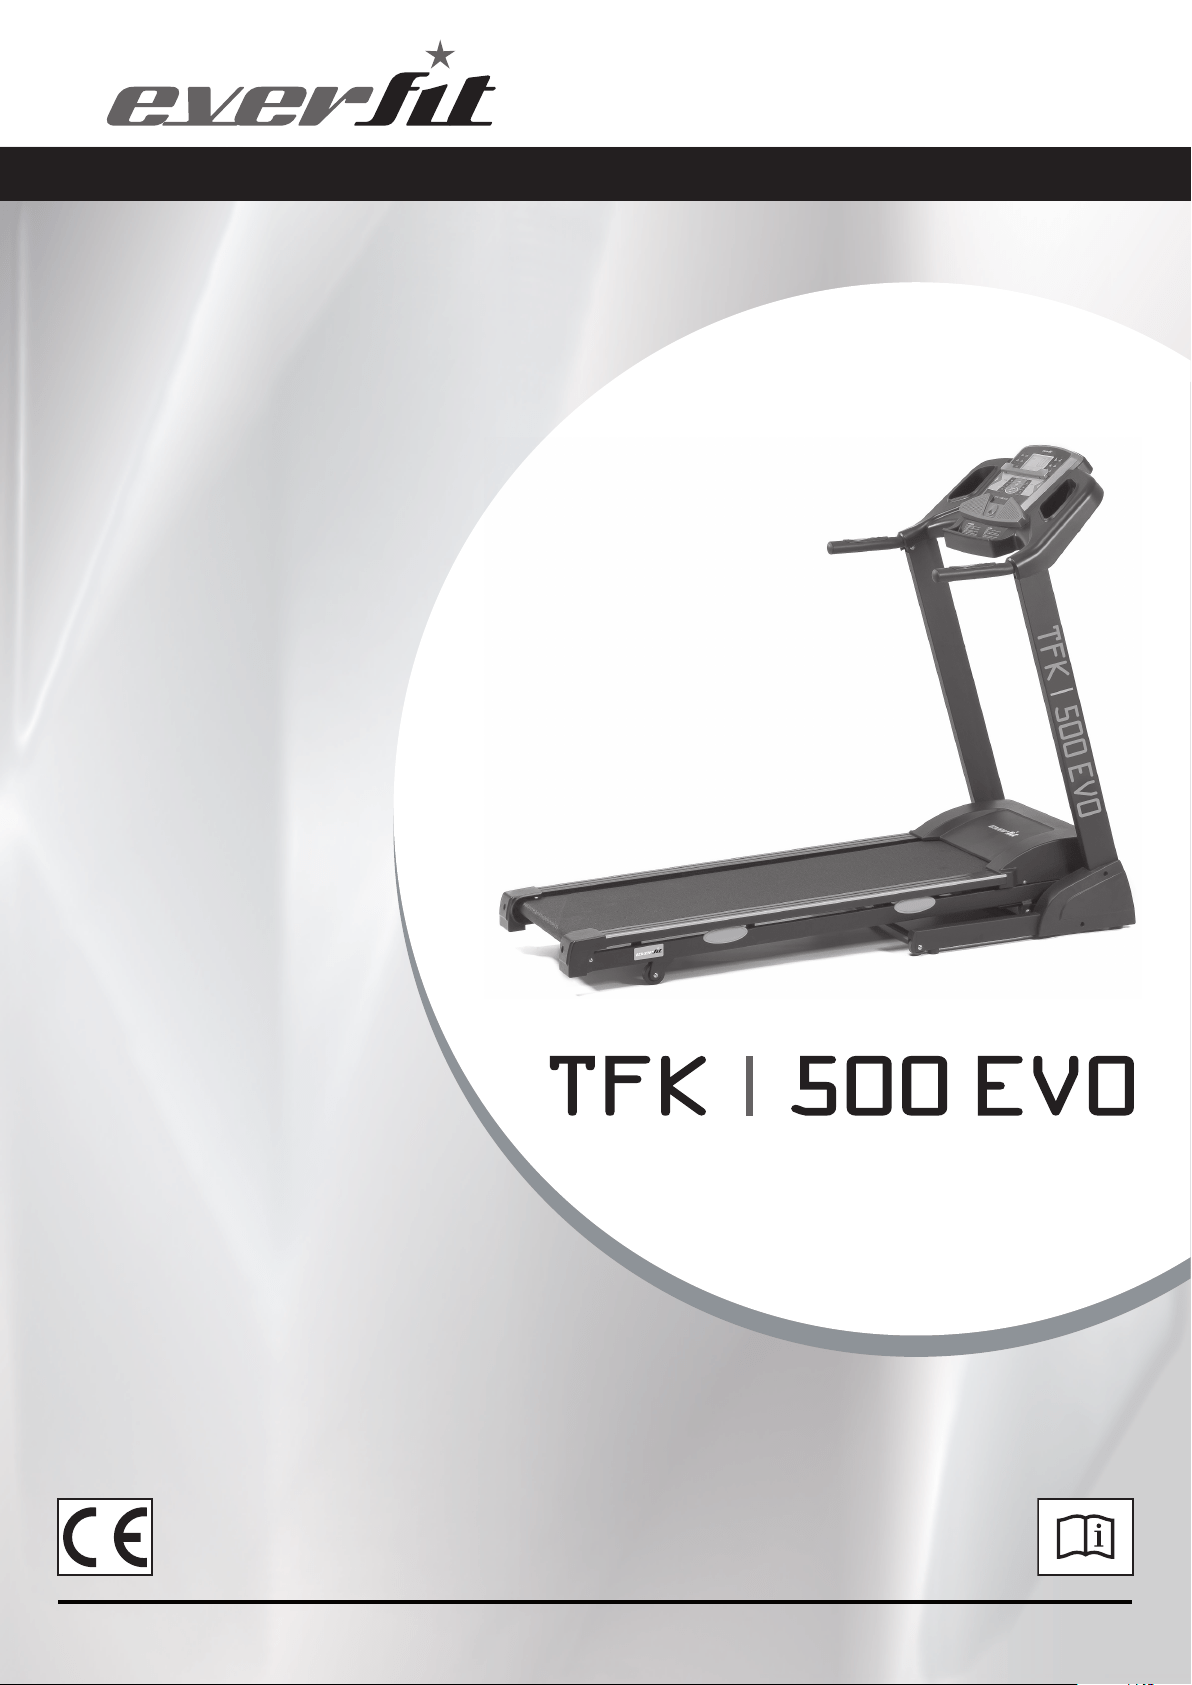
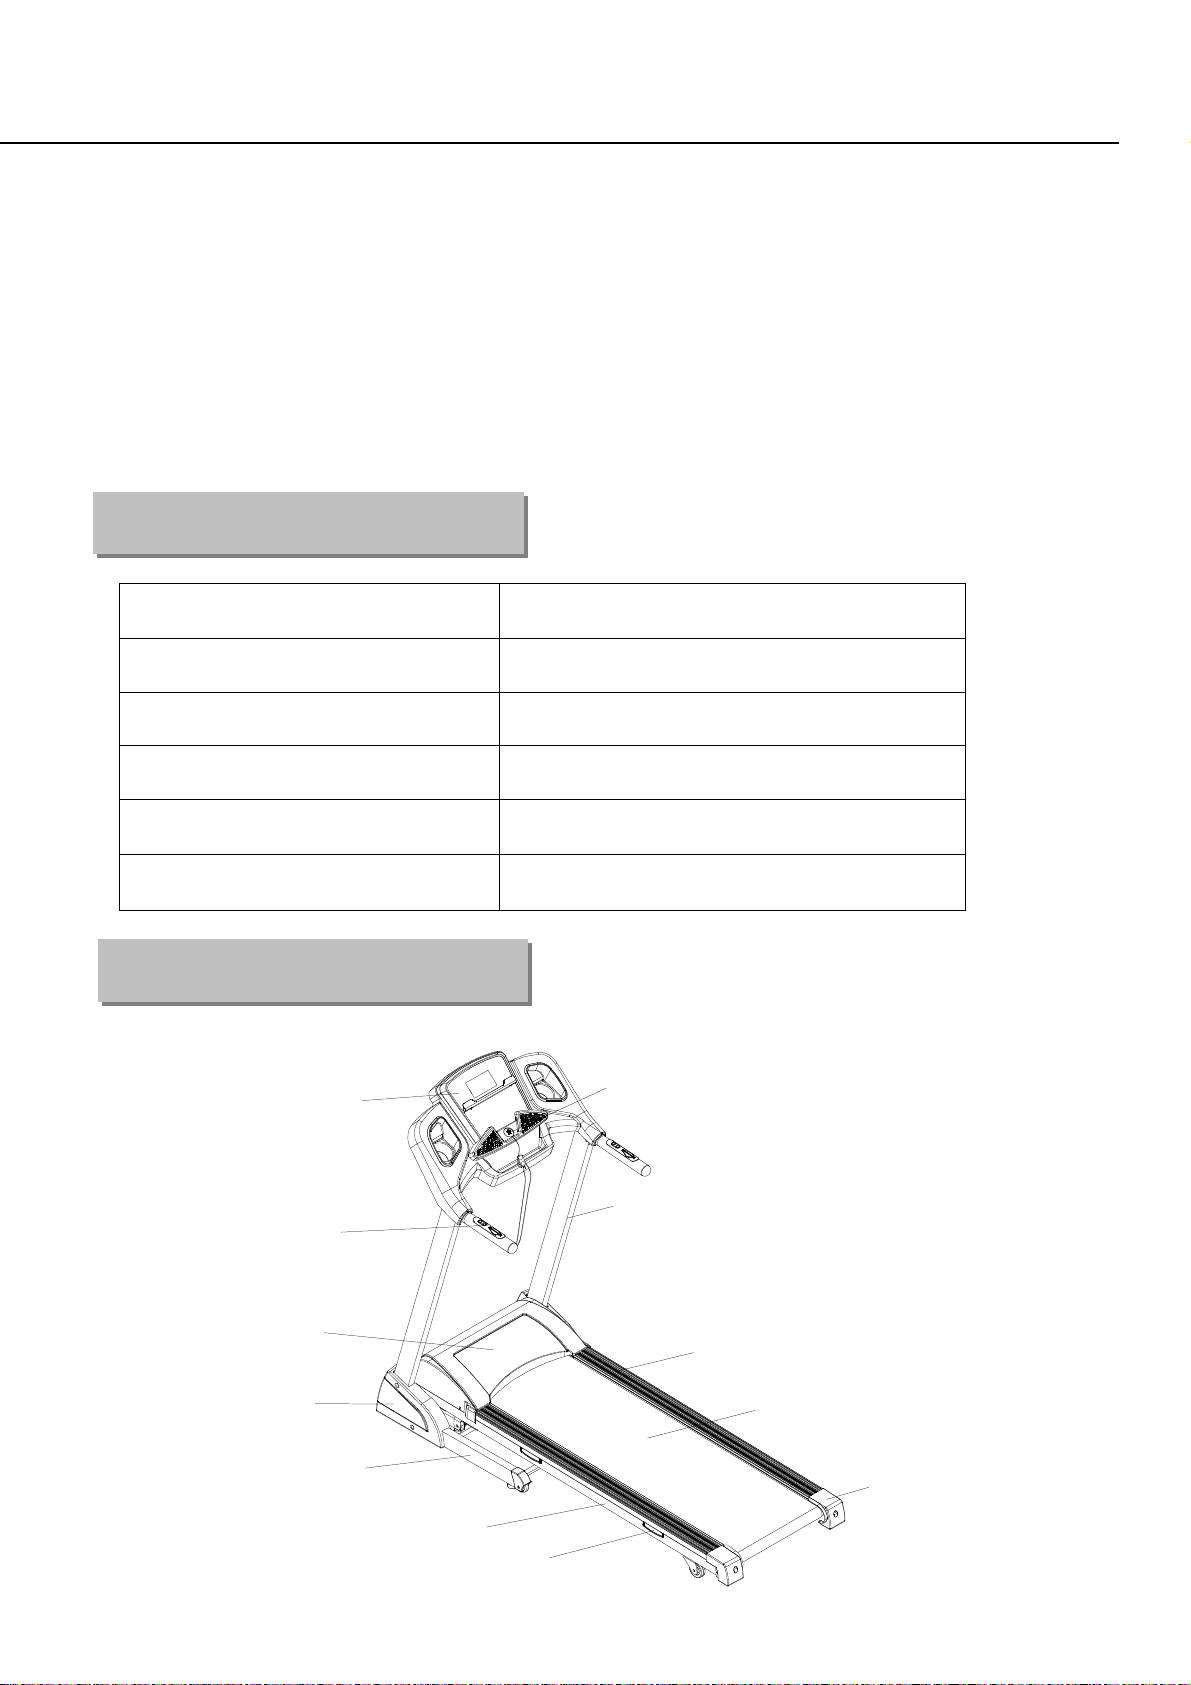
Product Overview
Upright
Handrail
Motor cover
End cap
Running belt
Side rail
Side cover
Base frame
Safety key
Main frame
Oval cushion
Console
4
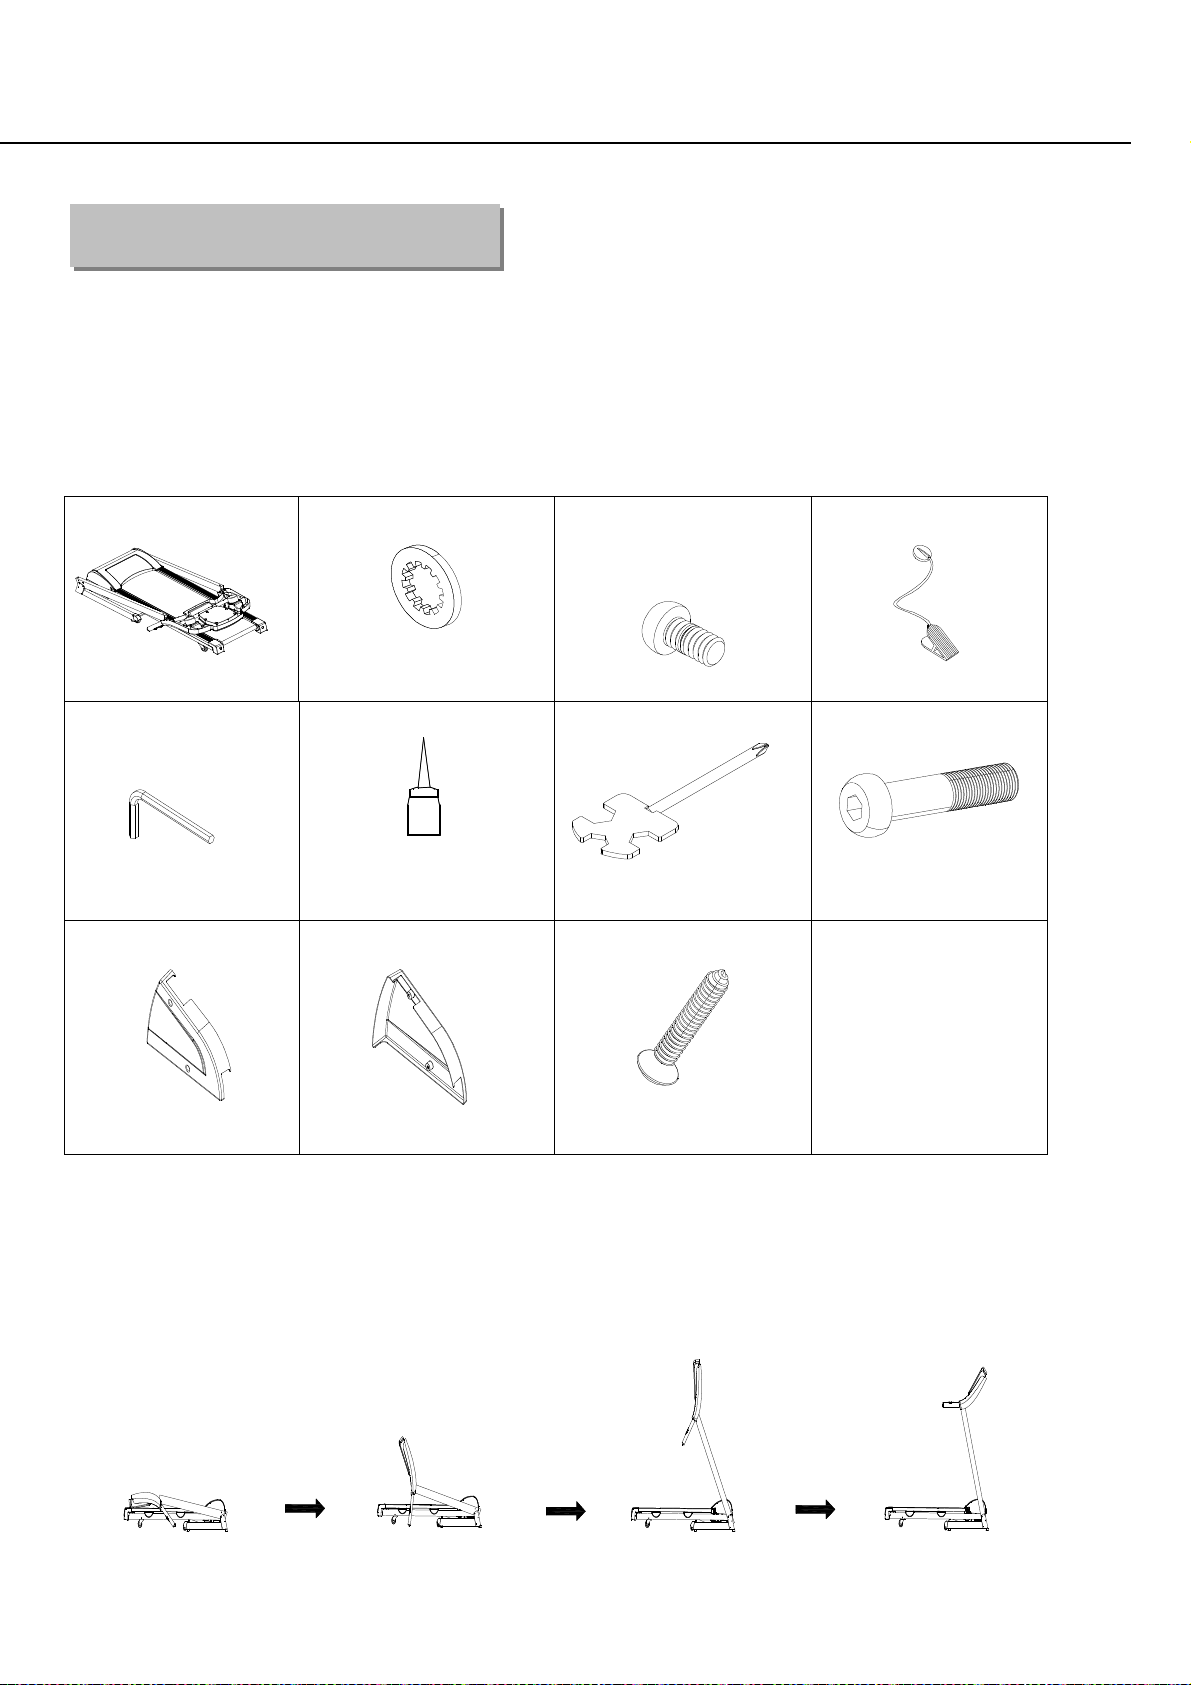
WHEN YOU OPEN THE CARTON, YOU WILL FIND THE BELOW SPARE PARTS:
S
TEP 1: Take out and prepare the below parts
Main frame 1 set D17 Inner star washer
M8
8PCs
D13 Round hex head bolt
M8*15 4PCs
C13 Safety key 1 PC
D3 Allen wrench
5MM, 1 PC
B18 Silicon oil 1 PC
D1 Screw driver 1 PC
D16 Round hex head
bolt M8*45 4PCs
B11L Left side cover
1 PC
B11R Right side cover
1 PC
D48 Cross self-tapping bolt
ST4.2*19 4 PCS
Note: Don’t tighten bolts at once.
STEP 2: According to the following steps to lift up the uprights.
Assembly
instruction

5
STEP 3: Secure bottom frame with bolt M8*45(D16), M8*15 (D13) and inner star washer (D17).
Then assemble the handrail/console bracket with bolt M8*15 (D13) and inner star washer (D17).
Step 4: Tighten the left/right side covers (B11L/R) with cross self-tapping bolt with washer
ST4.2*19 (D48).
D13
D16
D13
D17
D13
D16
D48
B11L
B11R
6
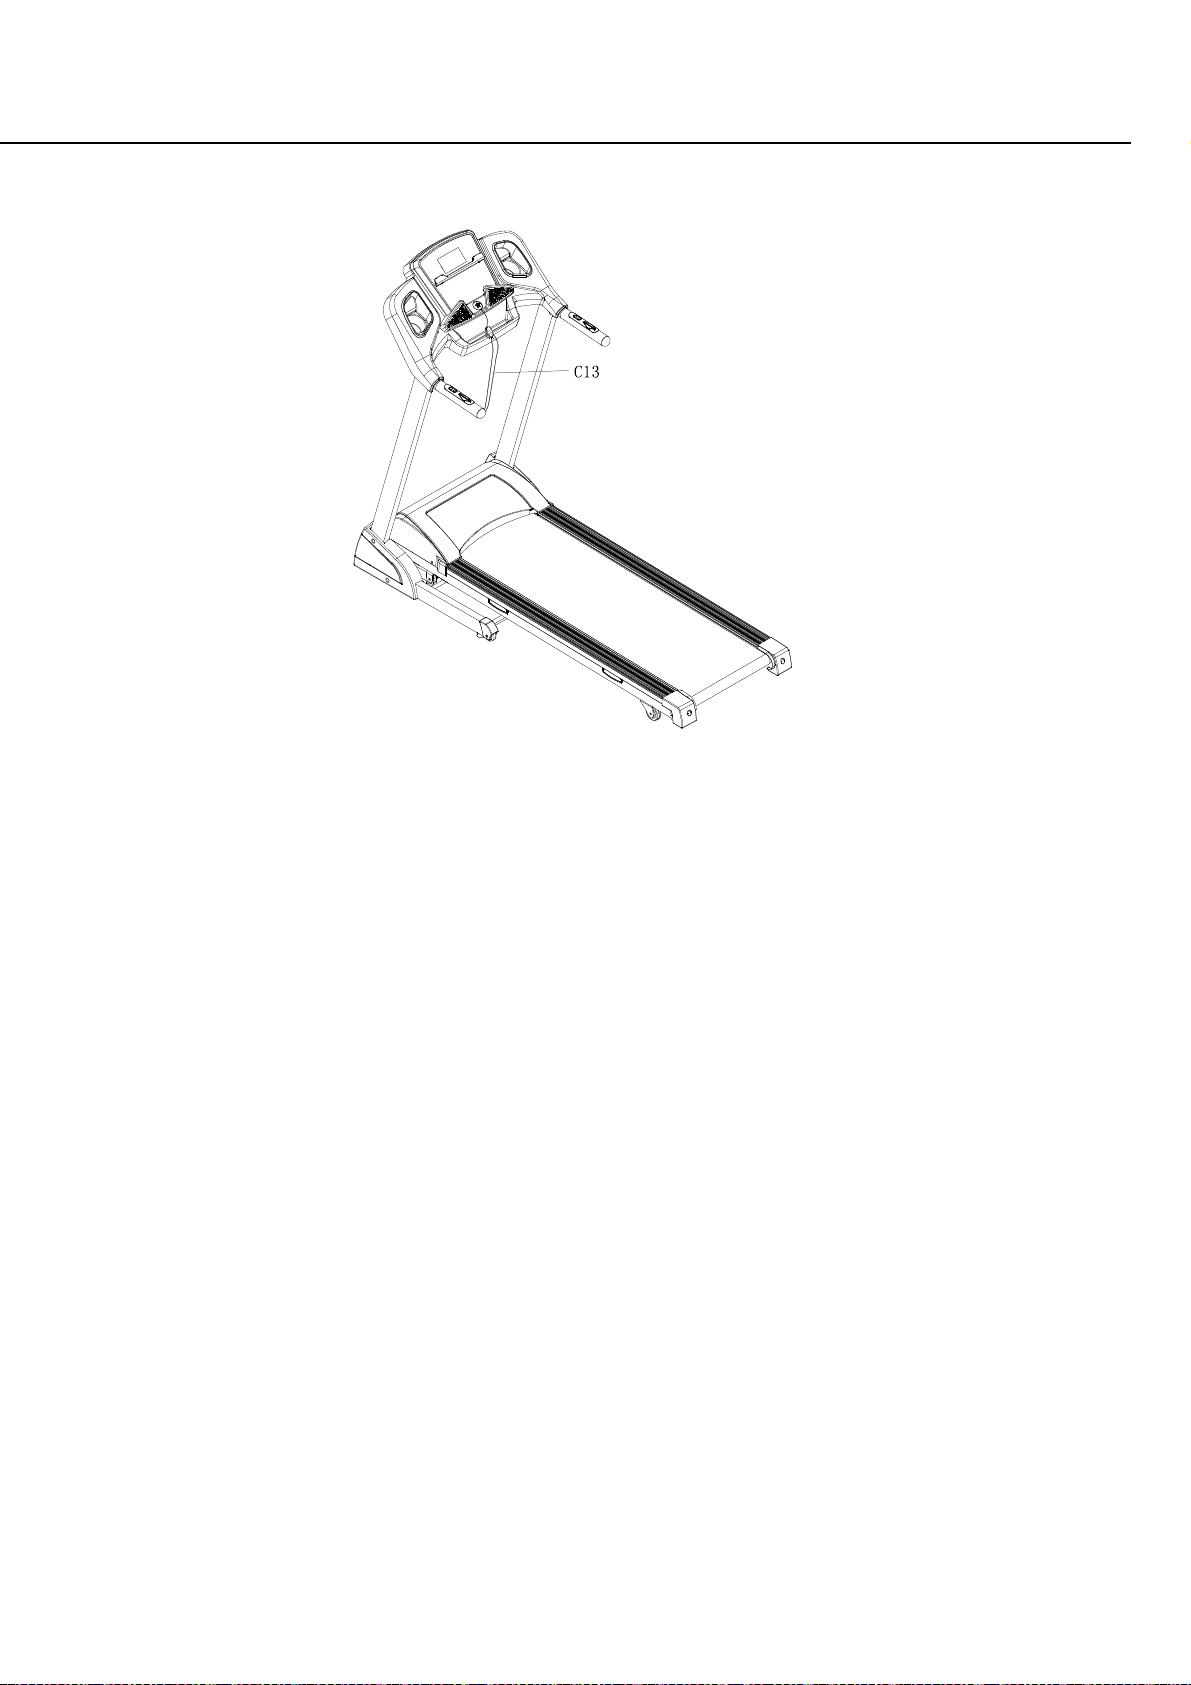
Step 5: Place on the safety key (C13).
Step 6: T
o check if the running belt runs correctly, placing treadmill in folding position and
tightening all the bolts. Then set speed under 3km/h and see if running belt runs without
problem.
7
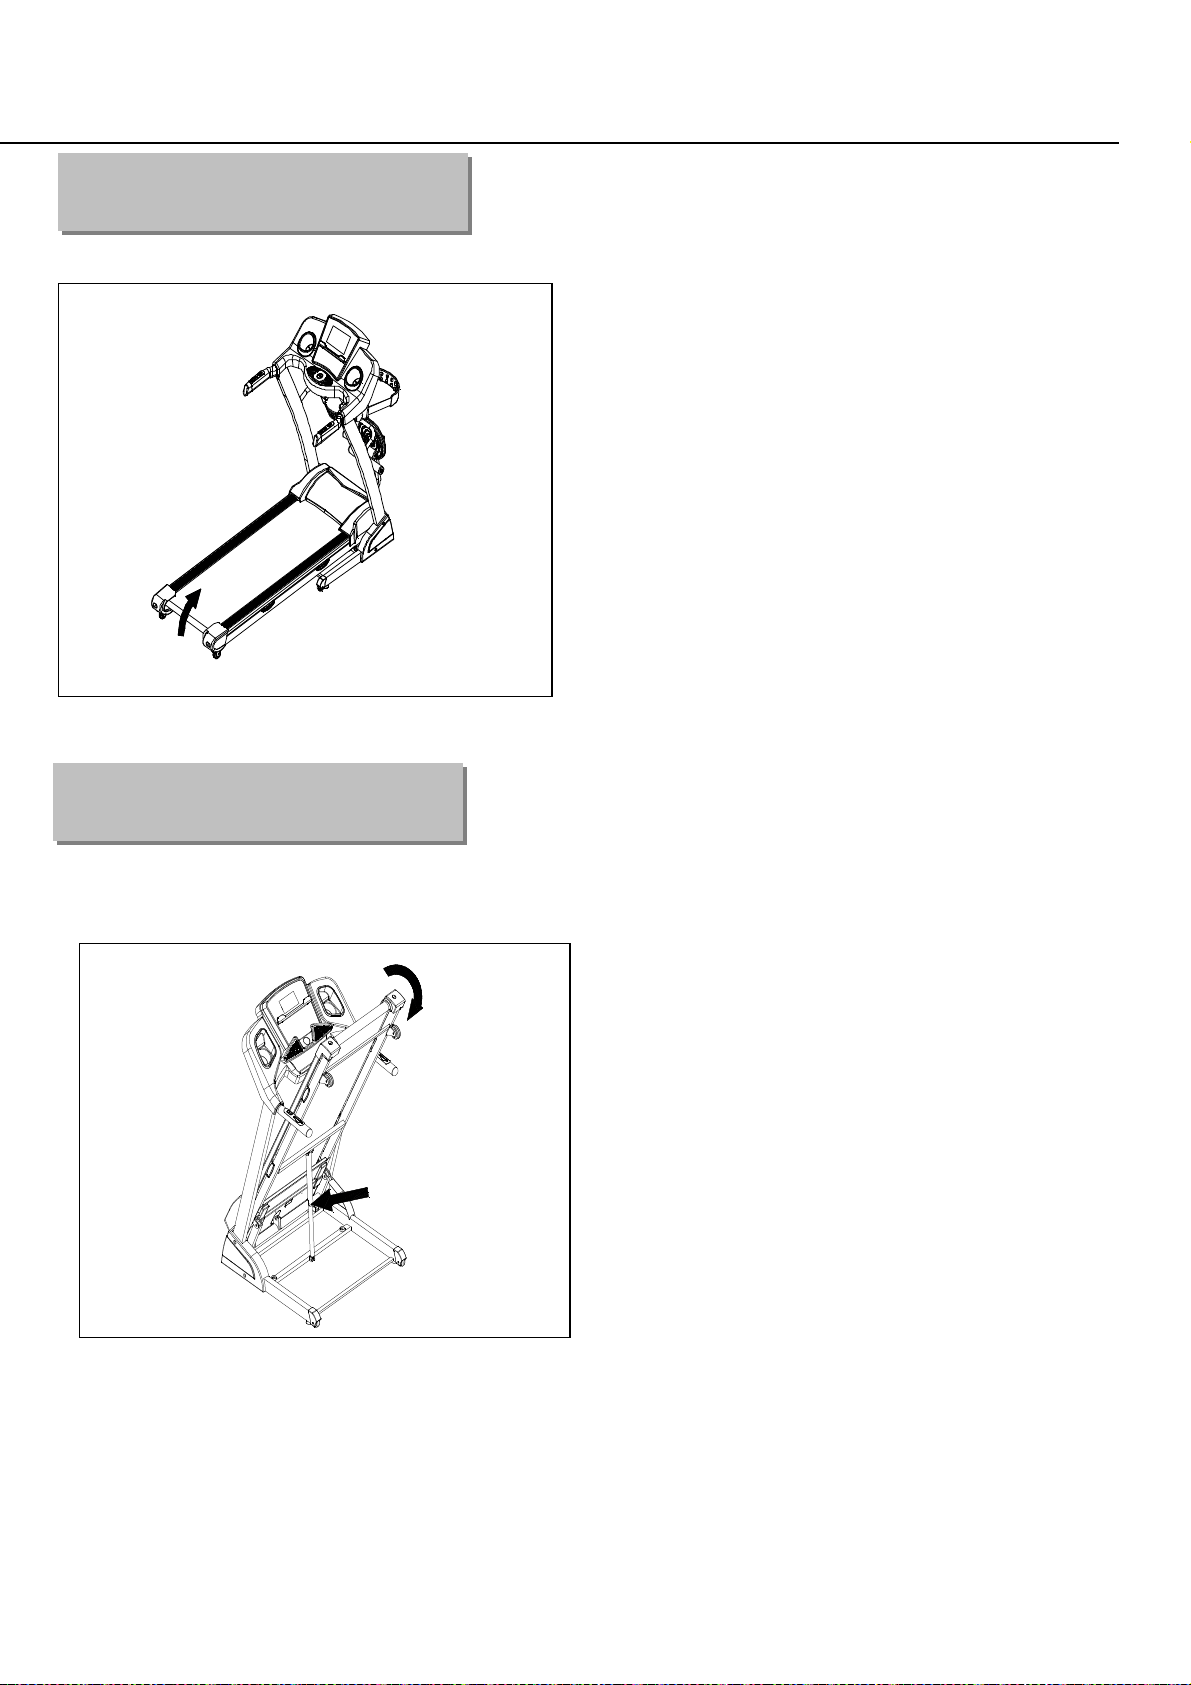
Lift up the machine and force to pull up until
you heard "click" that made by safety casing
stuck the pneumatic cylinder.
F
olding
I
nstruction
Unfolding instruction
Kick the safety sleeve lightly and
pull down the machine at the same
time as the arrow direction. Then
the machine will fall down smoothly.
9
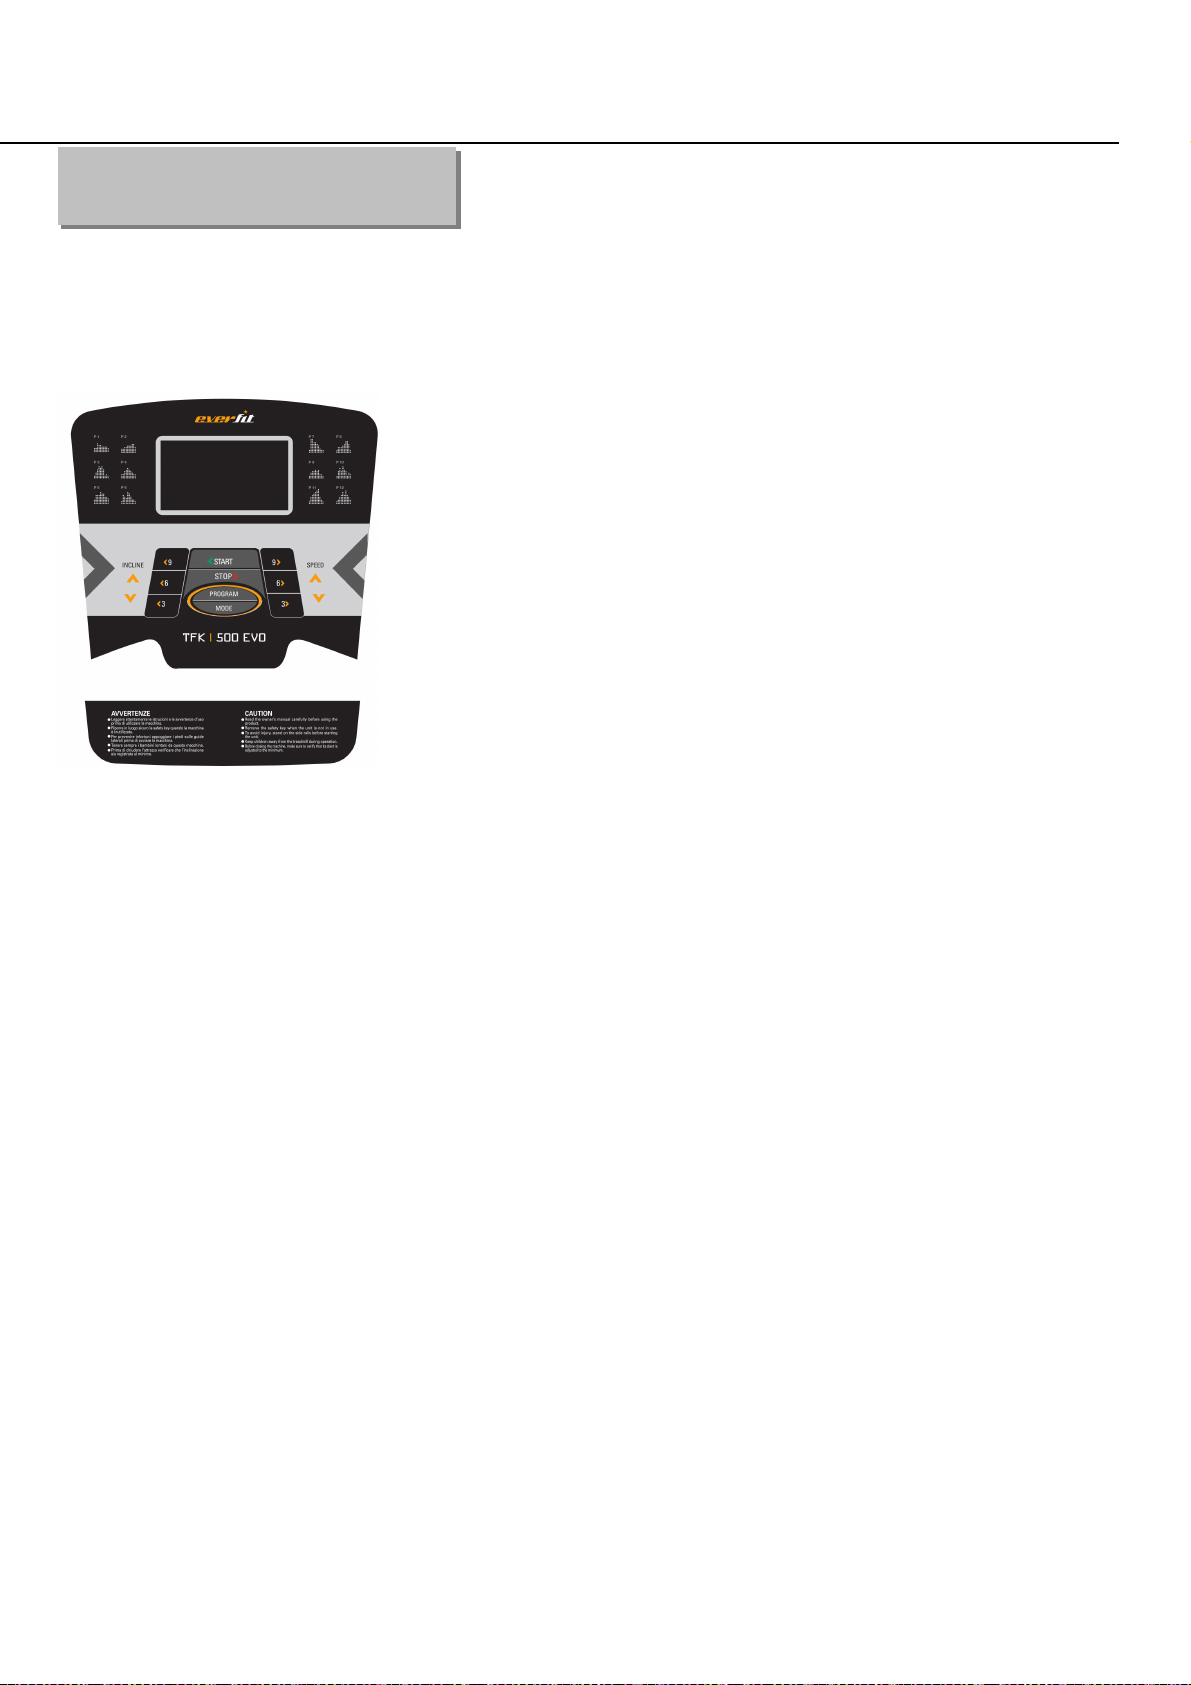
1.1. WINDOW DISPLAY
1.1. Console
1.2. START
Normal start after 5 seconds countdown
1.3 PROGRAM
3 countdown functions, 12 sets of programs, 1 body fat program, 3 HRC programs with Polar receiver
1.4. SAFETY LOCK FUNCTION
The window shows"---" when take away the safety lock and the treadmill will stop quickly with "didi"
alarm noise. And put the safety lock on, the computer will display for 2 seconds and the date count
down to “0”
1.5.BUTTON FUNCTION
1.5.1. START/STOP
“START”--When the treadmill is not running, press this button to start, speed is “0.8”
“STOP”--When the treadmill is running, press this button to stop, then set program default and then return to
manual mode after stopped.
Operation Guide

10
1.5.2 “PROGRAM” BUTTON
When the treadmill is not running, press this button can choose from program circle mode to manual mode
(P1-P12, FAT, HC1-HC3). The lowest speed for manual mode is “0.8km/h”, and the highest speed is
“16km/h”; the lowest incline is “0”, and the highest is “12”.
1.5.3 “MODE” BUTTON
When the treadmill is not running, press this button to choose countdown modes:”H-1”,”H-2”,”H-3”.
H-1” is the time countdown mode, and “H-2” is the distance countdown
mode, “H-3” is the calories countdown mode.
Press the “SPEED+/-” or “INCLINE+/-“button to adjust
the data. After that, press the “START” button to start this treadmill
1.5.4 “SPEED +/- “BUTTON
SPEED +/– --Adjust speed when treadmill start, the increment is 0.1km/time in kilometer. Press the button
more than 2 seconds, and it will be up or down automatically.
1.5.5 “INCLINE+/-” BUTTON
INCLINE +/ – --Adjust incline when treadmill start; the increment is 1 level/time. Press the button more than 2
seconds, and it will be up or down automatically
1.5.6 SPEED QUICK BUTTON
Press the speed quick button 4km/h, 8km/h, or 12m/h to adjust the speed directly when the treadmill is
running.
1.5.7 INCLINE QUICK BUTTON
Press the incline quick button 4, 8, or 12 to adjust the incline directly when the treadmill is running.
1.6. DISPLAY FUNCTION
1.6.1 TIME
Display the running time or countdown time
1.6.2 SPEED
Display running speed
1.6.3 INCLINE
Display the incline
1.6.4 PULSE

11
Display pulse data
1.6.5 DISTANCE
Display the running total distance or distance countdown.
1.6.6 CALORIES
Display the calorie or calorie countdown
1.6.7 ALL WINDOW DISPLAY DATA RAGNE
TIME:0:00 – 99.59(MIN)
DISTANCE: 0.00 – 99.9(KM)
CALORIES: 0.0 – 999 (C)
SPEED:0.8 -16.0 (km/h)
INCLUDE: 0-12%
PULSE: 50 – 200 (BPM)
1.7 PULSE FUNCTION
When the treadmill is running, hold the hand pulse about 5 seconds, it will display pulse data. The
pulse data range is 50-200 times/ minute. It has heart-shaped graphics when testing pulse. This
data is only for reference, can not be as medical data.
1.8 PROGRAM EXERCISE CHART
There are 10 sections in each program.
TIME
PROG.
SET TIME/10 =EACH TIME IN OPERATION
1 2 3 4 5 6 7 8 9 10
P1
SPEED
3 3 6 5 5 4 4 4 4 3
INCLINE
0 3 3 3 4 4 4 1 1 0
P2
SPEED
3 3 4 4 5 5 5 6 6 4
INCLINE
2 2 2 3 3 3 3 4 4 2
P3
SPEED
2 4 6 8 7 8 6 2 3 2
INCLINE
3 5 4 4 3 4 4 3 4 2
P4
SPEED
3 3 5 6 7 6 5 4 3 3
INCLINE
0 3 3 2 2 5 5 3 3 2
P5
SPEED
3 6 6 6 8 7 7 5 5 4
INCLINE
3 5 3 4 2 3 4 2 3 2
P6
SPEED
2 6 5 4 8 7 5 3 3 2
INCLINE
3 4 5 6 3 5 5 6 4 3
P7
SPEED
2 9 9 7 7 6 5 3 2 2
INCLINE
0 3 3 3 4 4 4 1 1 0

12
P8
SPEED
2 4 4 4 5 6 8 8 6 2
INCLINE
1 1 4 4 4 5 5 4 3 2
P9
SPEED
2 4 5 5 6 5 6 3 3 2
INCLINE
3 5 3 4 2 3 4 2 3 2
P10
SPEED
2 5 7 5 8 6 5 2 4 3
INCLINE
1 5 6 8 12 9 10 9 5 3
P11
SPEED
2 5 6 7 8 9 10 5 3 2
INCLINE
3 5 6 8 6 5 8 7 5 2
P12
SPEED
2 3 5 6 8 6 9 6 5 3
INCLINE
5 7 5 8 6 5 9 10 6 2
1.9 3 COUNTDOWN FUNCTION PARAMETER DATA
Countdown time initial setting 10:00 minutes,setting range 5:00---99:00 minutes , each step 1:00.
Countdown calorie initial setting 50therm, setting range 20---990 therm,each step 10.
Countdown distance initial setting 1.0km,setting range 1.0---99.0 km,each step 0.1
Cycle switch order is: manual, time, distance, calories.
1.10 BODY TESTER
(
FAT
)
At the beginning state, press “ PROGRAM” continually to enter “FAT“ body fat test,window display
“FAT”. Press “MODE” to enter (F1 SEX, F2 AGE, F3 HEIGHT, F4 WEIGHT). Press “SPEED+”,
“SPEED-” to set. After setting, the computer will display F5 and grasp the hand pulse, the window
will display your body quality index.
The body quality index is to test the relation between height and weight not the body scale.
The body FAT suits for any male and female to adjust the weight according together with other
body quality index. The ideal FAT should be between 20-25, if under 19, it means too thin. If
between 25 and 29, it means overweight, if over 30, it means obesity. (The data is just for
reference and can not be as medicinal data)
01 Sex 01 Male 02 Female
02 Age 10------99
03 Height 100----200
04 Weight 20-----150
05 FAT ≤19 Under weight
FAT = (20---25) Normal weight

13
FAT = (25---29) Over weight
FAT ≥30 Obesity
1.11 HRC Program
There are 3 HRC programs (HRC1-HRC3) in total.
The parameter data setting order is “AGE” -> “THR(HRC) data” -> “TIME”.
HRC: Detect user’s actual heart rate through wireless receiver and set different the heart rate data as goal to
adjust speed and incline during running.
It’s recommended that user uses the wireless chest belt while running HRC function.
1.11.1 After turning on the power, press “PROG” key to choose HRC function. HRC function is turned on
when “HRC” characters shown on the screen.
User can use “SPEED +/-“ to adjust age (data from 13 to 80) after seeing the “30” shown on the screen.
1.11.2 Press “MODE” key to enter the setting of heart rate. The standard heart rate is fixed at different data
from HRC1 to HRC3. Heart rate data can be adjusted from 50 to 200. User can use “SPEED +/-“ to adjust the
data. (It’s recommended that standard heart rate data doesn’t need to be changed for physical health
condition.)
Formula is calculated as below:
HRC1 is T.H.R =(220-age)x60%,
HRC2 is T.H.R =(220-age)x70%,
HRC3 is T.H.R =(220-age)x80%.
After finishing the setting of HRC data, user can press “MODE” key to modify the time. When “TIME” window
flashes, it displays the default time as 30:00 minutes, and user can press “SPEED+/-“ to set up time.
1.11.3 Enter “START” key to begin the workout (Remember only can press “START” key after all setting is
completed.)
1.11.4 It’s suggested that user use wireless chest belt to detect the heart rate. If chest belt and hand pulse
are used at the same time, data from chest belt will show up only on the screen.
1.11.5 During the operating of HRC, speed and incline will adjust as below:
(1). If Target heart rate <THR-15,then the speed and incline will adjust automatically every 15 second, the

14
SPEED will increase 0.8KM/h and incline add 1 section until they reach the max. data
(2). If THR-5>Target heart rate >=THR-15,then the speed and incline will adjust automatically every 15
second, the SPEED will increase 0.4KM/h and incline add 1 section until they reach the max. data
(3). If THR+5>=Target heart rate >=THR-5,then the speed and incline will not change
(4). If THR+15>=Target heart rate >=THR+5,then the speed will adjust automatically every 15 second, the
SPEED will decrease 0.4KM/h and incline less1 section until they reach the min. data
(5). If Target heart rate >=THR+15,then the speed and incline will adjust automatically every 15 second, the
SPEED will decrease 0.8KM/h and incline less2 section until they reach the min. data
1.12 OTHERS
1.12.1 When the countdown mode is finished and “END” appears on screen, warning sound occurs .
Then it will be back to manual mode.
1.12.2 You can set statistics at circled mode. Ex: When time is set at 5:00 – 99:00 and it hits 99:00,
press “+” button, it will start from 5:00 again.
1.12.3 Countdown time, countdown calorie and countdown distance, you just can set one of them at
one time, press last item to set running, the setting parameter is countdown, others display normal
data.
1.12.4 Speed control: acceleration at 0.5km/s; deceleration at 0.5km/s.
20
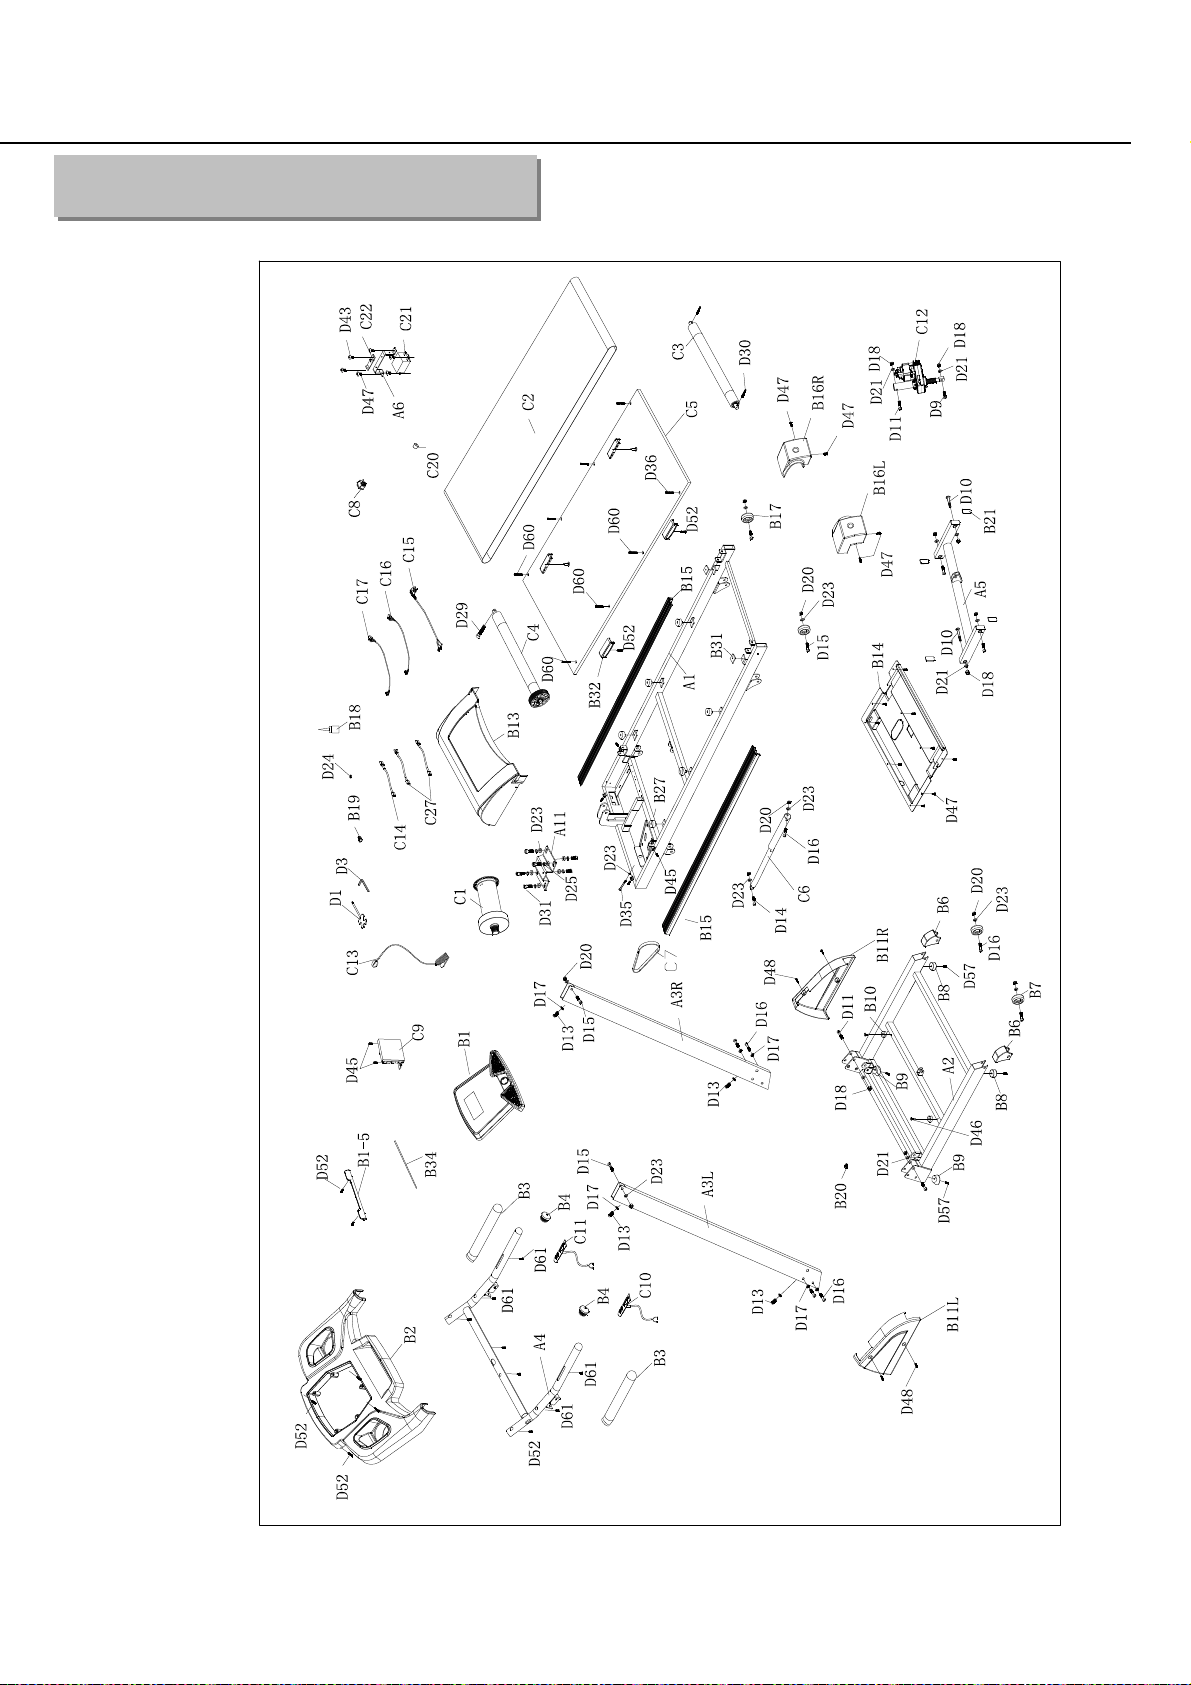
Parts list
Exploded Drawing
21
A. Welding parts
No. Description Qty No. Description Qty
A1 Main frame 1
A5
Incline bracket
1
A2 Base frame 1
A6
Filter bracket
1
A3L Left upright 1
A11
Motor base
1
A3R Right upright 1
A4 Handrail bracket 1
B. Plastic parts
No. Description Qty No. Description Qty
B1
Console set
1
B13
Motor upper cover
1
B1-1
Overlay
1
B14
Motor lower cover
1
B1-2
Membrane key
1
B15
Side rail
2
B1-3
Console
1
B16L
Left end cap
1
B1-5 Tablet holder
1
B16R Right end cap 1
B2
Console cover
1
B17
Adjusting wheel 2
B3
Protecting foam
2
B18
Silicon oil
1
B4
Handrail plug
2
B19
Cable organizer 1
B6
Transporting wheel cover
2
B20
Round plug 1
B7
Transporting wheel
2
B21
Squared shape plug
4
B8
Flat foot pad
2
B27
New cushion
6
B9
U shape foot pad
2
B31
Rubber pad
2
B10
Limited cushion
2
B32
Oval cushion
4
B11L
Left side cover
1
B34
EVA pad (for tablet
holder)
1
B11R
Right side cover
1
C. Electronic parts
No. Description Qty No. Description Qty
C1 DC motor 1 C12 Incline motor 1
C2 Running belt 1 C13
Safety key 1
C3 Rear roller 1 C14
Single cord
1
C4 Front roller 1 C15
Power cable
1
C5 Running deck 1 C16
Upper cord
1
C6 Cylinder 1
C17
Lower cord
1
Parts List

22
C7 Drive belt
1
C20
Magnetic ring
1
C8 Power switch 1
C21
Inductor
1
C9 Controller 1
C22
Filter
1
C10
Button for left handrail
1
C27
Single cord
2
C11 Button for right handrail
1
D. Hardware parts
No. Description Qty No. Description Qty
D1 Allen wrench 13-15-17 1 D29 Hex round head bolt M6X45
1
D3
Screw driver T5
1 D30
Hex round head bolt M6X60
2
D9
Round hex head bolt M10X30
1 D31 Hex round head bolt M8X20
4
D10
Round hex head bolt M10*45
4
D35
Hex round head bolt M8X80
1
D11
Round hex head bolt M10*50
3
D36
Cross head bolt M6X25
2
D13 Round hex head bolt M8X15 4
D43
Cross head bolt M4X20
2
D14
Round hex head bolt M8X30
1 D45
Cross head bolt M5X15,
washer
7
D15
Round hex head bolt M8X40
4 D46
Cross head bolt M5X20,
washer
2
D16
Round hex head bolt M8X45
7 D47
Cross self-tapping bolt
ST4.2X16, washer
17
D17 Inner star washer M 8 8 D48
Cross self-tapping bolt
ST4.2X19, washer
4
D18
Nylon nut M10
8
D52
Cross self-tapping bolt
ST4.2X16
15
D20
Nylon nut M8
8 D57
Cross self-tapping bolt
ST4.2X25
4
D21
Flat washer M 10
8
D60
Cross head bolt M6X20
6
D23 Flat washer M 8 13 D61
Cross self-tapping bolt
ST4.2X19
4
D24
Spring washer M5
1
D25
Spring washer M8
4

GARLANDO SPA
Via Regione Piemonte, 32 - Zona Industriale D1
15068 - Pozzolo Formigaro (AL) - Italy
www.evert.it - info@evert.it