Loading ...
8
Care and cleaning
Dryer housing and control panel
– Wipe clean with a soft, damp cloth.
– Do not clean with a water jet.
– Remove detergent and cleaning agent residue immediately.
Exhaust air duct aExhaust air duct installation instruction.
Check the exhaust air duct as it may be clogged.
Clean the exhaust air duct at regular intervals, e.g. every six months.
Do not bend the exhaust air duct.
1. Switch off the dryer and allow it to cool down.
2. Disconnect the mains plug.
3. Remove the exhaust air duct.
4. Clean the exhaust air duct.
5. Refit the exhaust air duct.
Moisture sensors
The dryer is equipped with stainless steel moisture sensors.
Moisture sensors measure the moisture level of the laundry.
After sustained, repeated operation, a fine layer of limescale
may form on the moisture sensors.
1. Open the door.
2. Clean the moisture sensors with a damp sponge which has a rough
surface.
Do not use steel wool or abrasive agents!
Only when the appliance is
switched off.
9
Installation
– Scope of delivery: dryer, operating and installation instructions, basket for woollens
(depending on the model).
– Check the dryer for transport damage.
– The dryer is very heavy. Do not attempt to lift it on your own.
– Be careful to avoid sharp edges.
– Do not lift the dryer by protruding parts (e.g. the door) - risk of breakage.
– Do not set up in a room that is susceptible to frost.
Freezing water may cause damage.
– If in doubt, have the appliance connected by a specialist.
Setting up the dryer
– The mains plug must always be accessible.
– Ensure that the appliance is placed on a clean, level
and firm surface.
– Install the exhaust air duct aExhaust air duct
installation instruction.
– Keep the area around the dryer clean.
– Level the dryer using the threaded feet
and a spirit level.
Never remove the threaded feet!
For mains connection, see Safety instructions a page 13.
– Connect to an AC earthed socket. If in doubt have the socket checked by a specialist.
– The mains voltage and the voltage shown on the rating plate (apage 10) must be the
same.
– The connected load and necessary fuse protection are specified on the rating plate.
1.
Take all accessory parts out
of the drum.
The drum must be empty.
Clean and level.
Do not install the dryer behind a door
or sliding door which could prevent or
obstruct the dryer door from opening.
This will prevent children from locking
themselves in and risking their lives.
2.
10
Optional accessories(order from the after-sales service using the order number, according to model)
Exhaust air duct set
The exhaust air is extracted via a hose.
Washer-dryer stack connection set
The dryer can be placed on top of a suitable washing machine with the same width and depth
to save space. The dryer must be fastened to the washing machine using this connection set.
If the worktop of the washing machine is less than 544 mm deep, please consult the
after-sales service or your specialist retailer.
Platform
For easier loading and unloading. The basket contained in the drawer can be used
to carry the laundry.
Technical data
Dimensions (DxWxH) 60 x 60 x 85 cm (height adjustable)
Weight approx. 36 kg
Max. capacity 7 kg
Connection voltage 220-240 V
Connected load 2200 W
Fuse protection 10 A
Ambient temperature 5 - 35°C
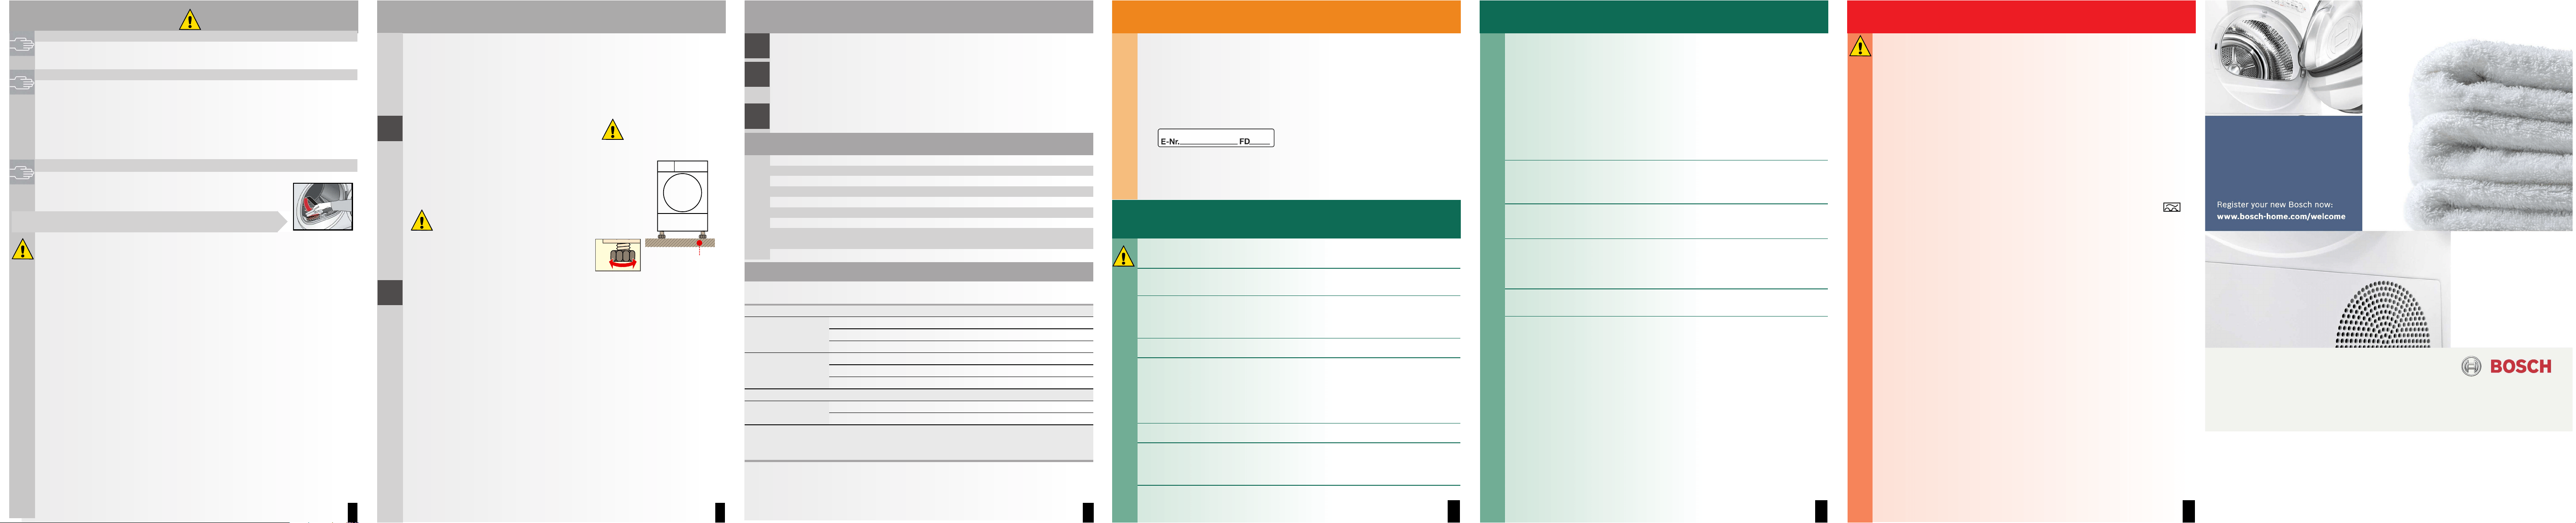
Product number
Production number
Inside of door
The rating plate can be found on the back of the dryer.
Consumption rates
Fabrics/programmes
Residual moisture in the fabrics
after spinning
Drying time**
Energy
consumption**
LCottons 7 kg
+. Cupboard Dry* 1400 rpm (50%) 107 min 3.16 kWh
1000 rpm (60%) 128 min 3.95 kWh
800 rpm (70%) 149 min 4.60 kWh
|Iron Dry* 1400 rpm (50%) 83 min 1.96 kWh
1000 rpm (60%) 99 min 2.92 kWh
800 rpm (70%) 116 min 3.63 kWh
ISynthetics 3.5 kg
+. Cupboard Dry* 800 rpm (40%) 47 min 1.32 kWh
600 rpm (50%) 59 min 1.72 kWh
* Programme setting for testing in accordance with applicable standard DIN EN61121.
** The values may differ from those specified, depending on the type of fabric, composition of
laundry to be dried, residual moisture in the fabric, the degree of dryness that has been set
and the amount of laundry being loaded.
WTZ
1130
WTZ
11311
WMZ
20500
11
What to do if ...
Turn the programme selector to Off and remove the mains plug from the socket.
ʠ
The $Start/Pause indicator light
does not light up.
Mains plug plugged in?
Programme selected?
Check the socket fuse.
ʠ
The display panel light and
indicator lights (depending on
model) go out and the
$Start/Pause indicator light
flashes.
Energy-saving mode is activated a see the separate
Energy-saving mode instructions.
ʠ
The display panel switches off. The appliance goes into the sleep mode after activating
ÈFinished in option apage 5.
ʠ
p(Fluff filter/Exhaust air duct)
indicator light flashes.
Clean the fluff filter apage 4.
Press the $Start/Pause button to reset the displayed
indication and then press the $Start/Pause button
again to restart the appliance if necessary.
Exhaust air duct blocked or bent?
Clean the exhaust air duct a page 8.
If necessary, clean the insect screen on the exhaust air
pipe.
ʠ
Dryer does not start. $Start/Pause button selected? Door closed?
Programme set?
ʠ
Programme terminates shortly
after starting.
Ambient temperature greater than 5°C?
Is the appliance loaded with the laundry?
Load too small for selected programme?/Use timed
programme apage 6/7.
Loaded laundry dry?
ʠ
Water is leaking out. Make sure the dryer is level.
After-sales service
If you cannot rectify the fault yourself (e.g. switching off/on) aWhat to do if..., page 11/12,
please contact our after-sales service. We will always find an appropriate solution and avoid
unnecessary visits by engineers.
The contact details of your local after-sales service can be found in the enclosed after-sales
service directory.
– GB 0344 892 8979 (Calls charged at local or mobile rate.)
– IE 01450 2655 (0.03 € per minute at peak. Off peak 0.0088 € per minute.)
Please provide the after-sales service the product number (E no.) and the production number
(FD) of the appliance.
Product number Production number
You can find this information:
inside the door* / in the opened service flap*
and on the rear of the appliance.
*depending on the model
Trust the expertise of the manufacturer. Contact us for assistance. In this way, you can rest
assured that the repair will be carried out by trained service technicians using original spare
parts.
12
What to do if ...
ʠ
The door opens by itself. Push the door closed until you hear it engage.
ʠ
Drying result is not satisfactory
(laundry feels too damp).
Warm laundry feels damper than it really is.
The selected programme does not suit the load. Use
another drying programme or, in addition, select the
timed programme apage 7.
Dryer installed too closely to other objects? Provide
adequate air circulation.
Use yFine adjust for the dryness levels apage 5.
Fine layer of limescale on the humidity sensors
a Clean the moisture sensors apage 8.
Programme termination, e.g. mains power supply failure,
door open or maximum drying time reached?
ʠ
Drying time too long. Clean the fluff filter under running water a page 4.
Insufficient supply of air a Ensure that air can circulate.
Ambient temperature greater than 35°C a Ventilate the
room.
ʠ
The humidity in the room
increases.
Make sure the room is sufficiently ventilated.
Exhaust air duct installed/the exhaust air routes directly
into the open air? aInstallation instructions for exhaust
air duct, page 1.
ʠ
One or more indicator lights are
flashing.
Clean the fluff filter apage 4/11.
Check the installation conditions apage 9.
Exhaust air duct blocked or bent?
Clean the exhaust air duct a page 8.
Switch off, allow to cool, switch back on, and restart the
programme.
ʠ
Power failure. Remove the laundry from the dryer immediately and
spread out. This allows the heat to dissipate. Be careful
as the door, the drum and the laundry may be hot.
ʠ
Condensation in the exhaust air
duct.
Exhaust air duct too long? Check the maximum exhaust
air duct length. Further information aInstallation
instructions for exhaust air duct.
13
Safety instructions
Emergency
– Pull the mains plug out of the socket immediately or disconnect the fuse.
ONLY use the
dryer...
– in rooms inside the house.
– for drying fabrics.
The dryer must
NEVER...
– be used for purposes other than those described above.
– be modified in terms of its technology or attributes.
Dangers
– The dryer must not be used by children or persons who have not been
instructed in its use.
– Do not leave children unsupervised near the dryer.
– Keep pets away from the dryer.
– Remove all objects from the pockets of garments. Pay particular attention to
cigarette lighters a Risk of explosion
– Do not lean or sit on the door a Risk of tipping.
– Open the door with care. Hot steam may escape.
Installation
– Fasten down loose leads a Risk of tripping
– Do not operate the dryer where there is a risk of frost.
– The safety information in the separate installation instructions for the exhaust
air duct must be observed without fail.
Mains
connection
– Connect the dryer to an AC earthed socket according to specifications, as
otherwise it cannot be guaranteed that the appliance is completely safe.
– The cable cross-section must be sufficient.
– Only use earth-leakage circuit breakers with the following symbol:
– The mains plug and socket must be compatible.
– Do not use multiple plugs/couplings and/or extension cables.
– Do not touch or hold the mains plug with wet hands a Risk of electric
shock.
– Never pull the mains plug out of the socket by its cable.
– Do not damage the mains lead a Risk of electric shock.
Operation
– Only load the drum with items of laundry. Check what has been loaded
before switching the dryer on.
– Do not use the dryer if the laundry has been in contact with solvents, oil, wax,
grease or paint (e.g. hair spray, nail polish remover, stain remover, cleaning
solvent, etc.) a Risk of fire/explosion.
– The tumble dryer is not to be used if industrial chemicals have been used for
cleaning.
– Dust risk (e.g. coal dust or flour): do not use the dryer a Risk of explosion.
– Do not turn off the dryer until the drying process ends, unless the laundry will
be removed quickly and spread out, so that the heat can dissipate.
– Do not put laundry containing foamed material/rubber in the dryer a elastic
material may be destroyed and the dryer may be damaged due to possible
deformation of the foamed material.
– Final part of a tumble dryer cycle occurs without heat (cool down cycle), to
ensure that the items are left at a temperature that ensures that the items will
not be damaged.
– Switch off the dryer once the programme has ended.
Defect
– Do not use the dryer if it is defective or if you suspect that it is.
Repairs must only be carried out by the after-sales service.
– Do not use the dryer with a faulty mains cable. In order to avoid danger,
have the mains lead replaced only by our after-sales service.
Spare parts
– For safety reasons, you must only use genuine spare parts and accessories.
Disposal
– Dryer: Disconnect the mains plug, then cut the mains cable off the appliance.
Dispose of the appliance at a municipal waste disposal site.
– Packaging: Do not allow children access to items of packaging
a Risk of suffocation.
– All materials are environmentally friendly and reusable.
Dispose of them in an environmentally responsible manner.
en Instruction manual
Dryer
WTA74200AU
Loading ...
Loading ...
Loading ...