Loading ...
Loading ...
PLEASE RETAIN THIS USER’S GUIDE FOR FUTURE REFERENCE
Only use ltered tap water in this appliance.
Always ensure that the appliance is xed to the wall in a level position.
If you intend not using the appliance for longer than 2 weeks, drain the water from sump and water tank and dry the
sump.
Once commissioned, never move this appliance or lay on its back, without draining the water from sump and water
tank.
The water tank, sump, sump lid, tank cap and air lters must be cleaned once every two weeks, particularly in hard
water areas.
The appliance should never be operated if the lamps are not working.
The lamps should be regularly inspected as described under ‘Maintenance’ and ‘Changing lamps’.
Installation.
Ensure that all packing items are removed (read any warning labels carefully).
Retain all packing for possible future use, in the event of moving or returning the appliance to your supplier.
To install the appliance; (See Fig1)
1. Remove wall bracket from the back of the appliance, by removing the 2 screws that the wall bracket is xed with.
From the base of the re chassis a minimum distance from the oor of 300mm - 600mm and minimum distance from the wall
of 625mm is highly recommended.
2. Fix the wall bracket to the wall making sure it is level, using the wall plugs and screws supplied for block walls.
3. Hang the appliance o the xed wall bracket. Rotate the safety xing bracket on the base of the product so that the xing
hole is exposed. Mark this hole and remove the appliance from the wall. Fix plug to the wall in the marked position.
4. Hang the appliance back on the wall xing bracket and x the appliance in place using the screw supplied through the
safety xing bracket.
Make sure the unit is switched OFF.
Plug the re into a 13amp/240 volt outlet.
Before using the manual controls rstly ll the water tank (See ‘Maintenance’, ‘Filling the water tank’).
Manual Controls.
The Opti-myst Manual controls are located on the base of the appliance. (See Fig.2 for Manual Control lay out)
Switch ‘A’:- Controls the electricity supply to the Fire.
Note: This switch must be in the ‘ON’ ( I ) position for the Fire to operate with or without heat when activated.
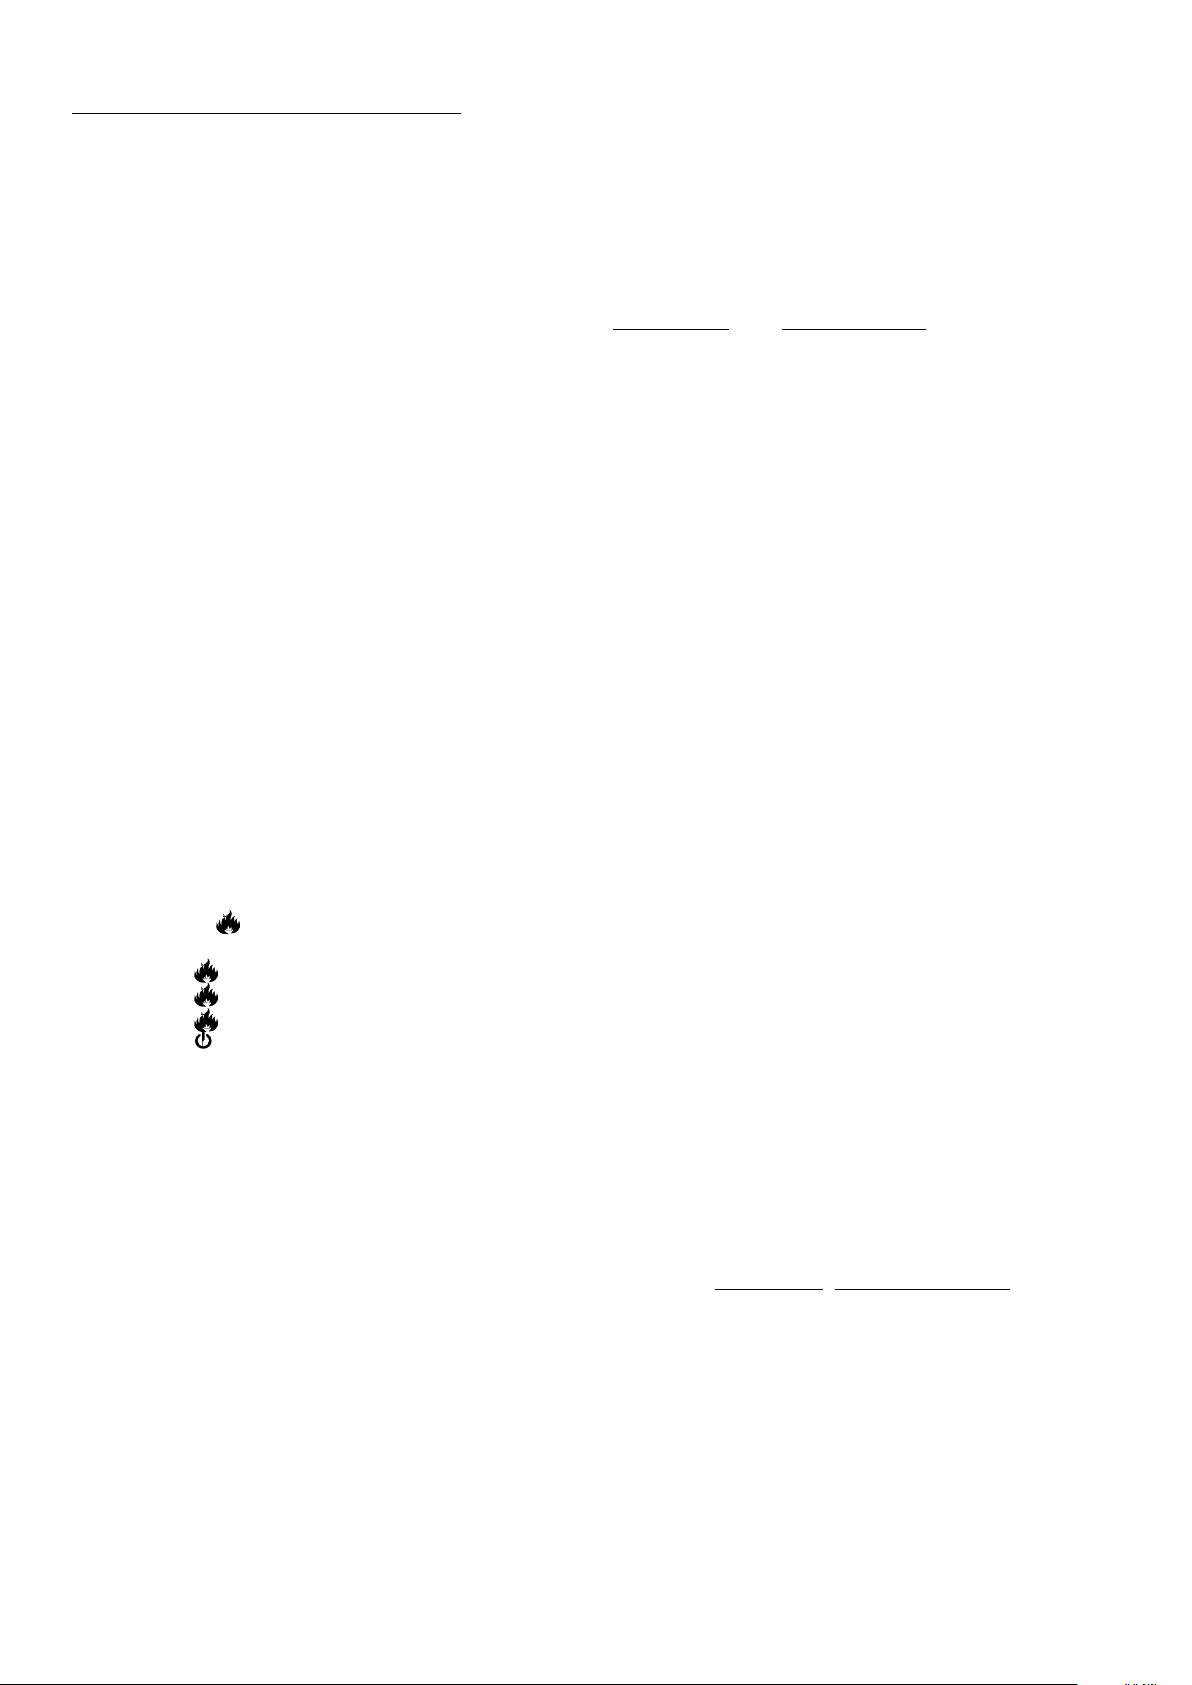
Switch ‘B’:- Press once to turn on the ame eect. This will be indicated by an audible “beep”. Although the main lights
operate immediately it will take a further 30 seconds before the ame eect starts.
Press again to give ame eect and half heat. This will be indicated by two “beeps”.
Press again to give ame eect and full heat. This will be indicated by three “beeps”.
Press again to return to ame eect only. This will be indicated by one “beep”.
Press to put re in to standby mode. This will be indicated by one “beep”.
Control Knob ‘C’:- Controls the Thermostat setting.
Turning the control knob towards you will decrease the temperature setting, turning the control knob away from you
will increase the temperature setting.
Control Knob ‘D’:- Controls the intensity of the ame and smoke eect when the heater has been activated.
Turning the control knob towards you decreases the intensity of the ame and smoke eect. Turning the control
knob away from you will increase the ame and smoke eect.
When the water tank is empty the main lamps go out. See instructions under ‘Maintenance’, ‘ Filling the water tank’. When this
procedure is complete, the main lamps will illuminate but it will take 30 seconds before the ames return.
Setting the Thermostat
Plug in and switch on the re to the full heat setting. Turn the Control Knob ‘C’ fully away from you (max temperature setting)
to warm the room rapidly. When the room temperature has reached the desired level, turn the thermostat knob back slowly
until the thermostat just clicks o. The heater will then maintain the room temperature at the chosen level.
Note: Should your heater fail to come on when the thermostat is at a low setting, this may be due to the room temperature
being higher then the thermostat setting
Thermal safety cut-out
A thermal safety cut-out is incorporated in the fan heater to prevent damage due to overheating. This can happen if the heat
outlet was restricted in any way. If the cut-out operates, unplug the heater from the socket outlet and allow approximately 10
minutes before reconnecting. Before switching the heater back on remove any obstruction that may be restricting the heat
Loading ...
Loading ...
Loading ...