Loading ...
Loading ...
Loading ...
Connecting18
Connecting
2
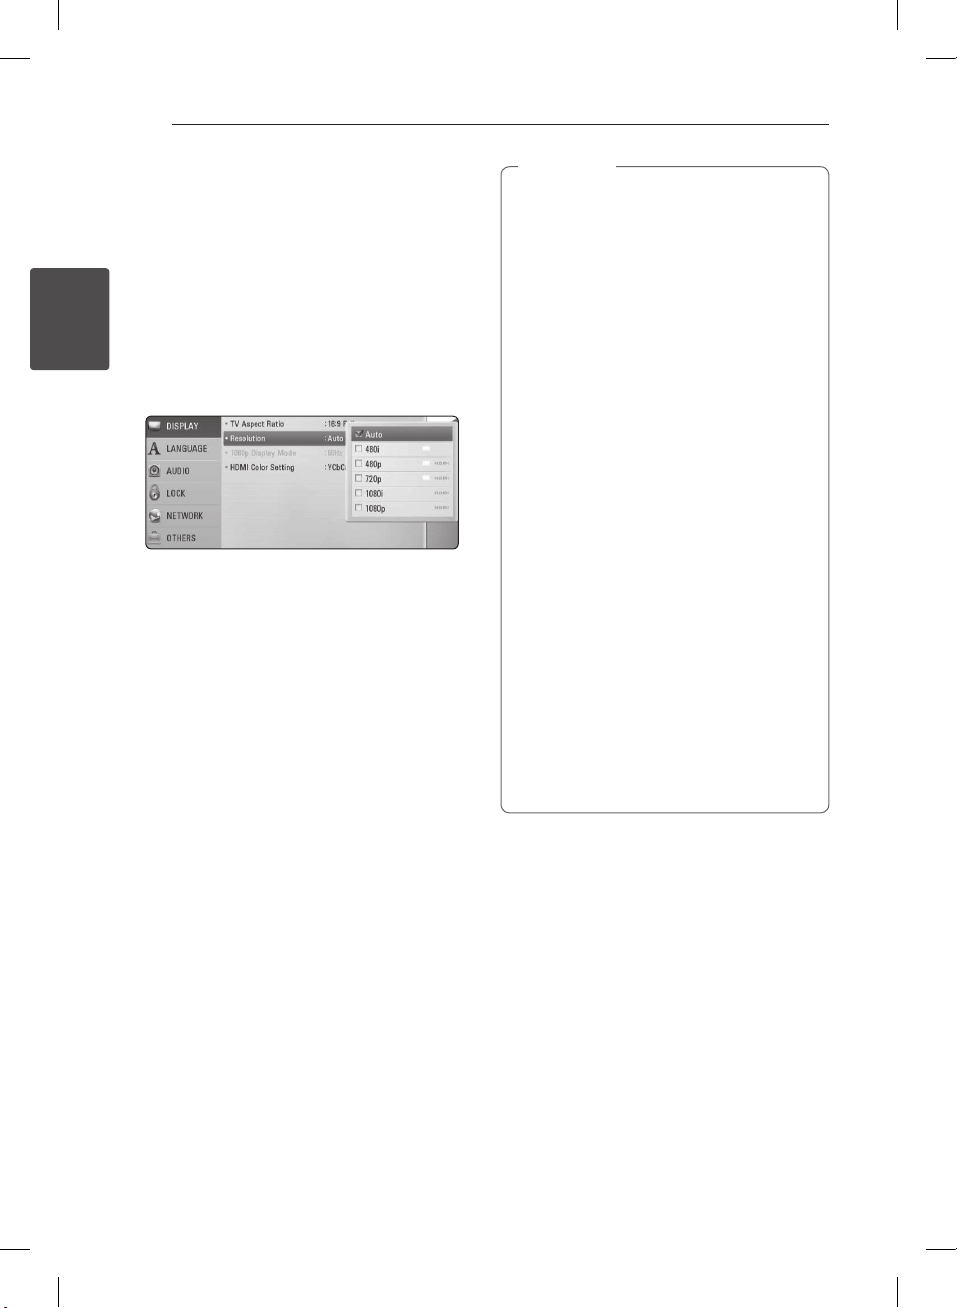
Resolution Setting
The player provides several output resolutions for
HDMI OUT and LCD panel. You can change the
resolution using [Setup] menu.
1. Press HOME (
n
).
2. Use
a/d
to select the [Setup] and press
ENTER (
b
). The [Setup] menu appears.
3. Use
w/s
to select [DISPLAY] option then press
d
to move to the second level.
4. Use
w/s
to select the [Resolution] option then
press ENTER (
b
) to move to the third level.
5. Use
w/s
to select the desired resolution then
press ENTER (
b
) to conrm your selection.
y
For HDMI OUT: Auto, 480p, 720p, 1080i,
1080p
y
For LCD panel: 480i, 480p, 720p
y
If your TV does not accept the resolution
you have set on the player, you can set
resolution to 480p as follows:
1. Remove the disc from the unit.
2. Press
Z
(STOP) for more than 5 seconds.
y
When you set the resolution to 480i with
HDMI connection, actual resolution is
outputted to 480p.
y
When you set the resolution to [Auto],
[1080i] or [1080p] for LCD panel, actual
resolution is outputted to 720p.
y
If you select a resolution manually and then
connect the HDMI jack to TV and your TV
does not accept it, the resolution setting is
set to [Auto].
y
If you select a resolution that your TV
does not accept, the warning message
will appear. After resolution change,
if you cannot see the screen, please
wait 20 seconds and the resolution will
automatically revert back to the previous
resolution.
y
The 1080p video output frame rate may
be automatically set to either 24 Hz or
60 Hz depending both on the capability
and preference of the connected TV and
based on the native video frame rate of the
content on the BD-ROM disc.
y
The resolution of the AV OUT jack is always
outputted at 480i.
,
Note
BP690B-N.ACANLLK_ENG.indd 18 6/30/11 10:30 AM
Loading ...
Loading ...
Loading ...