Loading ...
Loading ...
Loading ...
13
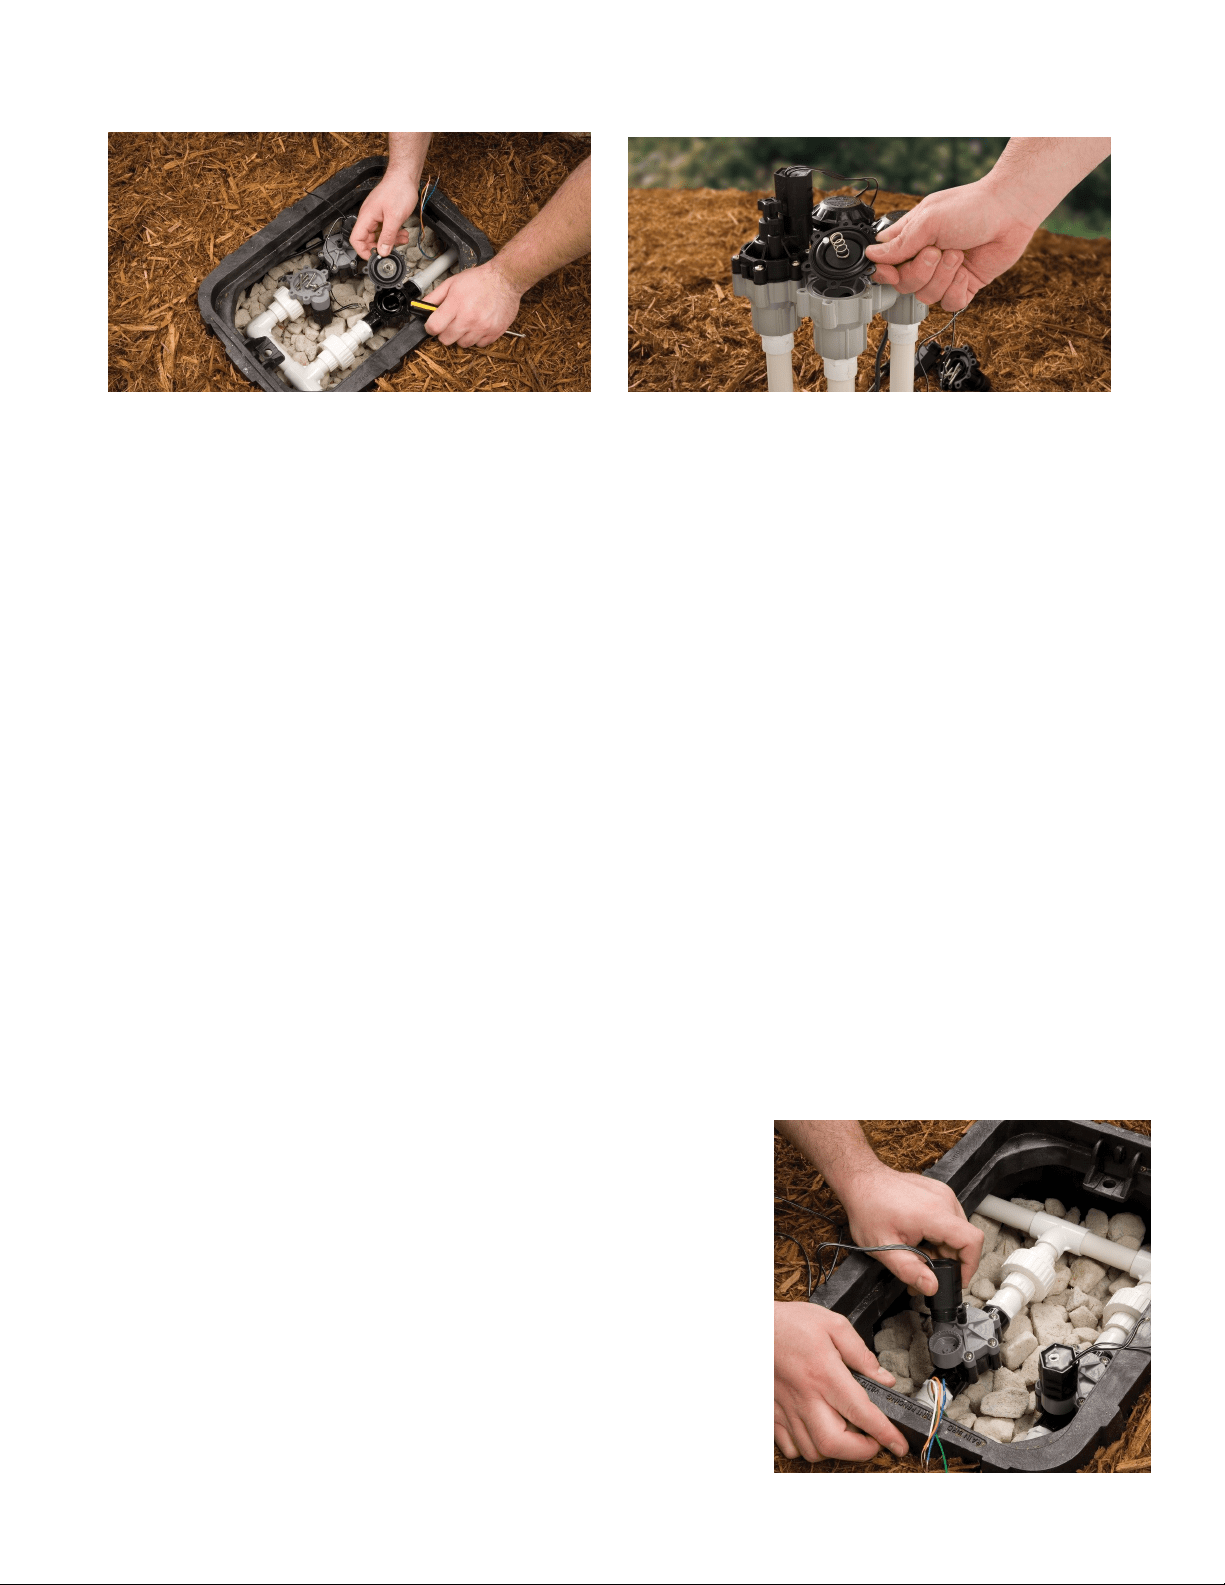
Diaphragm Valve Disassembly Procedure
To inspect the inside of the valve for cleaning or replacement of the diaphragm:
1. Shut off the water at the master shut off valve.
2. Unscrew all bonnet screws if present or unscrew jar-top lid. On some models, the bleed screw
and/or flow control knob will also need to be removed.
3. Remove bonnet assembly to expose the spring, diaphragm, and rubber gasket (if any) and filter (if
any). Remove and inspect the spring, diaphragm, and rubber gasket for wear or damage. Inspect
the diaphragm for clog or a tear in the small hole on its surface.
4. Inspect the valve body for dirt on the diaphragm seat.
5. Inspect the bonnet for dirt clogging the small bleed port near the solenoid.
6. Rinse dirt off if necessary, or use a wire to gently dislodge dirt from the bleed port.
7. Install new diaphragm if necessary. Do not forget to replace the spring. Some new replacement
diaphragms are an all-in-one design and do not have a separate rubber gasket to install. Be sure
that the holes line up.
8. Press the bonnet firmly back in place. Replace the screws and tighten or screw jar top lid back on.
Pressure test the valve to assure that all of the screws are tight enough to prevent any water leak-
age between the valve body and bonnet.
To replace the solenoid:
1. Ensure valve is off with no power going to solenoid.
2. Remove controller wires.
3. Unscrew the solenoid.
2. Check for debris clogging the small port where the solenoid
seats.
3. Rinse off the solenoid to remove debris.
4. Check condition of solenoid O-ring.
5. Replace solenoid if necessary with part number applicable to
your particular model.
Loading ...