Loading ...
Loading ...
Loading ...
7
48-, 78-, 115-Can Beer and Beverage Cooler
www.insigniaproducts.com
DON’T
• Recess or build it in. This cooler is designed to be free standing only.
• Place the cooler in moist areas.
• Use the cooler in a garage or any other outside installation.
Leveling your beer and beverage cooler
• It is very important for the beer and beverage cooler to be level in order to
function properly. If the beer and beverage cooler is not leveled during
installation, the door may not close or seal properly, causing cooling, frost,
or moisture problems.
• To level your beer and beverage cooler, you may either turn the leveling
foot clockwise to raise that side to the beer and beverage cooler or turn it
counter-clockwise to lower that side.
Providing proper ventilation
• Place the beer and beverage cooler at least 1.6 inches from the wall to
ensure proper airflow to the compressor.
• Do not place the beer and beverage cooler near any heat sources, such as
a heater or stove, as this may put a strain on the compressor.
Providing a proper power supply
Check your local power source. This beer and beverage cooler requires a
110V-120V, 60 Hz power supply.
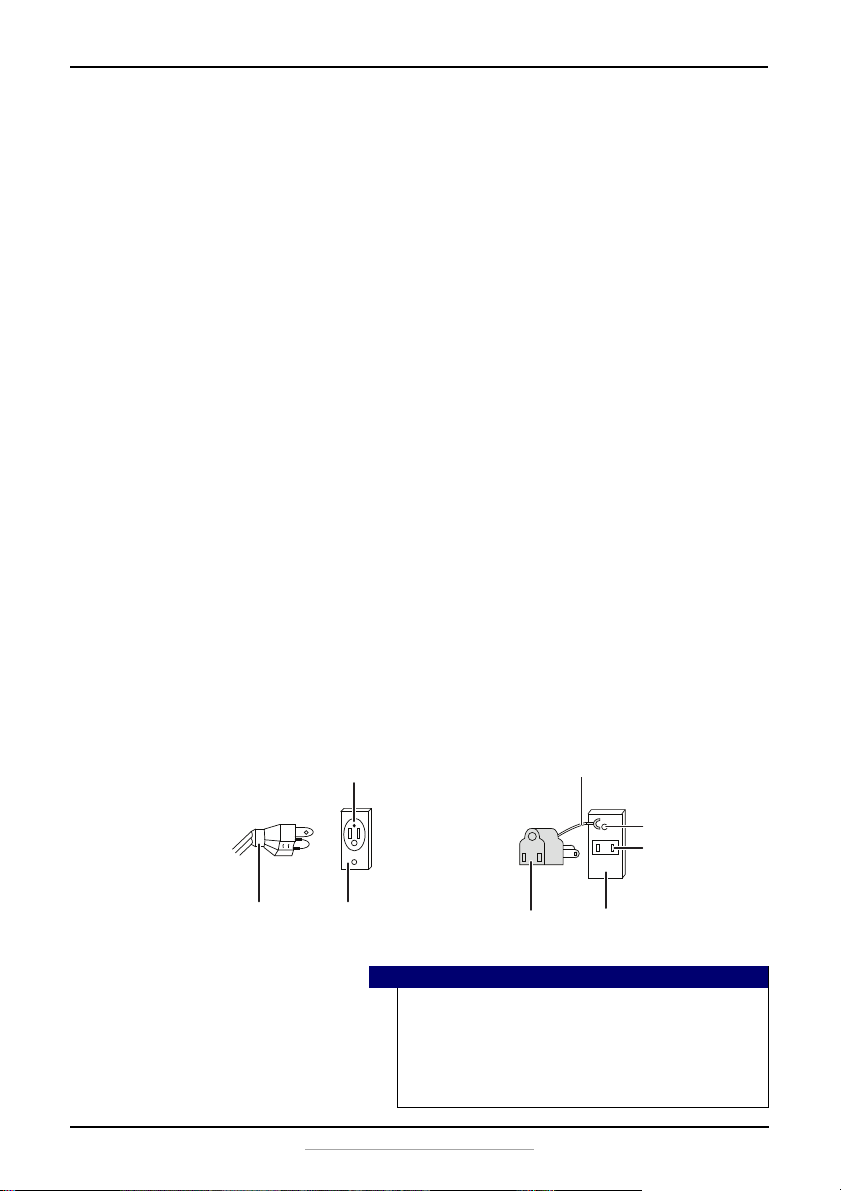
Use a receptacle that accepts the grounding prong. The power cord is
equipped with a 3-prong (grounding) plug which mates with a standard
3-prong (grounding) wall outlet to minimize the possibility of electric
shock hazard from this beer and beverage cooler.
Notes
• The beer and beverage cooler should always be plugged
into its own individual electrical outlet which has a voltage
rating that matches the rating plate.
• Never unplug your beer and beverage cooler by pulling on
the power cord. Always grip the plug firmly and pull
straight out from the outlet.
3-prong receptacle
Receptacle box cover
3-prong plug
Grounding lead
Grounding adapter Receptacle box cover
Screw
Receptacle
Using a 3-prong plug and outlet Using a grounding adapter
Loading ...
Loading ...
Loading ...