Loading ...
Loading ...
Loading ...
13
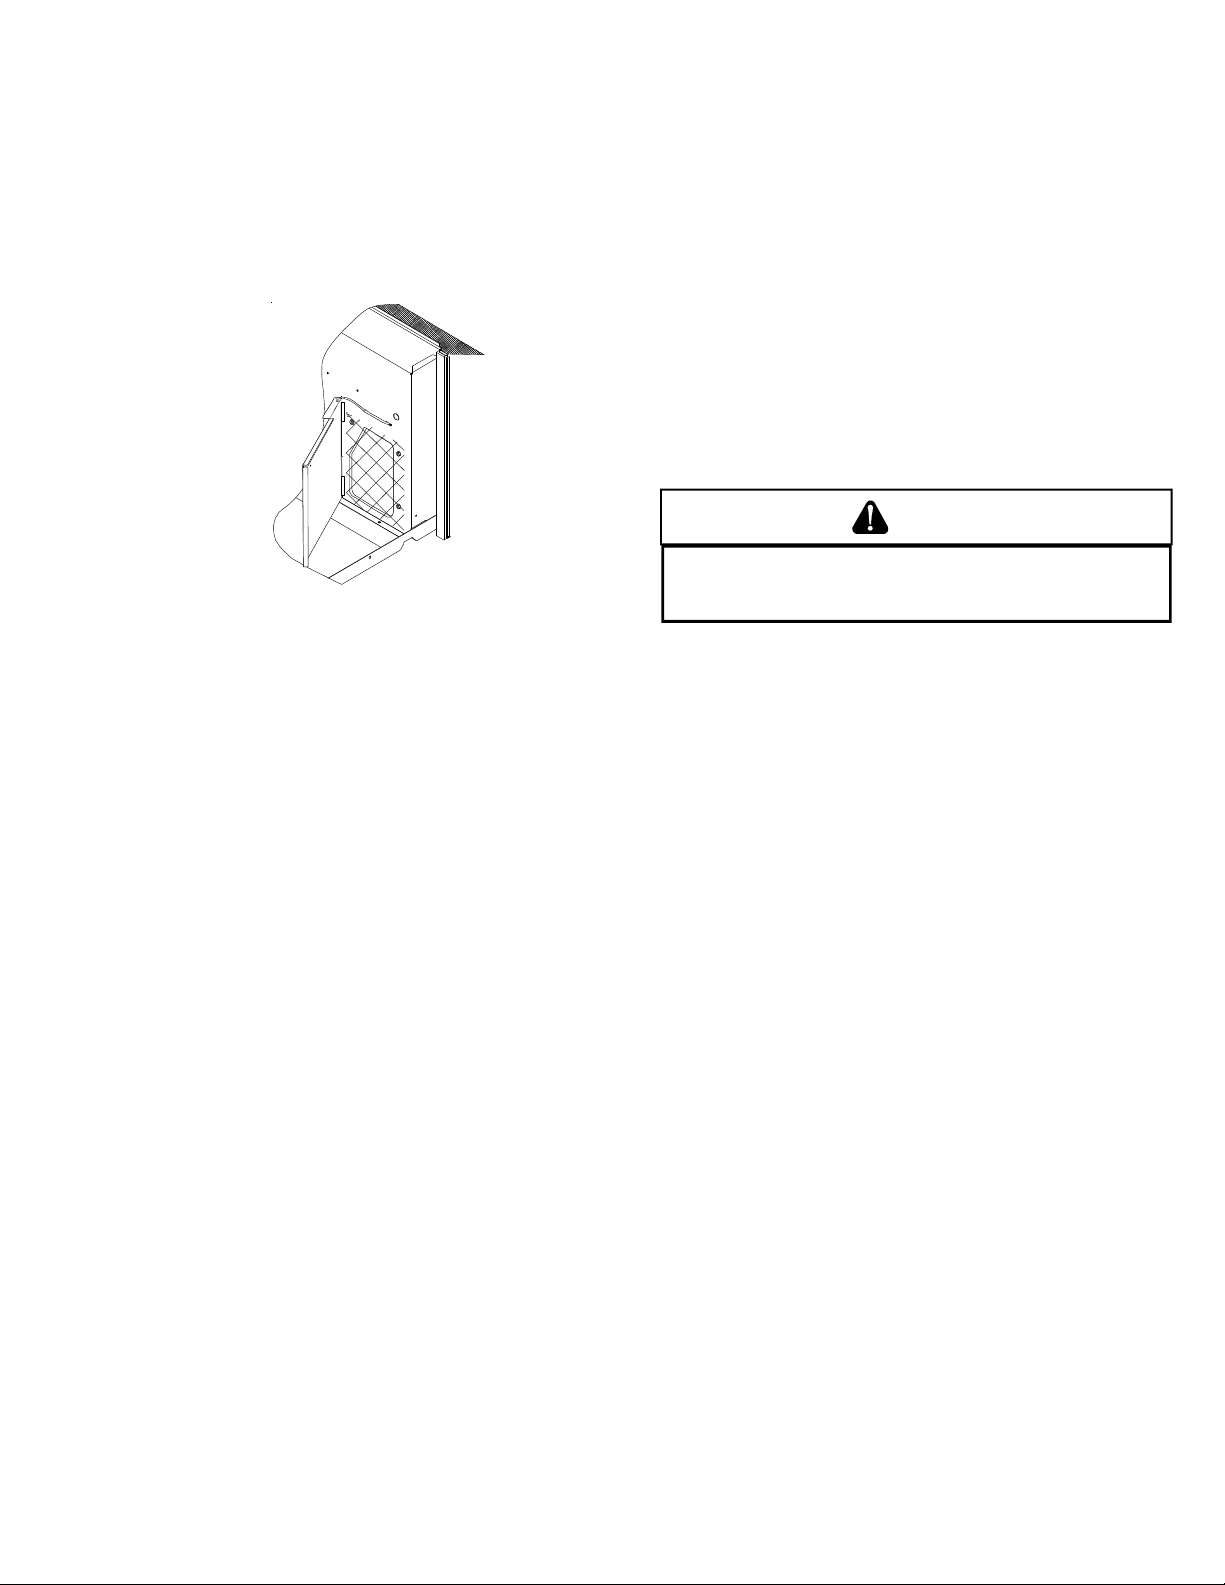
2. Remove the six screws securing the chassis to the wall sleeve.
3. Slide the chassis out of the wall sleeve far enough so that
the vent screen is accessible.
4. Clean the vent screen, slide the chassis back into the wall
sleeve, secure it in place with six screws and reinstall the
front cabinet.
Vent - (Left Side Unit)
Cabinet Front
The cabinet front and discharge air grille can be cleaned with a
water dampened cloth. Under no circumstances should hydro-
carbon-based cleaners (e.g. acetone, benzene, naphtha gaso-
line, etc.) or ammonia based cleaners be used to clean the
front or air grilles. Use care when cleaning the control area.
YEARLY MAINTENANCE AND CLEANING
NOTE: Use a mild biodegradable detergent such as Simple
Green™ when cleaning the unit. Special care must be taken to
protect the unit’s control board and other electrical components
from getting any water on them while cleaning. The use of harsh
or caustic cleaning agents or materials such as bleach or coil
cleaners that are not designed for PTAC products will cause
damage or deterioration of the aluminum fin or coil material and
is not recommended. Care must be taken not to bend the
aluminum fin stock.
Routine Scheduled Maintenance
To achieve continuing top performance and high efficiency,
establish a “once a year” cleaning/inspection schedule for the
unit. Take the unit out of the sleeve and thoroughly clean and
rinse. Be sure to include in the yearly cleaning the evaporator
coils, and condenser coils, basepan, and drain passages. Sched-
uled maintenance can be accomplished by either qualified local
maintenance staff or by an authorized servicer. They must
follow the instructions described in this manual.
Adverse Operating Conditions Maintenance
Units operating in dusty or corrosive locations; i.e. dusty con-
struction site or sea coast, must be cleaned more often. A
minimum of four (4) times a year will maintain proper opera-
tional conditions and protect unit components.
Wall Sleeve
Clean the wall sleeve while cleaning the unit. The caulking
around the sleeve should be checked to make sure that any
potential air and water openings around the sleeve are properly
sealed. The wall sleeve’s level should also be rechecked. Proper
leveling for most installations are a ¼ bubble tilt to the outside
and level from right to left. Contact your sales person for
detailed maintenance or cleaning instructions.
Basepan and Condenser Coil
CAUTION
D
O NOT USE COMMERCIAL GRADE COIL CLEANERS.
S
OME OF THESE
CLEANERS MAY CONTAIN
E
THYLENE
D
IAMINE
T
ETRACETIC
A
CID (
EDTA
)
WHICH CAN SHORTEN THE LIFE OF THE CONDENSER COIL.
Before cleaning the basepan and condenser coil, turn OFF unit
mode switch and disconnect power to the unit. To disconnect
power, either unplug the power cord at the wall outlet or
subbase, or disconnect power at the fuse box or circuit breaker.
1. Create a water-tight seal by tightly covering the entire
control panel area and fan motor with plastic. Creating
this seal prevents water from entering the control area or
the fan motor and damaging the unit.
2. Spray condenser coil and basepan down with water. Next
spray a mild biodegradable detergent such as Simple
Green™ onto the condenser coil and basepan. Let set for
five (5) minutes.
3. Rinse condenser coil and basepan with water again.
NOTE: Ensure water pressure is no higher than that of an
ordinary garden hose and the water temperature no higher
than 120°F.
4. Tilt the non-compressor side of the unit up no higher than
45 degrees and allow water to drain out the other side of
the unit.
5. Remove excess water left in the basepan by wiping the
basepan with a dry cloth.
6. Remove the water-tight seal from the motor and control
panel area.
7. Reinstall unit back into wall sleeve.
8. Allow unit to dry for 24 hours before reapplying power.
When power is reapplied test unit for proper operation.
Loading ...
Loading ...
Loading ...