Loading ...
Loading ...
Loading ...
INSTALLATION INSTRUCTIONS - DIRECT MOUNTING
3
DIRECT MOUNTING
It is preferable to mount the rear grille on the sleeve
as the appliance’s performance is increased and
the possibility of air drafts is reduced. If this is not
possible, the grille can be directly mounted on
the appliance. The grille must be installed prior to
installing the appliance in the wall sleeve.
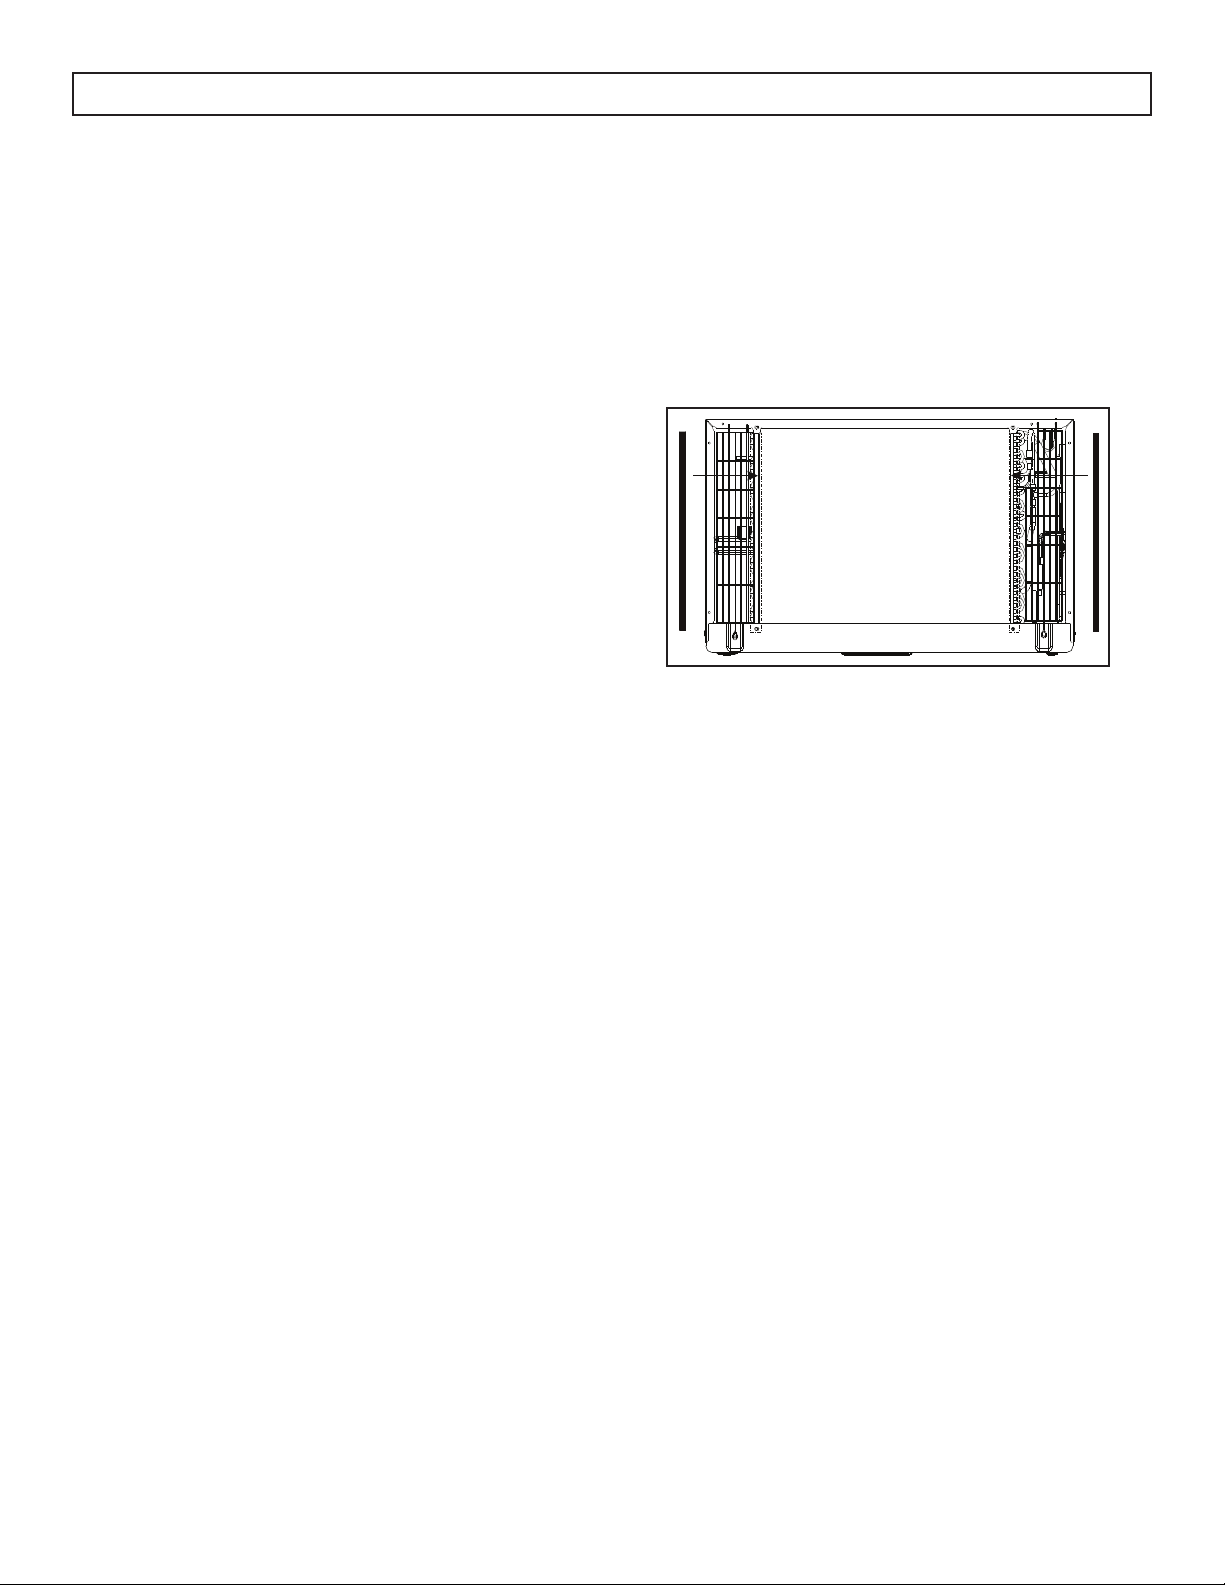
1. Attach two seal pieces as shown below.
2. Position the grille over the rear of the appliance
ensuring that the double set of screw holes are
at the bottom and that the fi ns of the grille are
pointed away from the appliance.
3. Align the top of the grille with the top of the
appliance. The overhang on each side is equal.
4. Install 4 #8 self tapping screws to attach the
grille to the appliance.
5. Insert the appliance into the sleeve.
6. Install the long seal between the wall sleeve and
the appliance. A fl at bladed screwdriver or putty
knife is recommended.
7. Assemble the trim frame by inserting the top and
bottom pieces into the side pieces and snapping
into place.
8. Pull the power cord through the trim frame and
then slide the frame over the appliance until it is
fl ush with the wall.
AIR CONDITIONER ACCESSORIES
1. 17” long Tapered spacer blocks (x2)
2. 4 1/2” x 3 1/2” x 1 1/2” Centering support
blocks (x4)
3. 1/8” x 4 1/2” x 13 7/8” Plastic divider (x2)
4. 1” x 1 1/2” x 84” Stuffer seal
5. 1” x 1 1/2” x 25” Seal (x3)
6. 1” x 1 1/2” x 14” Seal (x2)
7. 1” x 3/8” x 25” Seal (x3)
8. 1” x 3/8” x 14” Seal (x2)
9. 1” x 3/4” x 14” Seal (x2)
10. Side trim frame (x2)
11. Top and bottom trim frame (x2)
12. Green ground wire
13. Toothed washer for grounding screw (x2)
14. Grounding screw
15. Plastic grille
16. Aluminum grille
17. Plastic nuts (x4)
18. Screw washer (x4)
19. Screw (x4)
NOTE: A wall sleeve is not provided with this
appliance and must be purchased separately.
Loading ...
Loading ...
Loading ...