Loading ...
Loading ...
www.BISSELL.ca
3
Thanks for buying a BISSELL vacuum!
We love to clean and we’re excited to share one of our innovative products
with you. We want to make sure your vacuum works as well in two years
as it does today, so this guide has tips on using (pages 6-7), maintaining
(pages 8-9), and if there is a problem, troubleshooting (page 10).
In just a few simple assembly steps, you’ll be ready to vacuum. Flip to page
5 and let’s get started!
Safety Instructions. . . . . . . . . . . 2
Product View. . . . . . . . . . . . . . . .4
Assembly . . . . . . . . . . . . . . . . . . . 5
Operations . . . . . . . . . . . . . . . . 6-7
Maintenance & Care . . . . . . .8-9
Troubleshooting . . . . . . . . . . . . 10
Warranty . . . . . . . . . . . . . . . . . . . .11
Service . . . . . . . . . . . . . . . . . . . . . .11
Product Registration. . . . . . . . 12
Parts & Supplies . . . . . . . . . . . . 12
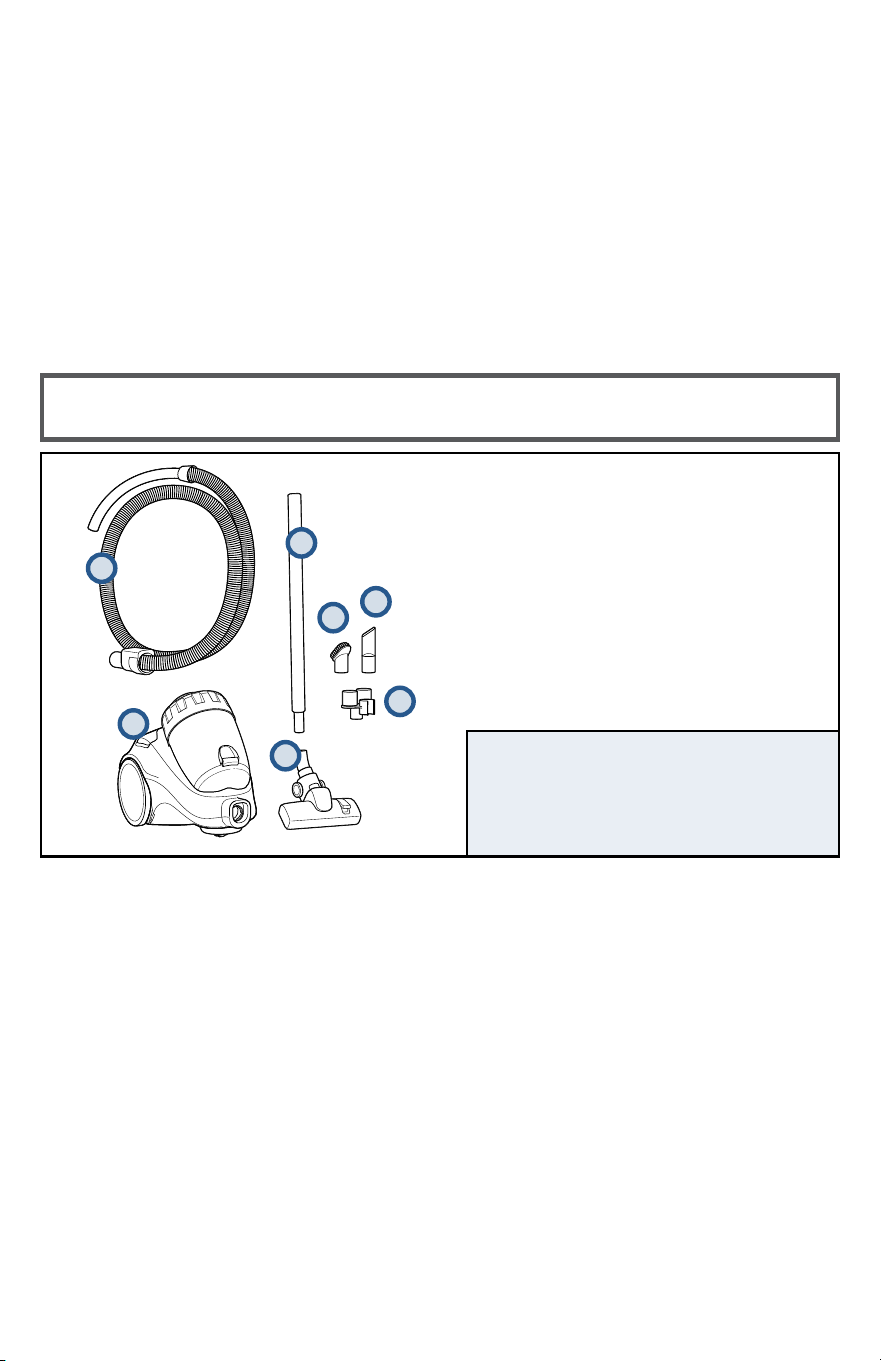
1. Hose and Handle
2. Base Unit
3. Extension Wand
4. Dusting Brush
5. Crevice Tool
6. Small Tool Clip
7. Combination Floor Tool
8 Upholstery Tool (not pictured)
9. Turbo Brush Tool (not pictured)
What’s In The Box?
NOTE: Standard accessories may vary
by model. To identify what should be
included with your purchase, please
refer to the “Carton Contents” list
located on the carton top flap.
1
2
3
4
5
7
6
www.BISSELL.ca
3
REMARQUE: Les accessoires standards
varient d’un modèle à l’autre. Afin
d’identifier ce que devrait comprendre
votre achat, veuillez consulter la liste du
«contenu de la boîte» qui se trouve sur
le rabat supérieur de la boîte.
Merci d’avoir acheté un aspirateur BISSELL!
Le nettoyage, c’est notre passion. Voilà pourquoi nous sommes très heureux
de vous faire part d’un de nos produits innovateurs. Comme nous voulons nous
assurer que votre aspirateur offrira le même rendement dans deuxans qu’au-
jourd’hui, ce guide contient des conseils sur l’utilisation (page6 à 7), l’entretien
(pages8 et 9) et, advenant un problème, le diagnostic de pannes (page10).
En quelques étapes simples d’assemblage, vous serez prêt à passer l’aspirateur.
Passez à la page5 et commençons!
Instructions de sécurité
. . . . . . . . . . . . . .2
Schéma du produit
. . . . . . . . . . . . . . . . . 4
Assemblage . . . . . . . . . . . . . . . . . . . . . . . . .
5
Utilisation
. . . . . . . . . . . . . . . . . . . . . . . . .
6-7
Entretien et soin de l’appareil
. . . . . . 8-9
Diagnostic de pannes. . . . . . . . . . . . . . .10
Garantie. . . . . . . . . . . . . . . . . . . . . . . . . . . . 11
Service . . . . . . . . . . . . . . . . . . . . . . . . . . . . . 11
Enregistrement du produit . . . . . . . . . . 12
Pièces et fournitures . . . . . . . . . . . . . . . . 12
1. Tuyau et manche
2. Appareil de base
3. Tube-rallonge
4. Brosse à épousseter
5. Suceur plat
6. Crochet de fi xation de petits accessoires
7. Accessoire combiné pour planchers
8 Accessoire pour meuble (non illustrée)
9. Brosse Turbo (non illustrée)
Qu’y a-t-il dans la boîte?
1
2
3
4
5
7
6
Loading ...
Loading ...
Loading ...