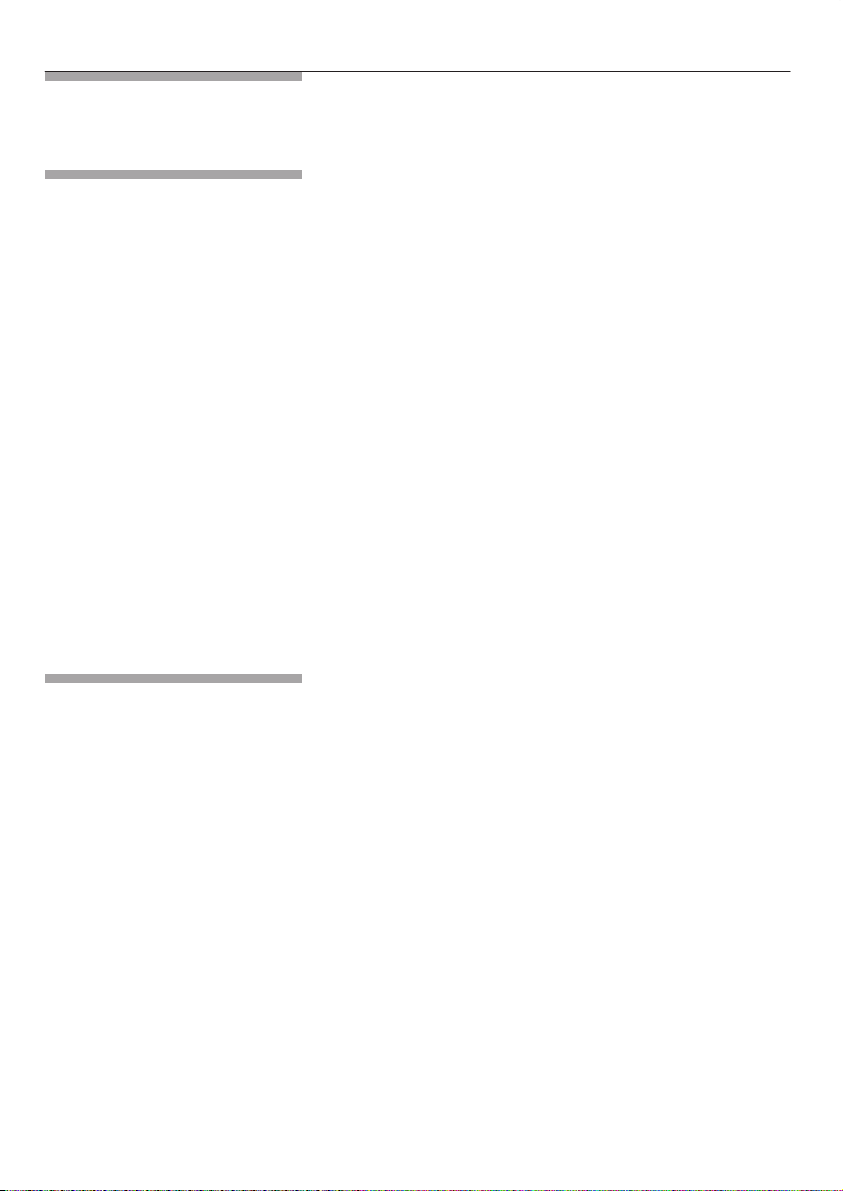
H


H
H


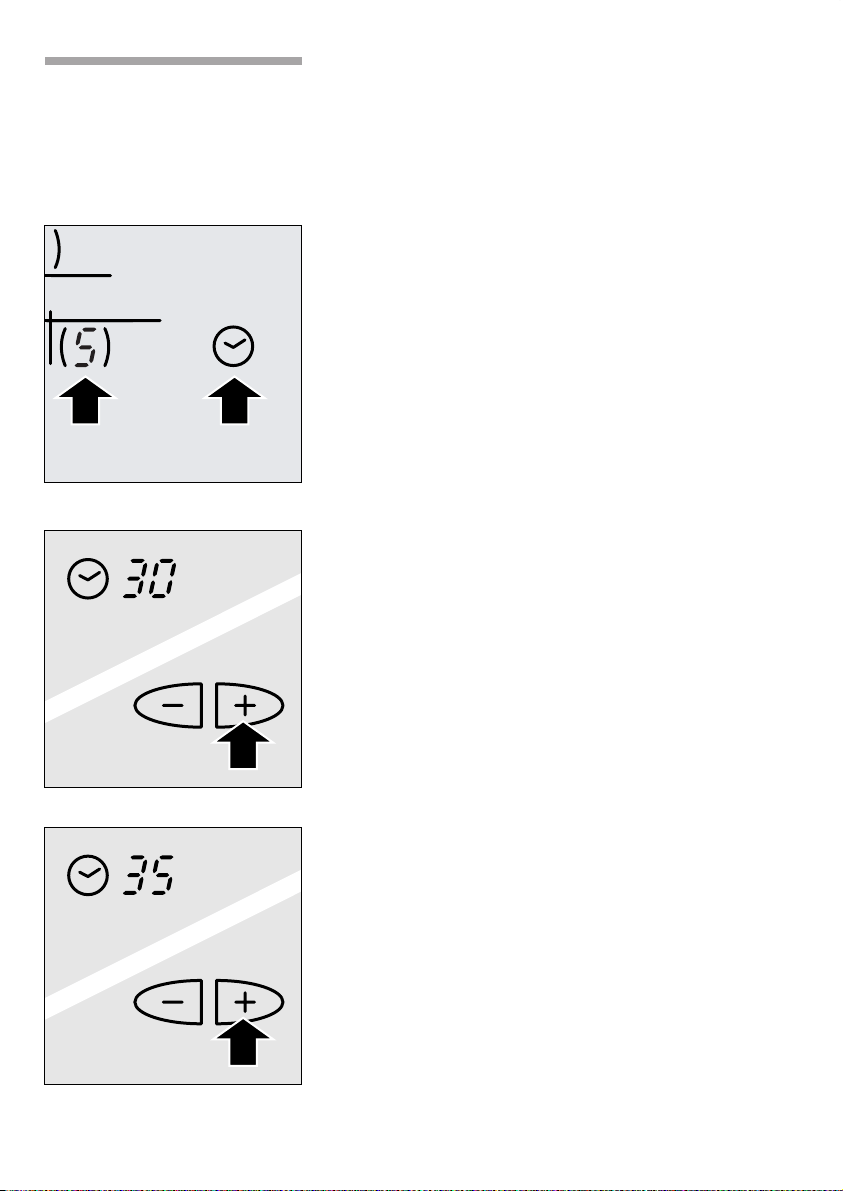
1. 2.
min
min


≡≡
≡
≡
min
min


H
H


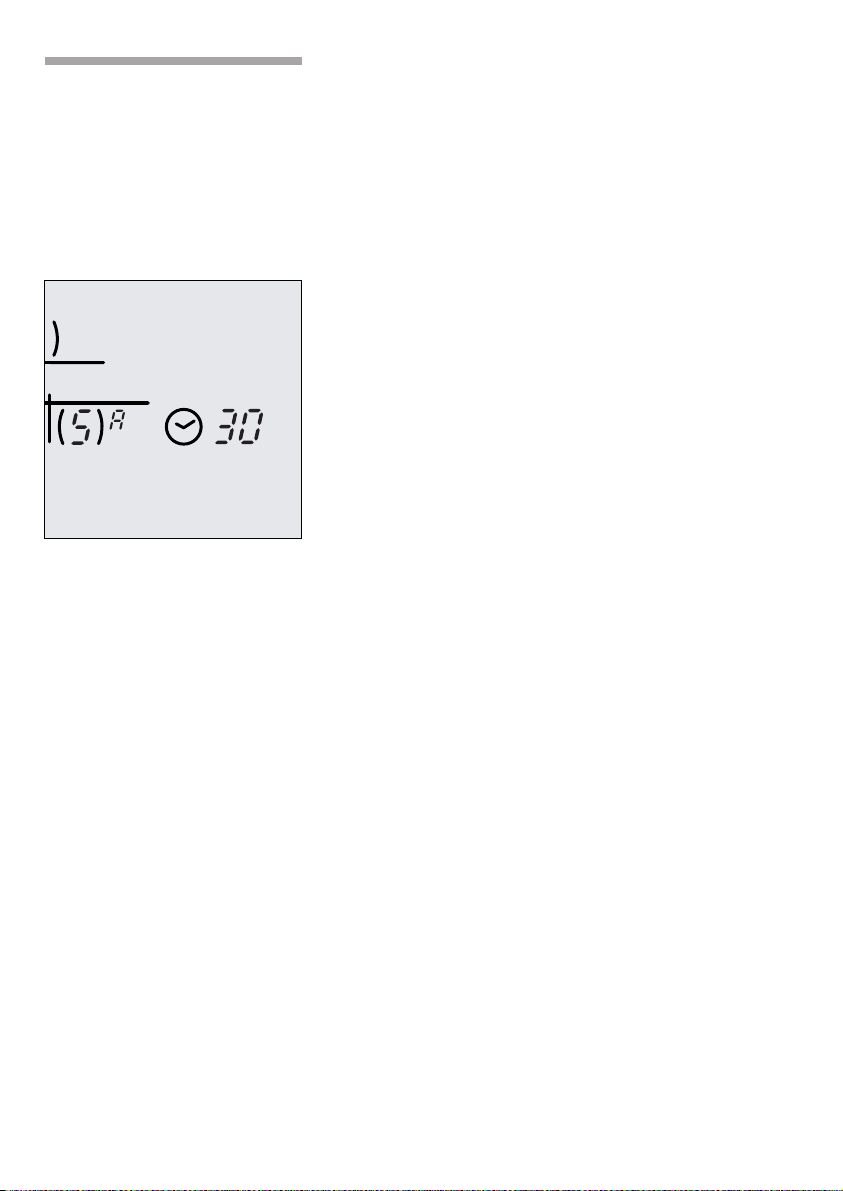
1. 2.
min
min


≡≡
≡
≡
min
min