Loading ...
Loading ...
Loading ...
FIRST TIME USE
1. SELECT THE LANGUAGE
You will need to set the language and the time
when you switch on the appliance for the first time:
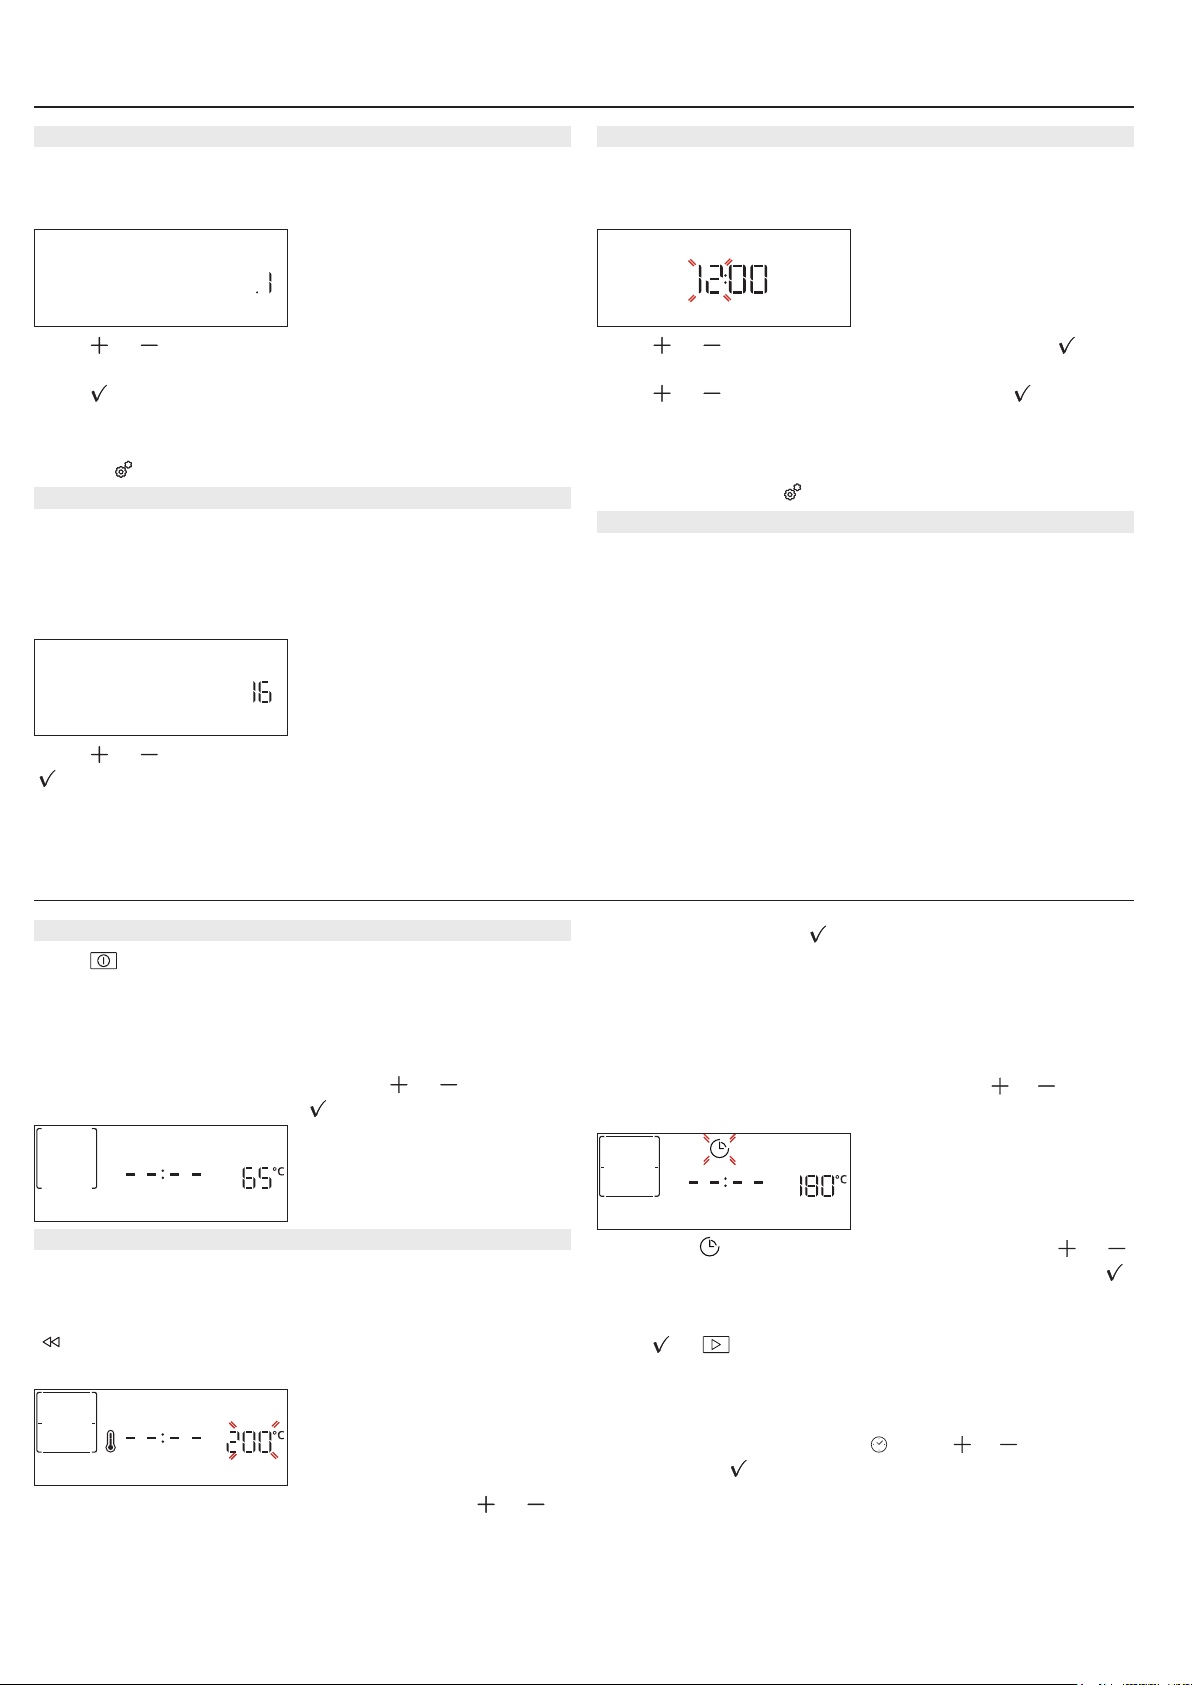
“English” will show on the display.
English
Press or to scroll through the list of available
languages and select the one you require.
Press
to confirm your selection.
Please note: The language can subsequently be changed by
selecting “LANGUAGE” in “SETTINGS” menu, available by
pressing
.
2. SET THE POWER CONSUMPTION
The oven is programmed to consume a level of
electrical power that is compatible with a domestic
network that has a rating of more than 3 kW (16): If
your household uses a lower power, you will need to
decrease this value (13).
POWER
Press or to select 16 “High” or 13 “Low” and press
to confirm.
3. SET THE TIME
After selecting the power, you will need to set the
current time: The two digits for the hour will flash on
the display.
CLOCK
Press or to set the current hour and press : The
two digits for the minutes will flash on the display.
Press
or to set the minutes and press to
confirm.
Please note: You may need to set the time again following
lengthy power outages. Select “CLOCK” in “SETTINGS” menu,
available by pressing
.
4. HEAT THE OVEN
A new oven may release odours that have been left
behind during manufacturing: this is completely
normal. Before starting to cook food, we therefore
recommend heating the oven with it empty in
order to remove any possible odours. Remove any
protective cardboard or transparent film from the
oven and remove any accessories from inside it. Heat
the oven to 200 °C for around one hour, ideally using
a function with air circulation (e.g. “Forced Air” or
“Convection Bake”).
Please note: It is advisable to air the room after using the
appliance for the rst time.
DAILY USE
1. SELECT A FUNCTION
Press to switch on the oven: the display will show
the last running main function or the main menu.
The functions can be selected by pressing the icon for
one of the main functions or by scrolling through a
menu: To select an item from a menu (the display will
show the first available item), press
or to select
the desired one, then press
to confirm.
6. Keep Warm
2. SET THE FUNCTION
After having selected the function you require, you
can change its settings. The display will show the
settings that can be changed in sequence. Pressing
allows you to change the previous setting again.
TEMPERATURE / GRILL LEVEL
TEMPERATURE
When the value flashes on the display, press or to
change it, then press
to confirm and continue with
the settings that follow (if possible).
In the same way, it is possible to set the grill level:
There are three defined power levels for grilling: 3
(high), 2 (mid), 1 (low).
Please note: Once the function has been activated, the
temperature/grill level can be changed using
or .
DURATION
DURATION
When the icon flashes on the display, press or
to set the cooking time you require and then press
to confirm. You do not have to set the cooking time
if you want to manage cooking manually (untimed):
Press
or to confirm and start the function. By
selecting this mode, you cannot program a delayed
start.
Please note: You can adjust the cooking time that has been
set during cooking by pressing
: press or to amend it
and then press
to conrm.
Loading ...
Loading ...
Loading ...