Loading ...
Loading ...
Loading ...
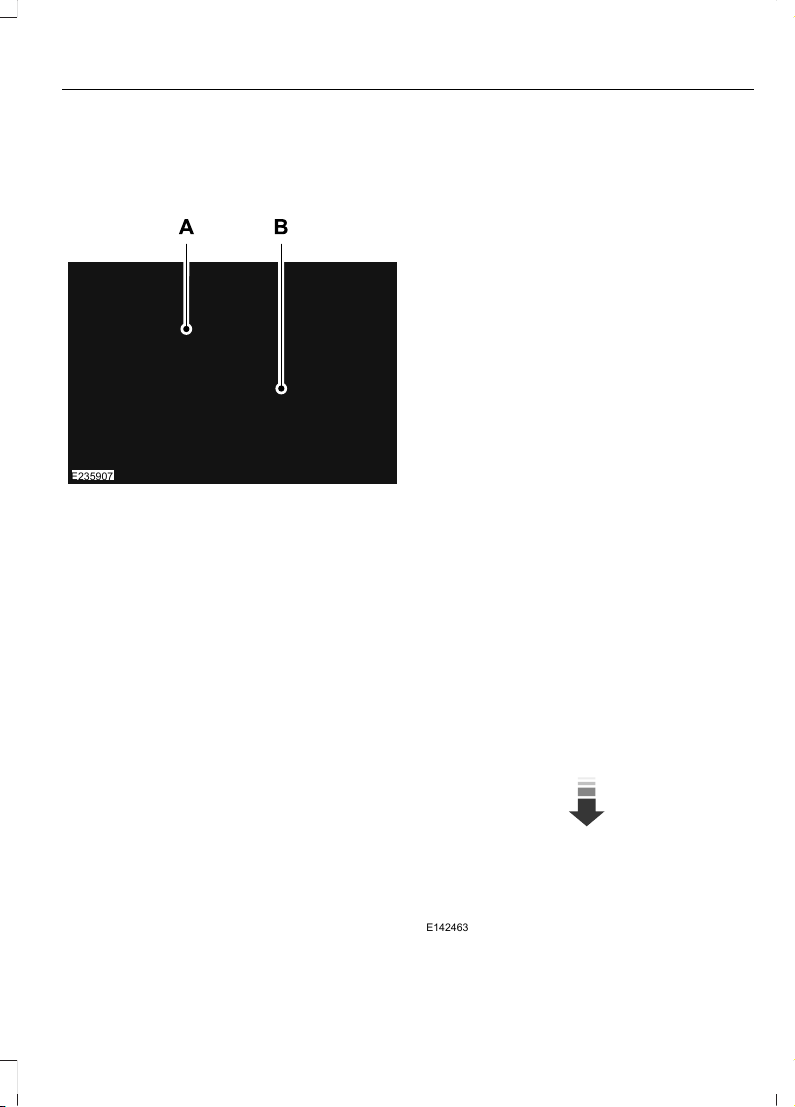
Note: If you incorrectly connect the battery
clamps, the reverse polarity protection of
the charger ensures that the battery and
charger are not damaged.
E235907
1. Connect the positive (+) red cable to
the positive (B) post.
2. Connect the negative (-) black cable
to the negative (A) post.
3. Connect the charger to the wall socket.
4. Disconnect the charger from the wall
socket before disconnecting the
battery.
5. Disconnect the black clamp before the
red clamp.
The battery charger and maintainer
charges the battery to a full charge and
then monitors the charge as the car sits. If
the battery charge level drops, the
maintainer turns on to keep the battery
fully charged. You can keep the car stored
with the charger and maintainer attached.
For further information on the charger, see
the instructions provided with the charger.
Note: If the battery state of charge has
dropped below 10.5 volts, the battery goes
into its under voltage protection mode. If
this has occurred, connect the charger and
press the reset button on the charger for 10
seconds, which wakes up the battery to
allow it to receive a charge.
Note: The GT battery charger and
maintainer is designed for the Lithium
battery used on Ford GT. Use only this
device. A charger designed for a lead acid
battery may damage the lithium battery in
your GT.
Battery Management System
The battery management system monitors
battery conditions and takes actions to
extend battery life. If excessive battery
drain is detected, the system temporarily
disables the electrical systems to protect
the battery.
Use the charger to bring the battery back
to full charge.
Electrical Accessory Installation
Note: If you add electrical accessories or
components to the vehicle, it may adversely
affect battery performance and durability.
This may also affect the performance of
other electrical systems in the vehicle.
CHECKING THE WIPER
BLADES
E142463
169
Ford GT (CGX) Canada/United States of America, enUSA, Edition date: 201908, First-Printing
Maintenance
Loading ...
Loading ...
Loading ...