12/2019
- 1 -
Copyright © 2019, Fast ČR, a.s.
EN Vacuum Cleaner
Translation of the original manual
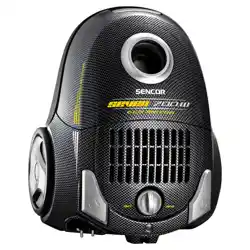
SVC 5501BK 3AAA
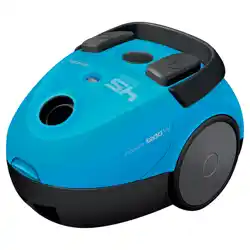
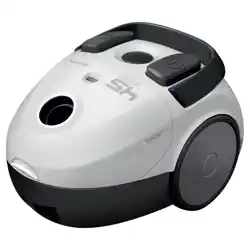
SVC 5500WH 3AAA

12/2019
- 2 -
Copyright © 2019, Fast ČR, a.s.
EN
Vacuum Cleaner
Important safety instructions
READ CAREFULLY AND STORE FOR FUTURE USE.
■
This appliance may be used by children 8 years of age and older and by persons
with physical or mental impairments or by inexperienced persons, if they are
properly supervised or have been informed about how to use the product in
asafe manner and understand the potential dangers.
■
Children must not play with the appliance. Cleaning and maintenance
performed by the user must not be performed by unsupervised children.
■
In the event that the power cord is damaged, have it repaired at aprofessional
service centre to prevent causing adangerous situation. It is forbidden to use
the appliance if it has adamaged power cord.
■
Pull the power plug out of the socket before cleaning the appliance or
performing maintenance.
■
This vacuum cleaner is designed for use in households, offices and similar
types of areas. Do not use in industrial surroundings.
■ Do not expose the vacuum cleaner to direct sunlight and do not place it near
an open fire or appliances that are asource of heat.
■
Before connecting the power cord to apower socket, check that the technical
details on the vacuum cleaner’srating label match the electrical voltage in
the socket.
■ Make sure the power cord is not touching ahot surface or sharp objects.
■
Do not submerge the vacuum cleaner under water or any other liquid and do
not rinse it under running water.
■
Before turning on the vacuum cleaner, make sure that the dust bag is inserted
inside and that all the inflow and outflow filters are installed in their place.
■
When the vacuum cleaner is running, ensure that the air outlets and the suction
hole are not blocked.
■ Do not use the vacuum cleaner to vacuum the following items:
– smouldering cigarettes, burning items, matches or embers;
– water and other liquids;
– flammable or volatile materials;
– sharp items, e.g. broken glass, needles, pins, etc.;
– flour, wall plaster, cement and other building materials;

12/2019
- 3 -
Copyright © 2019, Fast ČR, a.s.
–
larger pieces of paper or plastic bags, which can easily block the suction hole.
■
Vacuuming of some types of floors or floor surfaces can create an electrostatic
discharge, which presents no danger to the user.
■ Do not place the suction nozzle or tube against any parts of the face.
■ Always turn off the vacuum cleaner and disconnect it from the power socket
when leaving it without supervision, after finishing using it and before cleaning
it.
■
Disconnect the power cord from the power socket by pulling on the plug, never
pulling on the cord. Otherwise, this could damage the power cord or the socket.
It is recommended to hold the power cord in your hand when winding it up.
■
Do not use the vacuum cleaner if it is not working correctly, if it has been
damaged or has been submerged in water. Do not repair the vacuum cleaner
yourself or make any adjustments to it. Have all repairs or adjustments
performed at an authorised service centre. By tampering with the appliance,
you risk voiding your legal rights arising from unsatisfactory performance or
quality warranty.
12/2019
- 4 -
Copyright © 2019, Fast ČR, a.s.
SVC 5501BK 3AAA
SVC 5500WH 3AAA
2 3 4
7
8
9
10
11
A
12
13
15
16
1 5 6

12/2019
- 5 -
Copyright © 2019, Fast ČR, a.s.
14
17
18
19
20
21
8
5
- 6 -
12/2019
Copyright © 2019, Fast ČR, a.s.
EN
Vacuum cleaner
User'smanual
■
Prior to using this appliance, please read the user’s manual thoroughly, even
in cases, when one has already familiarised themselves with previous use of
similar types of appliances. Only use the appliance in the manner described in
this user’smanual. Keep this user’smanual in asafe place where it can be easily
retrieved for future use.
■
We recommend saving the original cardboard box, packaging material, purchase
receipt and responsibility statement of the vendor or warranty card for at least
the duration of the legal liability for unsatisfactory performance or quality. In
the event of transportation, we recommend that you pack the appliance in the
original box from the manufacturer.
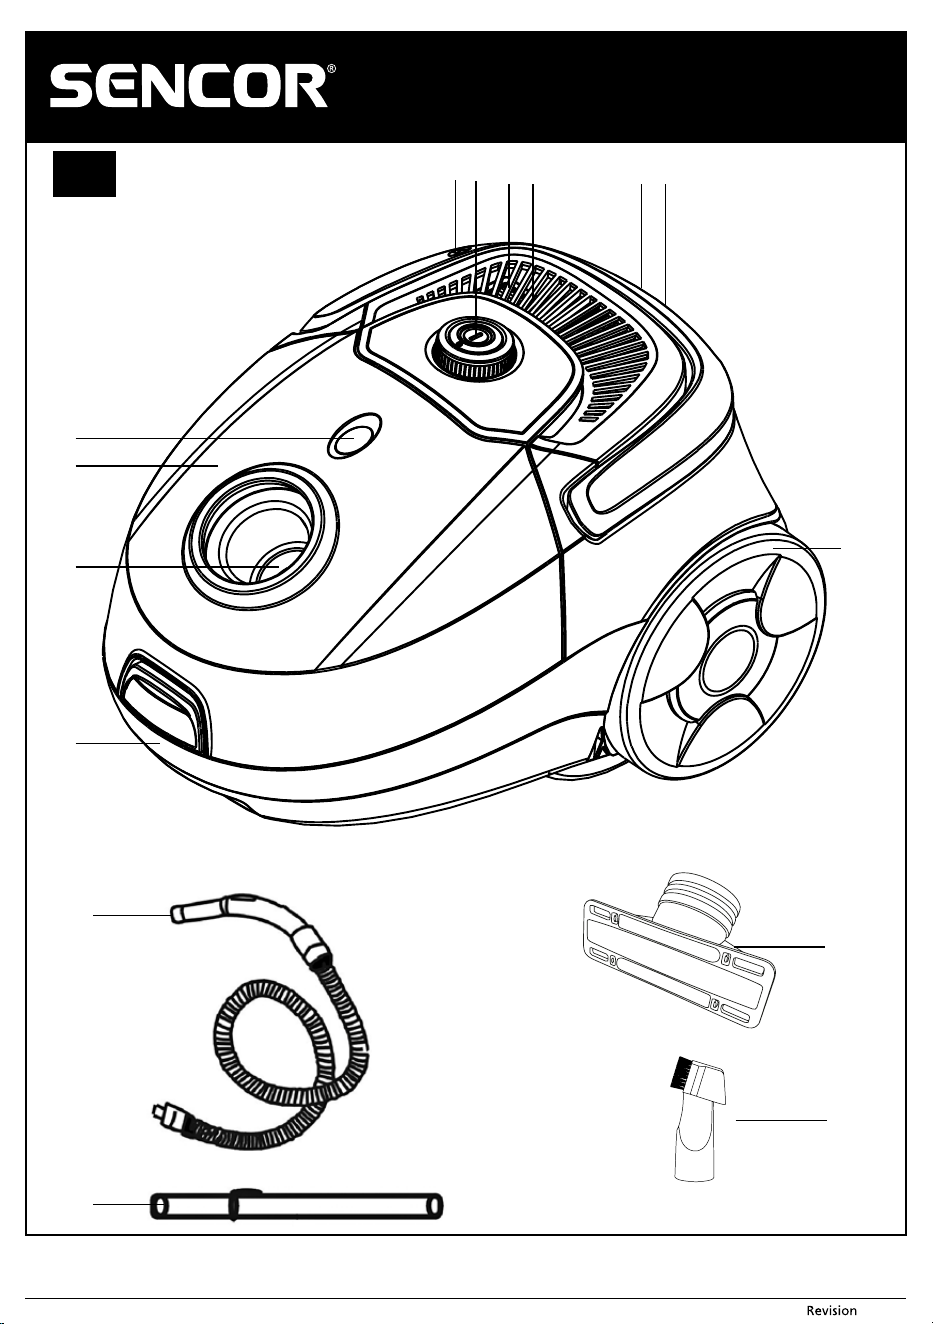
DESCRIPTION OF THE APPLIANCE
A1 Handle, cord winding button
A2 On/O button / electronic motor power control
A3 Outow lter protective grille
A4 Outow lter (located underneath the protective grille)
A5 Groove for the horizontal parking position
A6 On board (2 in 1 brush and crevice nozzle)
A7 Wheel
A8 Handle
A9 Hose connection hole
A10 Top cover
A11 Full dust bag indicator
A12 Flexible hose
A13 Telescopic tube
A14 Floor nozzle
A15 Upholstery nozzle
A16 2 in 1 brush and crevice nozzle
A17 Dust bag
A18 Dust bag holder
A19 Washable inow lter (located behind the removable grille)
A20 Front travel wheel
A21 Vertical parking position
BEFORE FIRST USE
Before rst use, take the appliance and its accessories out of the packaging material
and remove all promotional labels and stickers. Check that neither the appliance nor
any of its parts is damaged.
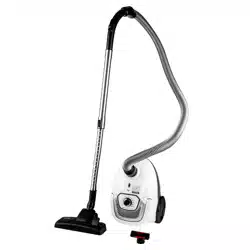
ASSEMBLY
Inserting the hose into the air suction hole on the vacuum cleaner.
Press both the clips on the end of the hose A12 and insert the hose end into the air
suction hole A9 on the vacuum cleaner until you hear a“click”. The hose A12 is now
secured in the correct position.
Attaching the telescopic tube:
Put the exible hose A12 on the wider part of the telescopic tube A13.
Attaching the oor nozzle to the telescopic tube:
Make sure that the oor nozzle A14 is attached to the narrower part of the telescopic
tube A13.
Adjusting the length of the telescopic tube:
Adjust the length of the telescopic tube A13 as required – disengage and hold down
the clip on the tube A13 and at the same time adjust the length of the tube A13 to
the required length. Then release the clip and slide out the tube A13 slightly forward
until you hear a“click”. The telescopic tube A13 is now securely locked in position.
USING THE VACUUM CLEANER
Connecting the vacuum cleaner to the power grid
Wind out the required length of the power cord by pulling on the power plug. Insert
the power plug into apower socket.
Attention:
The yellow marking on the power cord warns you that the
power cord is close to its end. Do not pull the cord farther than
the red marking.
Using the accessories
The oor nozzle A14 is suitable for vacuuming smooth hard oor areas and carpets.
You may set the inlet nozzle according to the oor surface by adjusting the inlet ap:
- If you want to vacuum carpets, close the bristles of the inlet inside the inlet nozzle,
by turning the ap accordingly.
- If you want to vacuum hard and smooth surfaces, extend the bristles out of the
nozzle, by turning the ap accordingly.
The crevice nozzle A16 can be used for vacuuming hard-to-reach places and the
upholstery nozzle A15 is used for gently vacuuming various types of furniture.
The 2-in-1 brush and slot nozzle A16 can be attached directly to the handle of the
exible hose A12 or to the telescopic tube A13.
Turning the vacuum cleaner on and o
To turn on the vacuum cleaner, press button A2. To turn o the vacuum cleaner, press
the button A2 again.
Adjusting the suction power
Suction power can be controlled by turning button A2, which also serves as an
electronic motor power control. Turn the button A2 clockwise towards the MAX
position to increase the power of the vacuum cleaner, turn it in the opposite direction
towards the MIN position to reduce its power. In asmaller range, you may regulate
suction power using the mechanical sliding ap on the hose handle A12.
Tips
Use maximum suction power when vacuuming carpets or hard oors.
Use alower suction power level when vacuuming upholstery, curtains,
etc.
In the event that the hose A12 becomes clogged while vacuuming,
disconnect it from the telescopic tube A13 and likewise disconnect
the hose A12 from the vacuum cleaner. Then insert the holder into
the suction hole on the vacuum cleaner and vacuum out the material
preventing the air ow.
Temporary interruption of the vacuuming process
If you wish to interrupt vacuuming for a while, you can use the horizontal A5 or
vertical A21 parking position on the vacuum cleaner, into which you insert the
stopper on the oor nozzle A14.
Attention:
Do not move the vacuum cleaner from place to place if the hose
is in the parked position! The guide tab on the oor nozzle A14
could brake o.
Ending the vacuuming process
When you nish vacuuming, switch the vacuum cleaner o by pressing button A2
and then disconnect the power cord plug from the power socket.
To wind the power cord back into the vacuum cleaner, press and hold the winding
button A1 with one hand and guide the power cord with the other.
Tip:
If the winding process stops and part of the power cord is still outside,
release the winding button A1 and pull the cable out again by about
50 cm and then press and hold the winding button A1 again and
repeat the winding process.
Carrying the vacuum cleaner
It is possible to hold and carry the vacuum by the handle A1 and A8.
CLEANING AND MAINTENANCE
Disconnect the power plug from the power socket before cleaning.
Warning:
To prevent the risk of injury by electrical shock, do not submerge
the appliance, power cord or power plug in water or any another
liquid.
Changing the dust bag
When the full dust bag indicator A11 lights up, it is necessary to replace the dust bag
A17. If you do not remove the dust bag A17, the vacuum cleaner’ssuction power
will be reduced.
1. Pull the top cover A10 upwards to open it.
2. By pulling on the collar of the dust bag, remove it from the plastic holder A18 and
insert anew bag.
3. Close the top cover A10 of the vacuum cleaner until you hear aclick.
Changing and cleaning the inow lter
1. Pull the top cover A10 upwards to open it.
2. By pulling on the collar of the dust bag, remove it from the plastic holder A18 to
make room for the removal of the lter A19.
3. Remove the protective grille and take out the lter A19.
4. In the event of lighter soiling, the lter A19 can be washed under running
lukewarm water and allowed to dry naturally. Do not dry it over aheater or using
ahair dryer. In the event of strong soiling, replace the lter A19 with anew one.
5. Put the clean and dry lter A19 back in its place secure it using the grille.
- 7 -
12/2019
Copyright © 2019, Fast ČR, a.s.
6. Put the dust bag A17 back in.
7. Close the top cover A10.
Attention:
Never insert the lter back into the vacuum cleaner if it is wet or
damp! Always wait until it is thoroughly dry.
Replacing the outow lter
1. Remove the protective grille A3 and take out the outow lter A4.
2. Replace it with anew one and reinstall the grille A3.
Attention:
Do not use the vacuum cleaner without the lters (A4 and A19)
installed.
Cleaning the vacuum cleaner
To clean the outside parts of the appliance use a ne cloth dipped in lukewarm
water. Do not use aggressive cleaning agents, paint thinners or solvents. Using these
solutions could damage the surface of the appliance.
Storage
You may store the vacuum cleaner disassembled into its individual parts or you can
store it assembled in the parking position.
TROUBLESHOOTING
Before you decide to contact an authorised service centre, please read through the
following table:
Problem Possible cause Possible solution
The motor will
not start
The power cord is not
inserted correctly in the
power socket.
The power socket is
damaged.
The vacuum cleaner is not
switched on.
Insert the plug rmly into
the power socket.
Inspect the power socket.
Turn on the appliance.
Suction power
is weak
The appliance cleaner is
clogged.
The dust bag A17 is full.
Remove the items
that have clogged the
appliance.
Replace it with anew one.
The power cord
is not wound in
completely.
The power cord may have
slipped down from the
winding pulley during
winding.
Hold the cable under
tension while winding
the cable.
The cable cannot
be pulled out.
The cable is wound up
incorrectly.
Press button A1 and try
again
The power
cord winds up
automatically.
The winding mechanism is
damaged.
Contact an authorised
service centre.
It is not possible
to close the top
cover A10.
The inow lter A19 is not
inserted correctly.
Install the inow lter A19
correctly.
TECHNICAL SPECIFICATIONS
Rated voltage range ..........................................................................................................220 – 240 V~
Rated frequency ........................................................................................................................50 / 60 Hz
Rated power input .......................................................................................................................... 700 W
Noise level ......................................................................................................................................75 dB(A)
Length of the power cord ................................................................................................................ 5 m
Operating range .................................................................................................................................. 8 m
Dust bag capacity .................................................................................................................................... 2 l
Dimensions (length × width × height) .....................................................350 × 268 × 228mm
Weight ................................................................................................................................................3.75kg
The declared noise emission level of the appliance is 75 dB(A), which represents alevel
Aof acoustic power with respect to areference acoustic power of 1 pW.
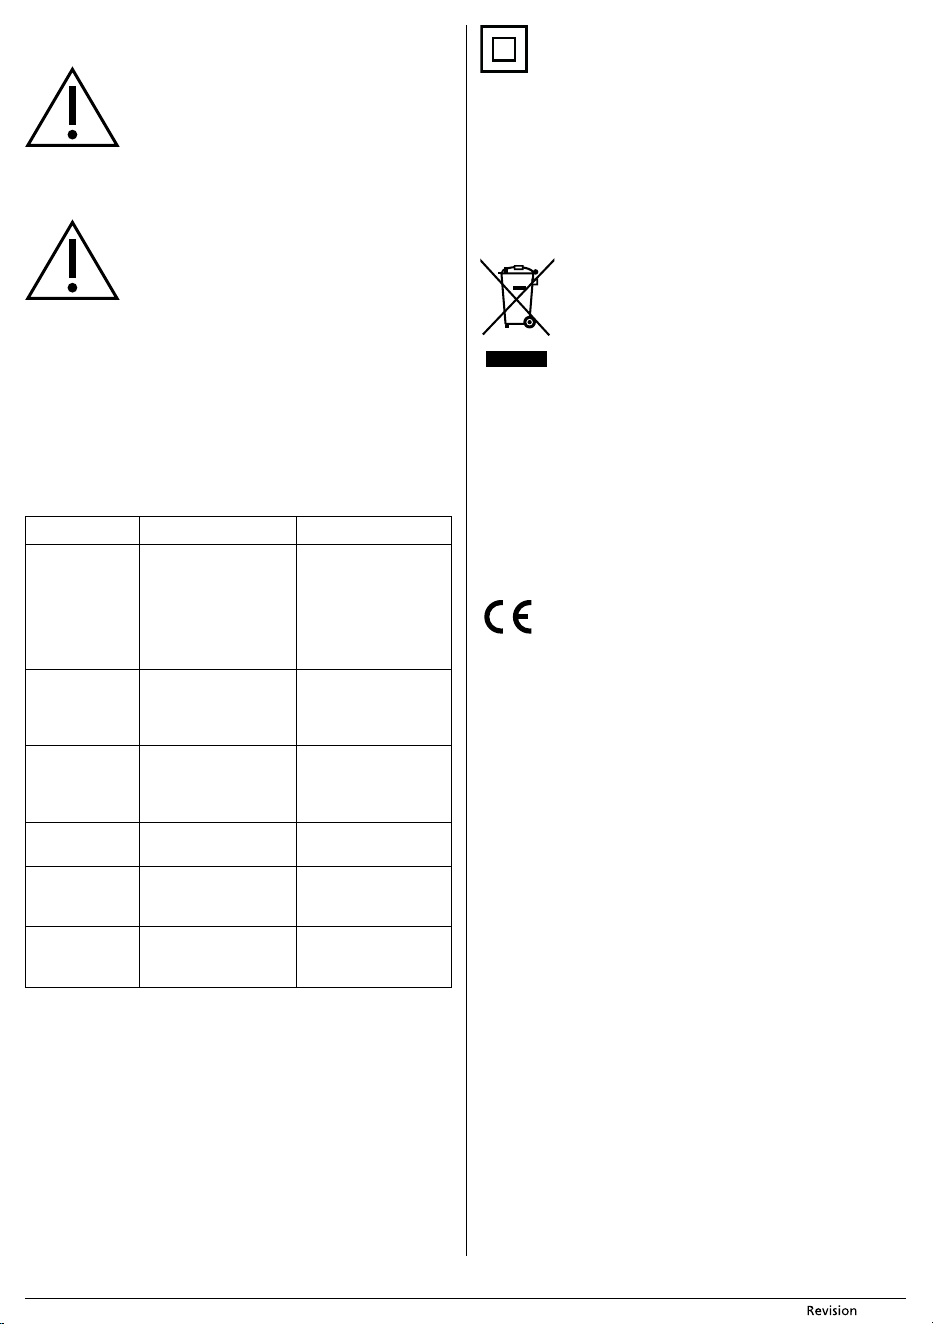
Safety class for electrical shock protection:
Class II – Electrical shock protection is provided by double or heavy-
duty insulation.
We reserve the right to change text and technical specications.
INSTRUCTIONS AND INFORMATION REGARDING
THE DISPOSAL OF USED PACKAGING MATERIALS
Dispose of used packaging material at asite designated for waste in your municipality.
DISPOSAL OF USED ELECTRICAL AND ELECTRONIC
EQUIPMENT
This symbol on products or original documents means that used
electric or electronic products must not be added to ordinary
municipal waste. For proper disposal, renewal and recycling hand
over these appliances to determined collection points. Alternatively,
in some European Union states or other European countries you may
return your appliances to the local retailer when buying an equivalent
new appliance.
Correct disposal of this product helps save valuable natural resources
and prevents potential negative eects on the environment and human health, which
could result from improper waste disposal. Ask your local authorities or collection
facility for more details.
In accordance with national regulations penalties may be imposed for the incorrect
disposal of this type of waste.
For business entities in European Union states
If you want to dispose of electric or electronic appliances, ask your retailer or supplier
for the necessary information.
Disposal in other countries outside the European Union
This symbol is valid in the European Union. If you wish to dispose of this product,
request the necessary information about the correct disposal method from the local
council or from your retailer.
This product meets all the basic requirements of EU directives related to
it.