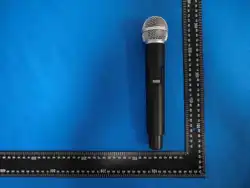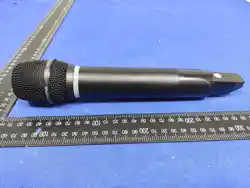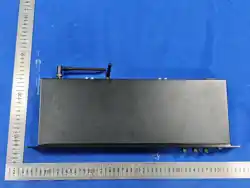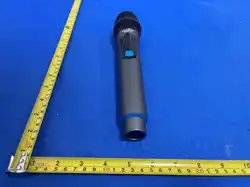
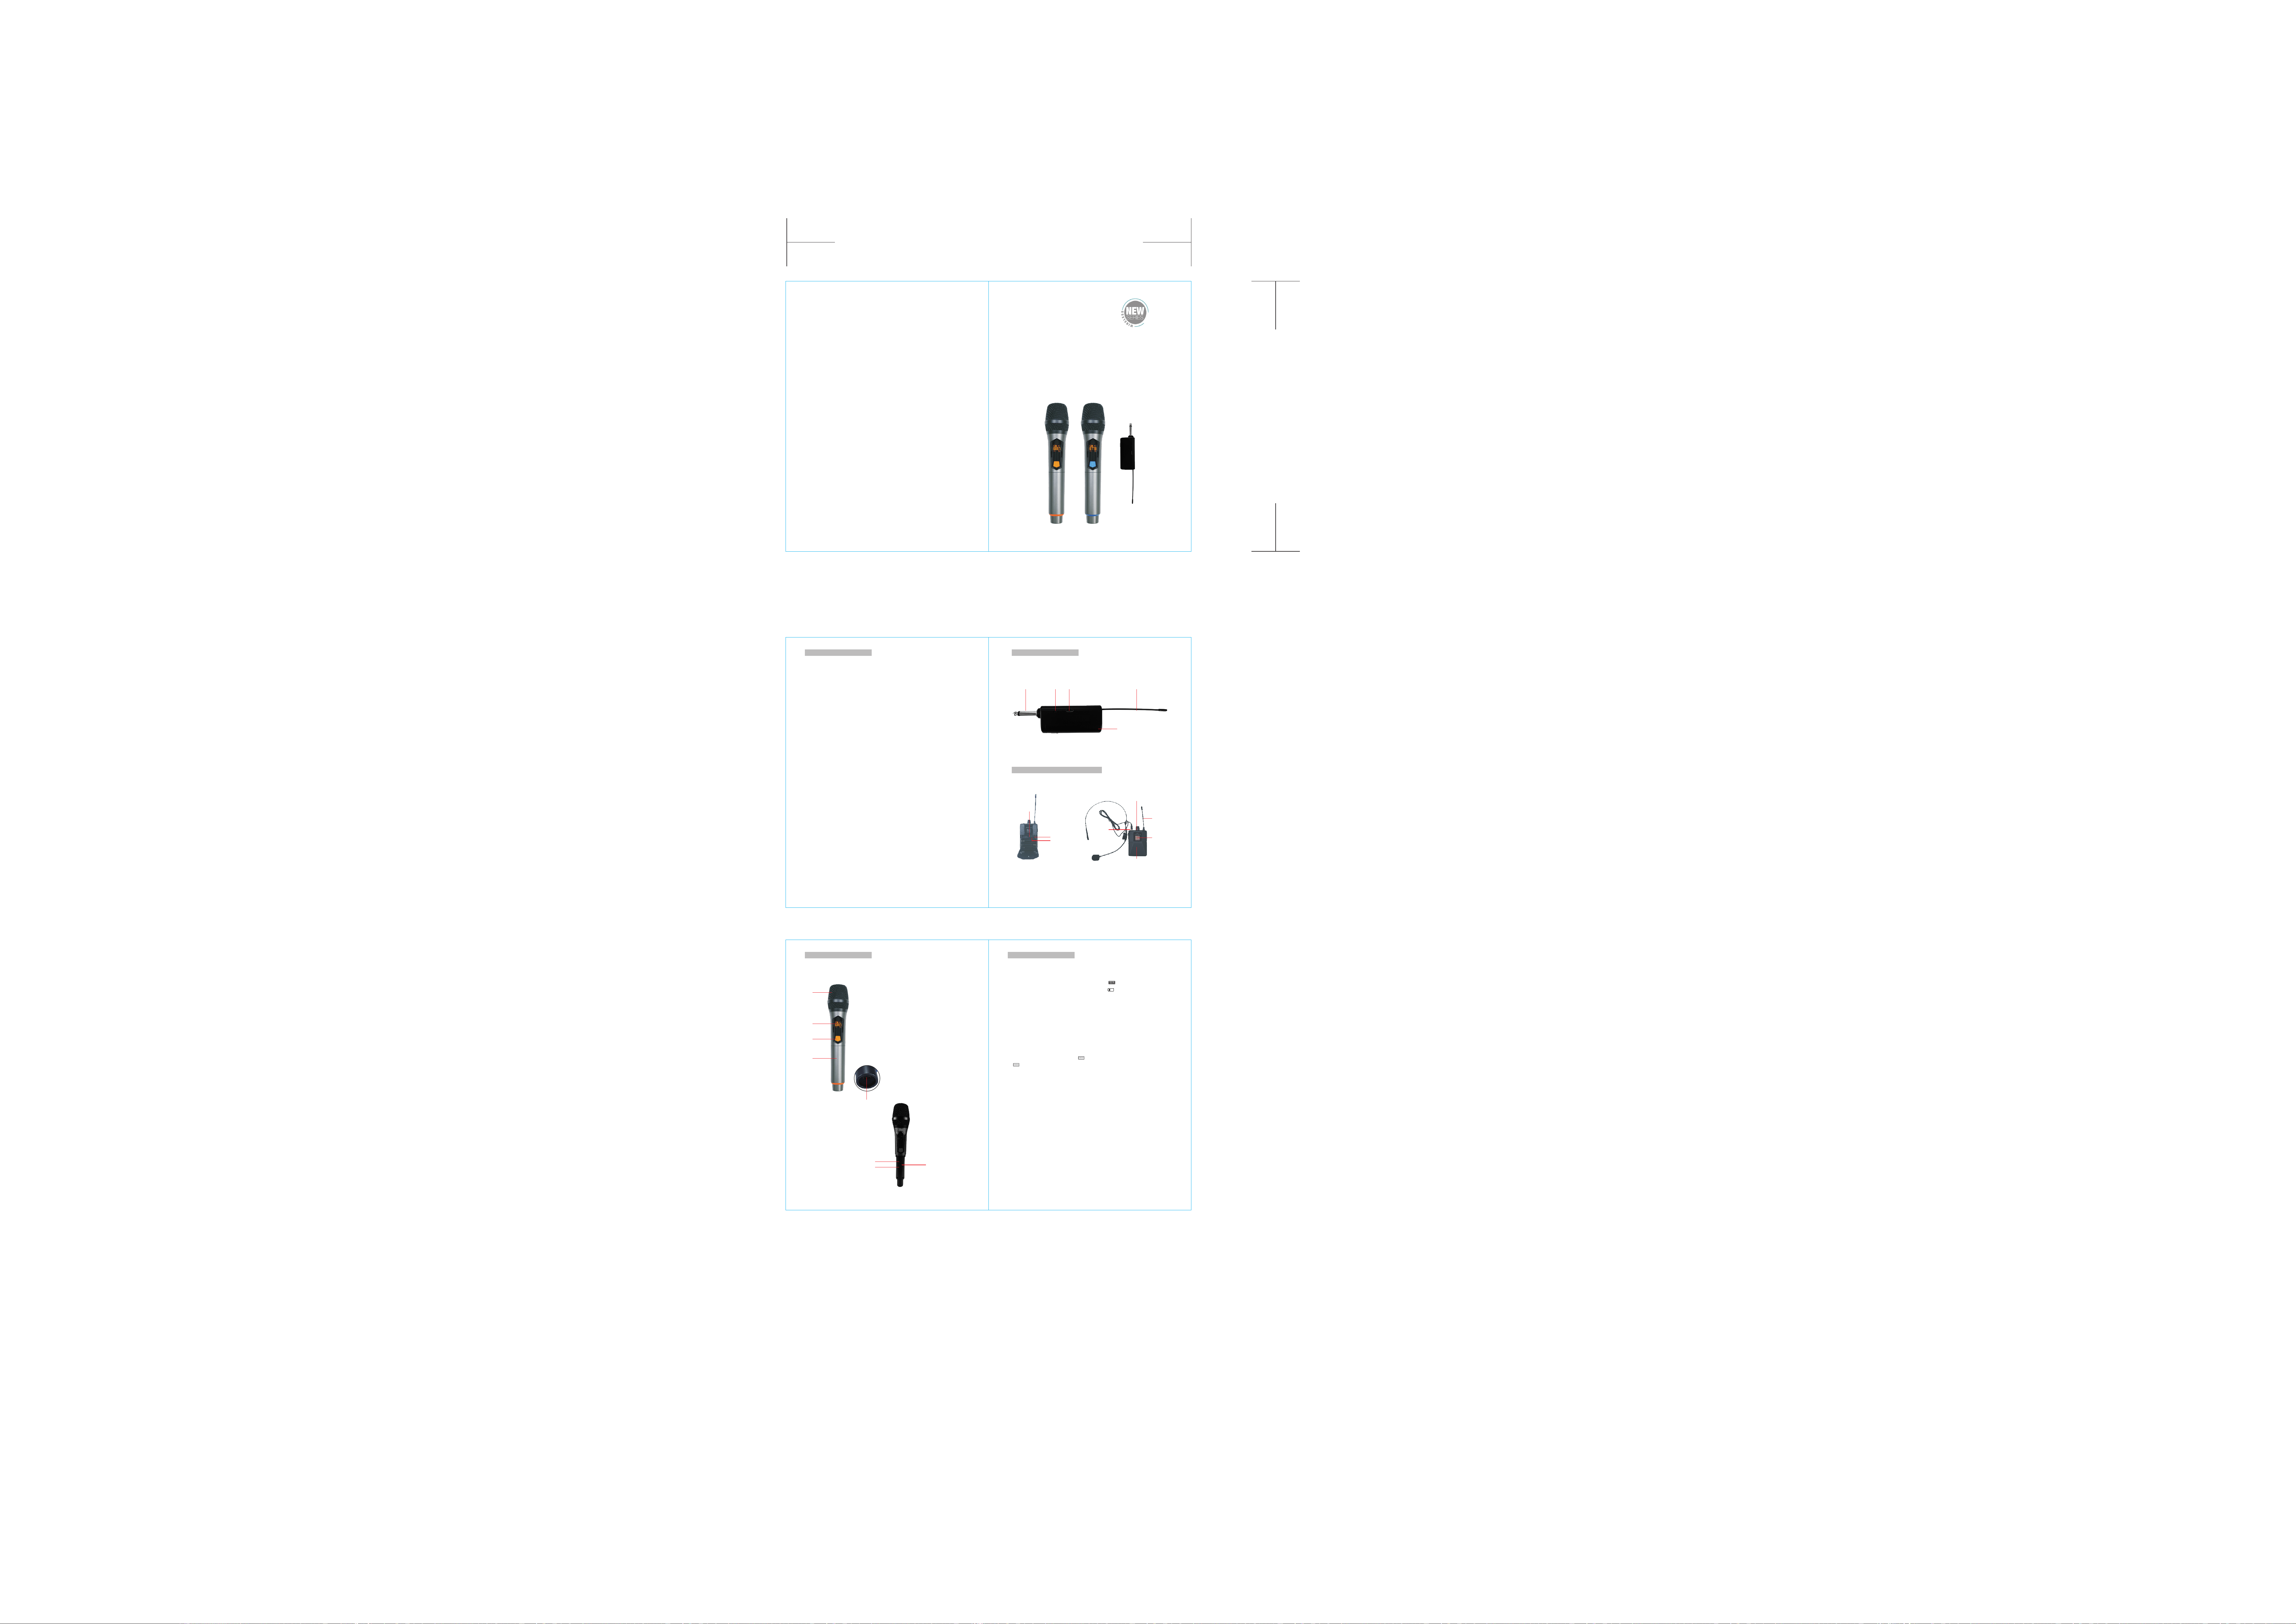
Professional Wireless Microphone
User's Manual
2024-12-27,缩小尺寸发确认...
210MM
140MM
6.35 Jack
ON/OFF
DC5V Charger
Antenna
18650 Battery
Bodypack Transmitter(Optional)
SET (Change
frequency)
Volume (UP)
Volume (Down)
Antenna
Display
2*AA Battery
Switch (ON/OFF)
3.5mm Jack
Receiver
1
Specifications
Comprehensive features:
Carrier frequency range: 550.00-587.40MHz
Modulation Mode: FM adjustable frequency
Max offset frequency: ±30KHz
Frequency Response: 40Hz-20KHz
S/N Ratio: >100dB
Distortion(1KHz): <0.5%
Working temperature -10℃~55℃
Working range: 150FT(Open Area)
Receiver:
Channel: 30x2
Stray radiation suppression: ≥80dB
Image rejection: ≥80dB
Working Current: ≤150mA
Battery: 18650 Lithium Battery
Battery Capacity: 1200mAH
Charging Time: 3~4 Hours
Working Time: 7~8 Hours
Handheld Transmitter:
RF Power Output: ≤10mW (Depends on the country standard)
Transmit frequency stability: <30ppm
Dynamic Range: ≥100dB(A)
Frequency Response: 40Hz-20KHz
Max Input Sound Pressure: 130dB SPL
Microphone Pickup : Dynamic
Power: 3.7V 18650 Lithium battery
Bodypack Transmitter:
RF Power Output: ≤10mW (Depends on the country standard)
Transmit frequency stability: <30ppm
Dynamic Range: ≥100dB(A)
Frequency Response: 40Hz-20KHz
Power: 1.5Vbattery x 2
4
①
②
③
④
⑤
1.Microphone head
2. Display
3. Switch
4.18650 Battery
5. DC5V Charger
Handheld Transmitter
Setting (Change frequency)
Volume (Up)
Volume (Down)
2
Instructions
Note: When work with 2 sets or more simultaneously, plese make sure mics are
set with different channels.
1.Microphone
Hold down power button for 3 seconds to turn on/off mic. When mic is on, press
channel-adjust button to adjust the channel. Then " " on the screen will show
channel like CH01, CH02, CH03 and so on. When " " shows in the screen and
keeps flash, it means the battery is under low power status.
2.Receiver
Turn on the receiver and plug it into the audio outlet(Amplifier). If RF microphone
is on, mic will work normally.
3.Pairing Method
Turn on the receiver and turn off mic first. Make sure both mic and receiver within 1M
distance. Hold down the channel-adjust button of mic first, and then press power
button of mic. When screen shows " ", release both buttons and wait for seconds.
lf " " disappears, it means pairing is successful."
3
FCC Warnning:
This equipment has been tested and found to comply with the limits for a Class B digital device,
pursuant to part 15 of the FCC Rules. These limits are designed to provide reasonable
protection against harmful interference in a residential installation. This equipment generates,
uses and can radiate radio frequency energy and, if not installed and used in accordance with
the instructions, may cause harmful interference to radio communications. However, there
is no guarantee that interference will not occur in a particular installation. If this
equipment does cause harmful interference to radio or television reception, which can be
determined by turning the equipment off and on, the user is encouraged to try to correct
the interference by one or more of the following measures:
• Reorient or relocate the receiving antenna.
• Increase the separation between the equipment and receiver.
• Connect the equipment into an outlet on a circuit different from that to which the receiver is
connected.
• Consult the dealer or an experienced radio/TV technician for help.
Caution: Any changes or modifications to this device not explicitly approved by manufacturer
could void your authority to operate this equipment.
This device complies with part 15 of the FCC Rules. Operation is subject to the following two
conditions:
(1)This device may not cause harmful interference, and (2) this device must accept any
interference received, including interference that may cause undesired operation.
This equipment complies with FCC radiation exposure limits set forth for an uncontrolled
environment. This equipment should be installed and operated with minimum distance 0cm
between the radiator and your body.