Wire channel
Wire channel
Cover
glass panel
Wire channel
Wire channel
Cover
glass panel
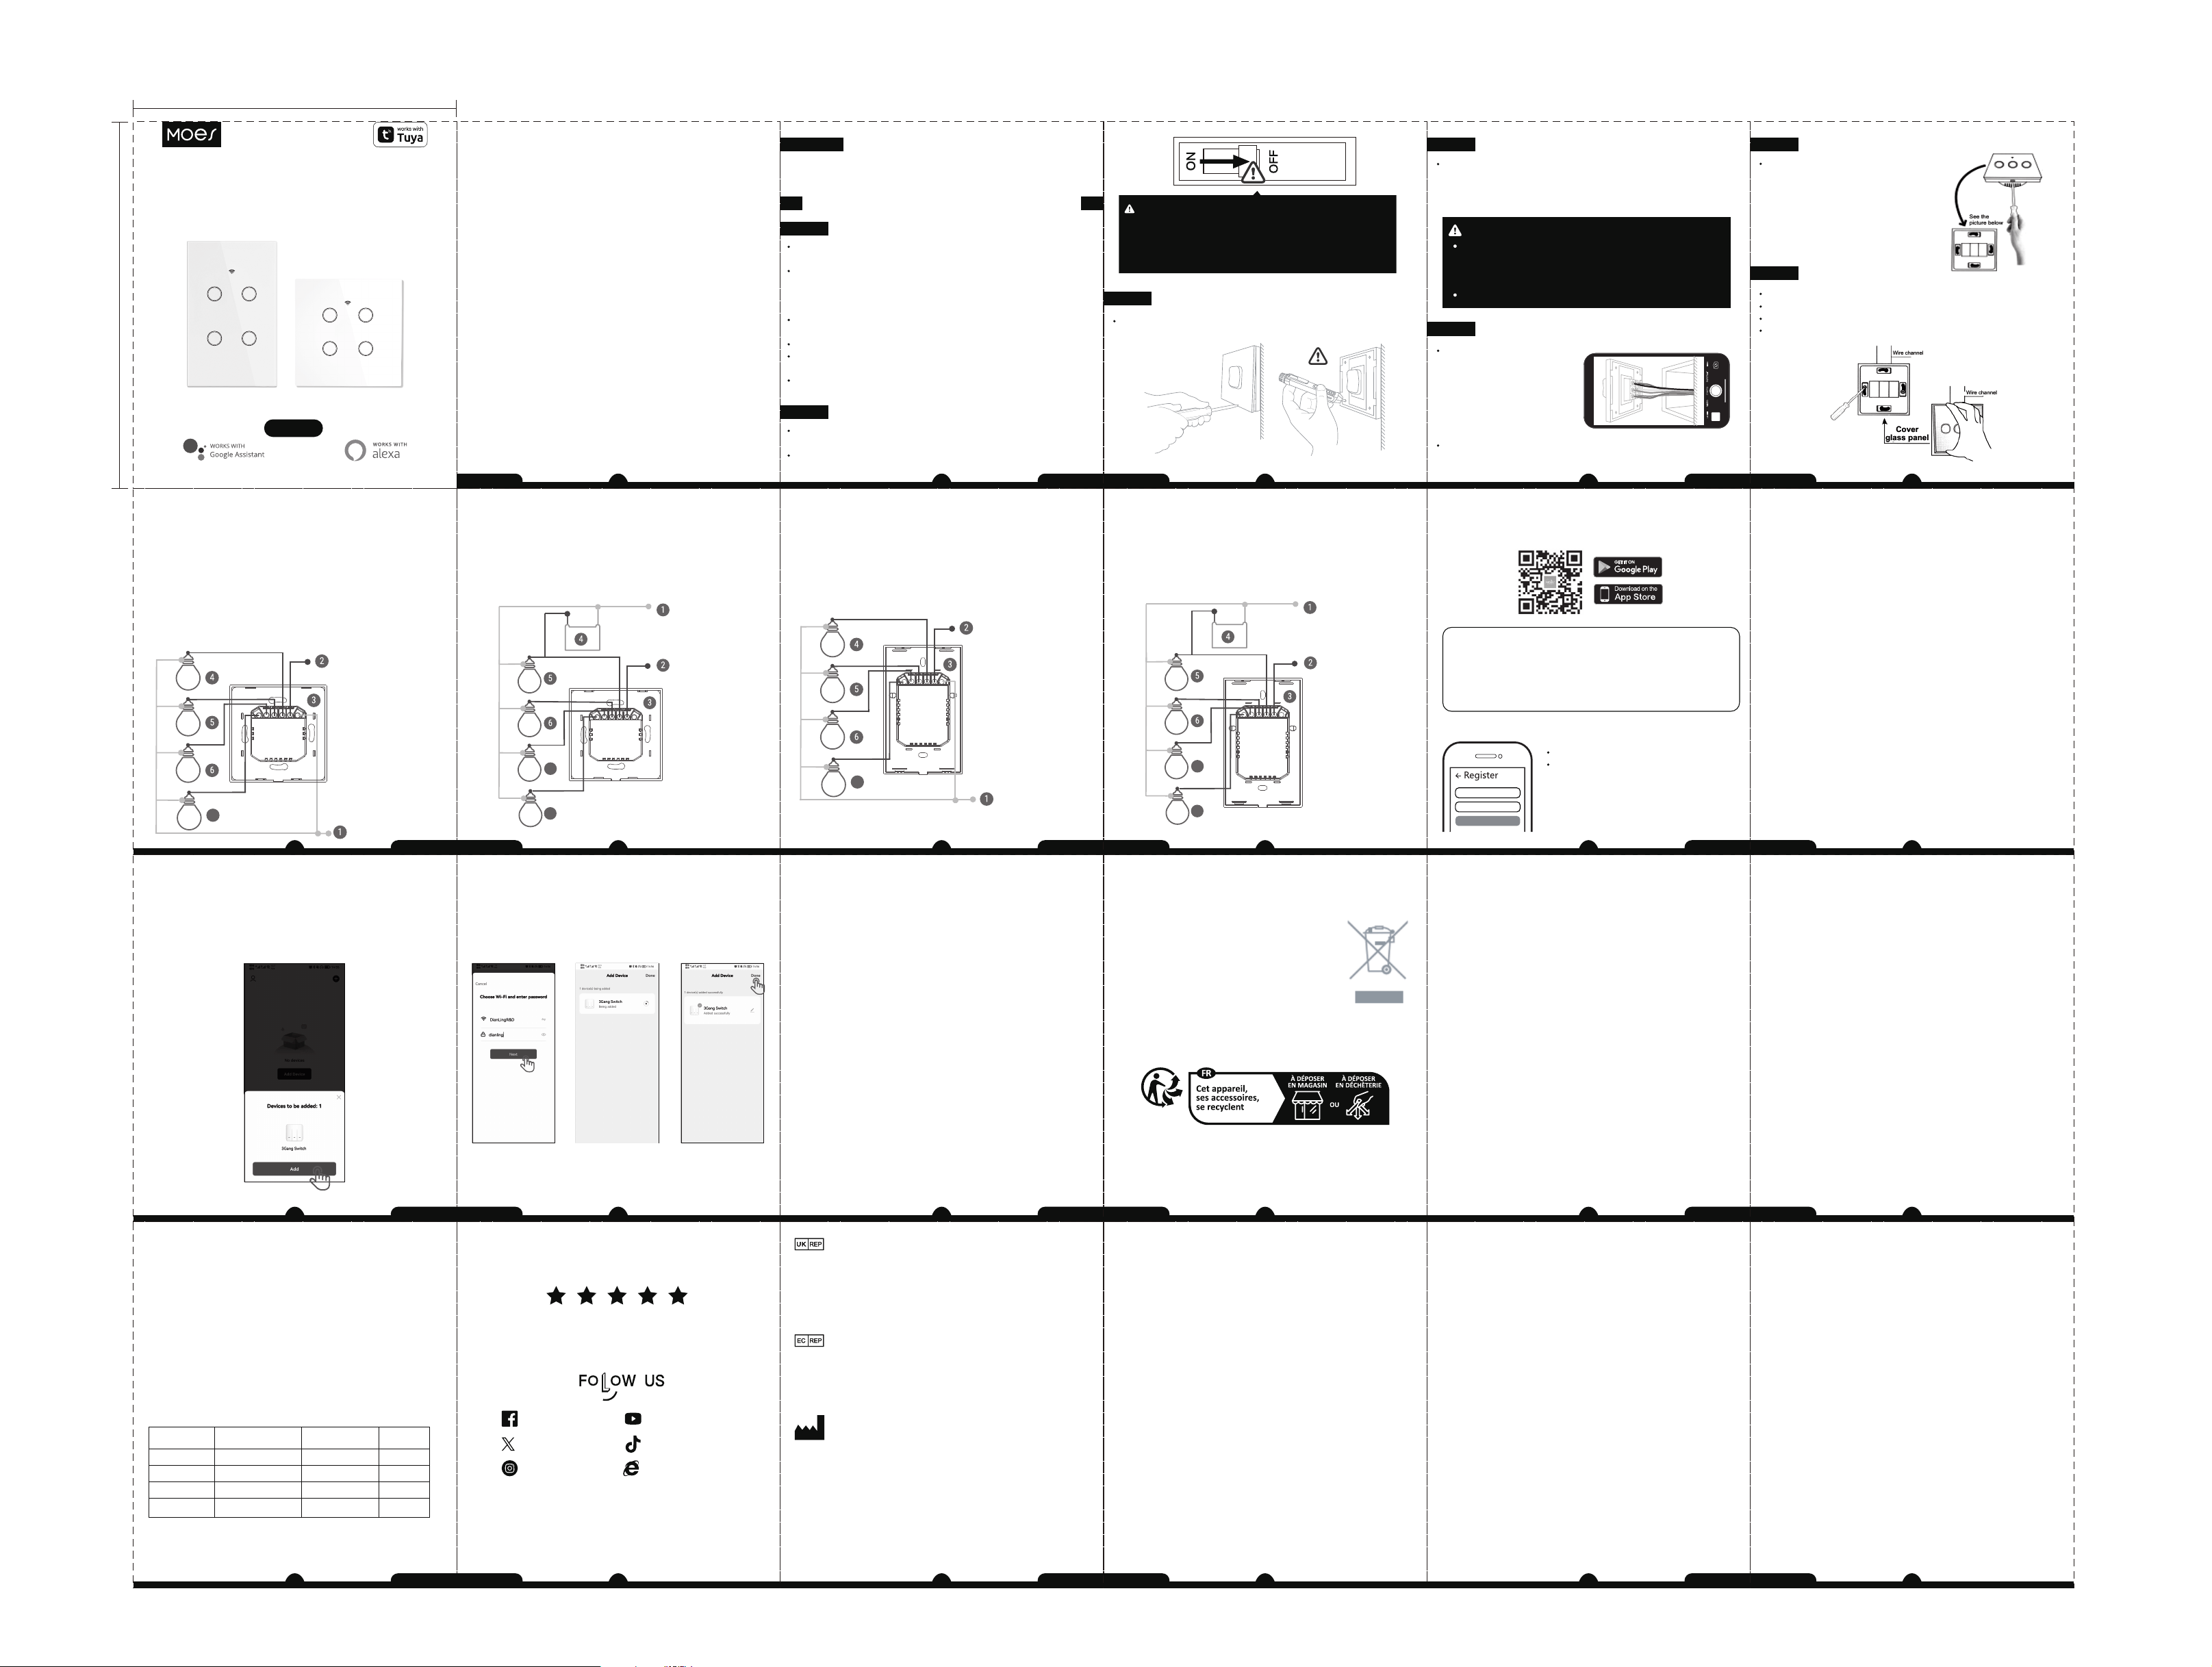
Wiring diagram
Please select the wiring method according to the actual situation.
Note: Disconnect the power supply before wiring.
EU switch wiring method
Neutral wire is required on the switch according to the
following diagram wiring.
1-Neutral wire.
2-Live wire.
3-Switch.
4.5.6.7-Lighting,They're between L1,L2,L3,L4 and Neutral wire.
7
L4 L3 L2 L1 L N
Neutral wire
Live wire
Neutral wire is required
on the switch
7
8
L4 L3 L2 L1 L N
Neutral wire
Live wire
No neutral wire is required on the switch according to the
following diagram wiring.
1-Neutral wire.
2-Live wire.
3-Switch.
4-Capacitor,it must to be connected to L1 and Neutral wire.
5.6.7.8-Lighting,They're between L1,L2,L3,L4 and Neutral wire.
US touch switch wiring method
Neutral wire is required on the switch according to the
following diagram wiring.
1-Neutral wire.
2-Live wire.
3-Switch.
4.5.6.7-Lighting,They're between L1,L2,L3,L4 and Neutral wire.
L4 L3 L2 L1 L N
7
Neutral wire
Live wire
Neutral wire is required
on the switch
7
8
Neutral wire
Live wire
L4 L3 L2 L1 L N
No neutral wire is required on the switch according to the
following diagram wiring.
1-Neutral wire.
2-Live wire.
3-Switch.
4-Capacitor,it must to be connected to L1 and Neutral wire.
5.6.7.8-Lighting,They're between L1,L2,L3,L4 and Neutral wire.
App pairing switch
Bluetooth Mode (Default Setting)
3. Open your MOES app, and a pop-up window named
“device to be added:1” will pop up at the bottom, and click
“Add”.
Note:
If there is no pop-up window in the app interface, just restart
the app.
WS-DL-EU-L-WS-DL-US-L-MS-DH20
Instruction Manual
Smart Wi-Fi+BLE Light Switch
English
HOME, SMART MOES HOME
1
English
2
English
Product description
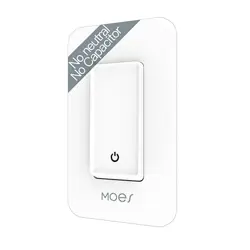
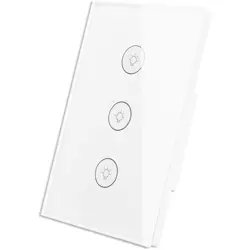
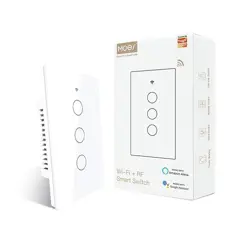
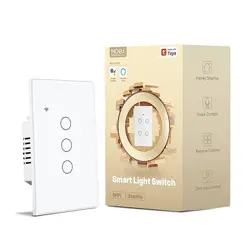
This new designed glass touch panel smart switch supporting
wireless protocol of WiFi will replace traditional switches
for its various ways to control. Now one new smart feature
of multi-control association to other smart switches is added
into the MOES App, together with the backlight on/off and
relay status. With a scratch-resistant and high-quality glass
panel, the appearance is exquisite and suitable for diverse
decoration styles.
Risk of Electric Shock:Electricity can cause personal injury and
property damage if handled improperly.If you are not sure about
any part of these instructions,please seek professional
assistance from a qualified electrician.
Model: DS-101JL / DS-121JL
Voltage: 100-240V AC, 50/60Hz
Max. Load: 10-400W/Gang INC; 10-200W/Gang LED
Wireless Protocol: Wi-Fi 2.4GHz
Maximum Radio Transmit Power: < + 16dbm
Technical parameters
Warnings:
Turn off the power at the circuit breaker and test that power is
off before wiring.
Safety information
Installation
Make sure that the power at the circuit breaker is off before
wiring.
Neutral Wire is required.Confirm the wall box contains a Neutral
Wire(typically white).If the wall box don’t have a Neutral
Wire,please try another location at your home or call a
professional electrician to install the switch.
The wire colors indicated in this manual are the usual colors and
may differ in some houses.
Ensure the wire conductors are securely fastened to each wire.
Ensure the Wi-Fi signal is steady and normally working before
wiring.
If you don’t have any wiring experience,please call a professional
electrician.
Turn off the circuit breaker and use the electrical tester to test
the power.
Ensure the circuit breaker is off before wiring.
Note:
Step 1
Please disconnect the power supply before installing or
removing the device for avoiding irreversible damage on
the device from the electric current or some unpredictable
problems such as lamp flashing.
Attention:
3
English
4
English
Remove the old switch
Step 2
Remove the switch and pull it away from the wall.
Identify Line/Load Wire
(Note:The color of your wire may be different from the color
shown on the manual.)
We recommend you remove the faceplate from the old
switch and use an electrical tester to test all wires
connected to the switch to ensure there is no voltage in the
circuit.
You may need to turn off more than one circuit breaker.
Verify power is off
Take pictures of the wiring
Follow the wiring diagram to connect the switch wires to the
wires in the wall box with the wire conductors.
Step 3
Step 4
5
English
6
English
Remove the panel with screwdriver
(Please don’t install with electricity
power on)
See the
picture below
See the
picture below
Step 5
Put the switch into switch box in the wall
Mount the two side screws
Install the glass panel (install from up above)
Finish installation
Step 6
7
English
8
English
9
English
10
English
1
1. Download MOES App on App store or scan the QR code
2. Registration or Log in
Download “MOES” Application.
Enter the Register/Login interface;
tap “Register”to create an account
by entering your phone number to
get verification code and “Set
password”. Choose “Log in” if you
already have a MOES account.
Mobile number/e-mail address
Region
Obtain verification code
Preparation for use
MOES App is upgraded as much more compatibility than Tuya
Smart/Smart Life App,functional well for scene controlled by
Siri,widget and scene recommendations as the fully new
customized service.
(Note: Tuya Smart/Smart Life App still works,but MOES App
is highly recommended)
11
English
12
English
1. Please turn on your phone's Bluetooth and Wi-Fi.
2. Power on the switch.The switch indicator light will
automatically enter the fast flashing status when it is powered
on.
Note:
a. If the switch is not connected to the APP for 3 minutes, the
indicator will be always on.
b. The indicator stops flashing, please long press the button for
(about 10 seconds) until the indicator enters a flashing status.
c. Whether the indicator light is flashing or slow flashing,
Bluetooth pairing connection can be used.
13
English
14
English
4. Enter the WiFi account and password, click “NEXT" and
wait for the connection to be completed, then click "Done"
to complete the connection.
Note:
Wi-Fi only support a 2.4GHz network (802.1 b/g/n).
15
English
16
English
Controlyourhomewithyourvoice
DevicesarecompatiblewithAmazonAlexaandGoogleHome
supportedfunctionalities.
Pleaseseeourstep-by-stepguideon:
https://www.moestech.com/blogs/news/smart-
device-linked-voice-speaker
Declaration of conformity
Hereby,WENZHOUNOVANEWENERGYCO.,LTDdeclares
thattheradioequipmenttypeDS-101JL / DS-121JLisin
compliancewithDirective 2014/53/EU,2014/35/EU,2014/
30/EU,2011/65/EU. ThefulltextoftheEUdeclarationof
conformityisavailableatthefollowing internetaddress:
https://www.moestech.com/blogs/news/ws-dl-eu-l-ws-dl-us-l
RECYCLING INFORMATION
All products marked with the symbol for separate collection
of waste electrical and electronic equipment (WEEE Directive
2012/19 / EU) must be disposed of separately
from unsorted municipal waste. To protect your
health and the environment, this equipment must
be disposed of at designated collection points for
electrical and electronic equipment designated
by the government or local authorities. Correct
disposal and recycling will help prevent potential
negative consequences for the environment and
human health. To find out where these collection points are and
how they work, contact the installer or your local authority.
WARRANTY INSTRUCTIONS
Dear Sir or Madam, thank you for purchasing the product.
We hope you'll enjoy using it.
The warranty for the products in the warranty card is hereby
granted as follows.
As a condition of using the warranty, you must comply with
the following terms and procedures:
1. Products are covered by a 24-month warranty, effective
from the date of purchase of the covered product by a retail
customer.
2. In order to exercise warranty rights, the purchaser must
present: a) Warranty card, b) Proof of purchase (VAT invoice,
financial receipt or other document confirming the actual date
of purchase), unless the purchase date of the product comes
from the warranty card.
3. If product quality problems occur within 24 months from the
date of receipt, please prepare the product and packaging and
go to the place or store where you purchased it to apply for
after-sales maintenance. If the product is damaged due to
personal reasons, a certain maintenance fee will be charged.
4. We recommend that you properly protect the goods when
delivering them to the guarantor - for this purpose, we
recommend that you use the original packaging with padding
to ensure safe transportation. If you choose to use replacement
packaging, we recommend that you ensure that the product is
adequately protected from damage during shipping. We
recommend that you place an appropriate sticker on your
17
English
18
English
packaging indicating the product's susceptibility
to impact, such as "Warning Glass".
5. Reported defects covered by the warranty will be considered
immediately and no later than 14 days from the date of delivery
of the goods to the Guarantor.
6. After checking and determining the legality of the warranty
claim, the Guarantor's services will repair the product within a
reasonable time, not exceeding 30 days from the date of delivery
of the goods to the Guarantor. However, if hard-to-find spare
parts are required, this deadline may extend the time it takes
to deliver the part from the manufacturer's factory.
7. The warranty does not include the performance of mainte-
nance and similar operations specified in the user manual, and
users are obliged to do it themselves.
8. If defects occur due to natural wear and tear during use, the
warranty does not cover it.
9. The warranty does not cover:
a) Mechanical damage caused by the user’s fault and product
defects caused by such damage.
b) Damage caused by improper use of the product.
10. The rights under the guarantee will expire in the following
circumstances:
a) Remove the warranty seal from the product.
b) Remove the serial number from the product.
c) Take action to eliminate physical defects in the product
outside of authorized service.
d) Use non-original parts and consumables.
19
English
20
English
Product Information
Product Name_____________________________________________
Product Type______________________________________________
Purchase Date_____________________________________________
Warranty Period___________________________________________
Dealer Information_________________________________________
Customer's Name_________________________________________
Customer Phone__________________________________________
Customer Address_________________________________________
__________________________________________________________
Maintenance Records
Failure date Cause Of Issue Fault Content Principal
WARRANTY CARD
Thank you for your support and purchase at we Moes, we
are always here for your complete satisfaction, just feel
free to share your great shopping experience with us.
If you have any other need, please do not hesitate to
contact us first, we will try to meet your demand.
MOES.Official
@moessmart
@moes_smart
@moes_smart
@moes_smart
www.moes.net
E‐CrossStu‐GmbH
MainzerLandstr.69,60329FrankfurtamMain
Email:[email protected]
Tel:+4969332967674
Made in China
EVATOST CONSULTING LTD
Address: Suite 11, First Floor, Moy Road
Business Centre, Taffs Well, Cardiff, Wales,
CF15 7QR
Tel: +44-292-1680945
Email: [email protected]
Manufacturer:
WENZHOU NOVA NEW ENERGY CO.,LTD
Address: Power Science and Technology
Innovation Center, NO.238, Wei 11 Road,
Yueqing Economic Development Zone,
Yueqing, Zhejiang, China
Tel: +86-577-57186815
After-sale Service: [email protected]
75MM
85MM
21
English
22
English
23
English