LED Explanation
You can check the router’s working status by
following the LED Explanation.
Button Explanation
Set Up the Network
1. Connect your device to the router wirelessly or with an
Ethernet cable.
New Password:
Let’s Get Started
Conrm Password:
http://tplinkwi.net
Method TWO: Via a Web Browser
2. Launch a web browser and enter http://tplinkwifi.net
or http://192.168.0.1 in the address bar. Create a
password to log in.
3. Follow the step-by-step instructions to set up the
internet connection and register for the TP-Link
Cloud service.
Note: If the login window
does not appear, please
refer to Q1 of Need Help
in this guide.
Method ONE: Via the TP-Link Tether App
1. Download the Tether app.
To enjoy a more complete
service from TP-Link, bind
your TP-Link ID to the router.
Scan for Tether
Tether
or
2. Open the Tether app and log in with your
TP-Link ID.
Note: If you don’t have an account, create one first.
The default wireless network
names (SSIDs) and password
are printed on the label at the
back of the router.
Wireless Password/PIN:XXXXXXXX
SSID:TP-Link_XXXX
SSID:TP-Link_XXXX_5G
SSID:TP-Link_XXXX_6G
2
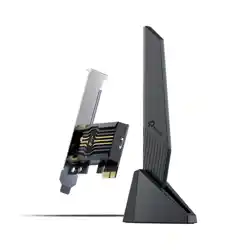
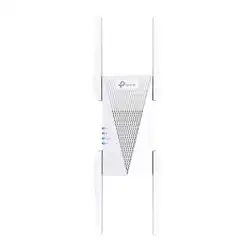
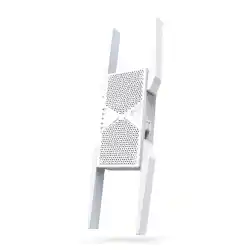
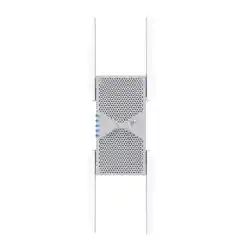
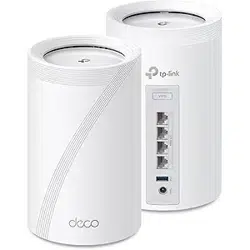
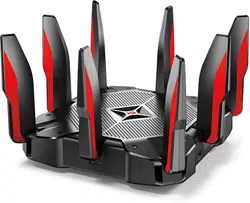
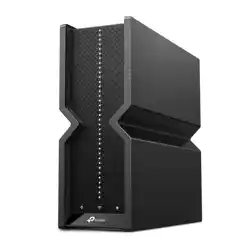
Choose Your Device Type
Gaming Router
Range Extender
Wireless Router
*Images may dier from your actual products.
• Unplug the power to turn o your modem, if any, and remove
the backup battery if it has one.
• Keep the router vertical while working. Refer to Q4 of Need
Help to place the router for optimal Wi-Fi performance.
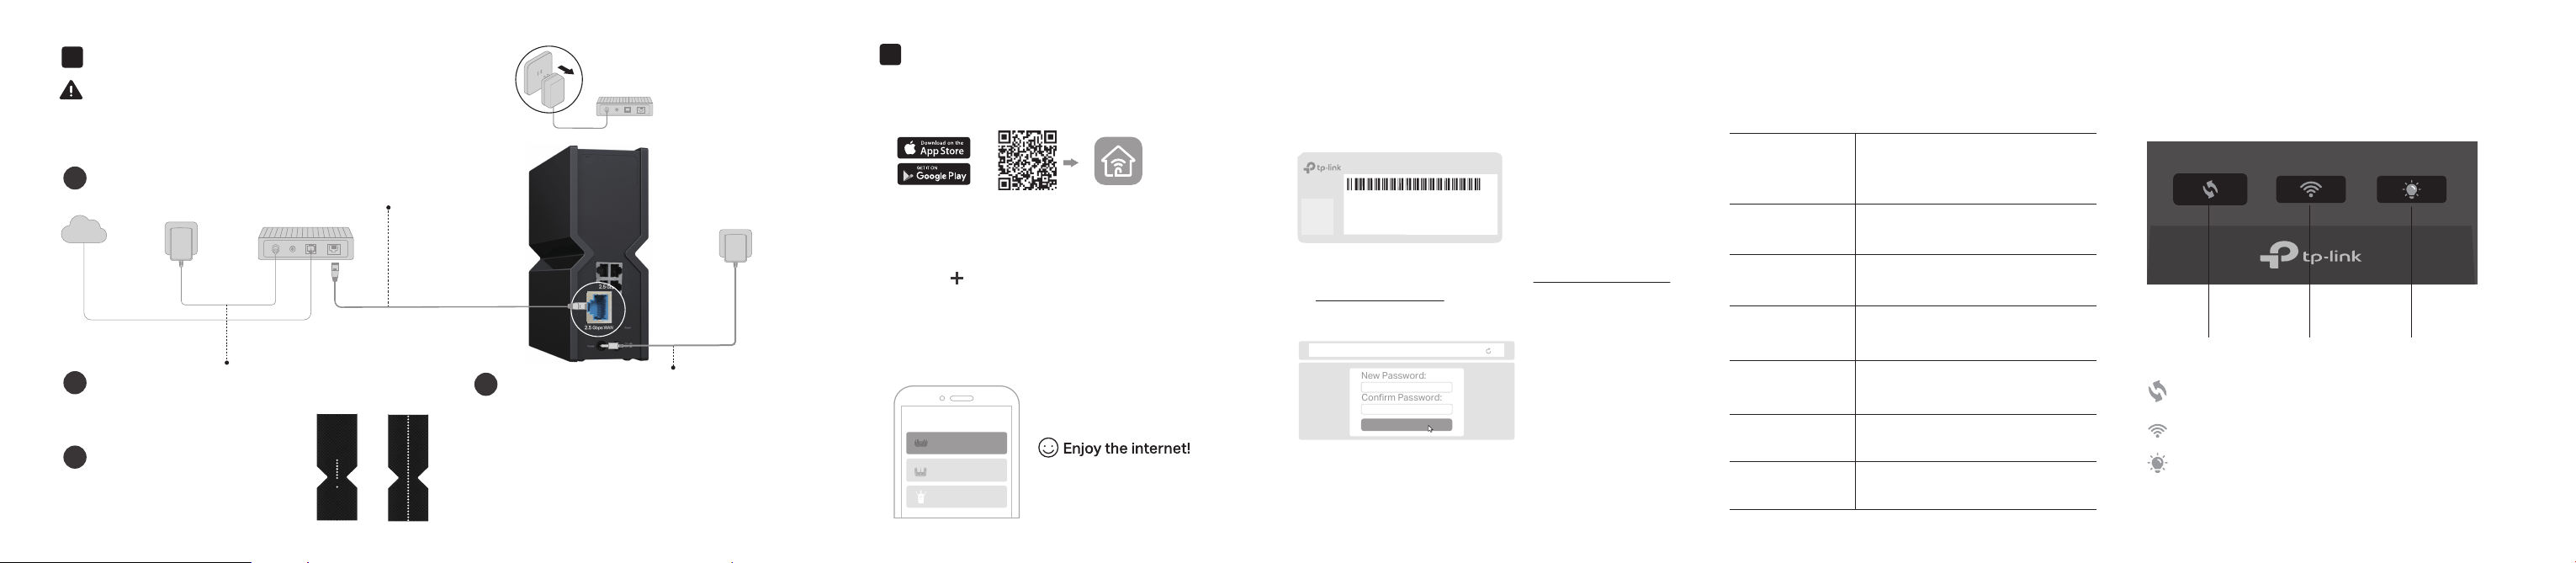
Three physical buttons are located on the front
of the router.
Press the WPS button, and immediately press the WPS
button on your client device to start the WPS process.
Press the LED button to turn on or off the LED of your router.
Press and hold this button for about 2 seconds to turn on or
off the wireless function of your router.
LED ButtonWi-Fi ButtonWPS Button
Power on the modem, and then wait
about 2 minutes for it to restart.
2
Wait until the LED is solid on
(LED Exclamation Point or
All LEDs)
4
Internet
Connect the powered-off modem to the router’s
2.5 Gbps WAN port with an Ethernet cable.
1
Connect the power adapter to the router.
Then press the Power button to turn it on.
3
3. Tap the button in the Tether app and select
Wireless Router > Archer BE550. Follow the
steps to complete the setup and connect to
the internet.
O Power is o or the LED is turned
o.
Blinking Wi-Fi is o.
Blinking The router is disconnected from
the internet, and Wi-Fi is o.
Solid The router is disconnected from
the internet.
Blinking Establishing a WPS connection.
Solid The router is working normally.
Cycling
The system is starting up or the
router is being upgraded. Do not
disconnect or power o your router.
All LEDs
Top 10 LEDs
LED Exclamation Point
LED Exclamation Point
All LEDs
Or
Note: Due to Tether app updates, your actual user interface
and pathway may differ from those depicted here.
Modem
Unplug the power
1
Connect the Hardware
Q1. What should I do if I can’t access the web management page?
•
Reboot your router and try again.
•
If the computer is set to a static IP, change its settings to obtain an IP
address automatically.
•
Verify that http://tplinkwifi.net is correctly entered in the web browser.
Alternatively, enter http://192.168.0.1 or http://192.168.1.1 in the web
browser.
•
Use another web browser and try again.
•
Disable and enable the network adapter in use.
Q2. What should I do if I can’t access the internet?
•
Power off your modem for about 5 minutes, then power it on and check
the internet. If your modem has more than one Ethernet port, keep the
other ports unconnected.
•
Check if the internet is working normally by connecting a computer
directly to the modem via an Ethernet cable. If it is not, contact your
internet service provider.
•
L
og in to the web management page, and go to the Network Map page to
check whether the internet IP address is valid or not. If it’s valid, go to
Advanced > Network > Internet, click Advanced Settings, select Use the
Following DNS Addresses, set the primary DNS to 8.8.8.8, and set the
secondary DNS to 8.8.4.4. If it is not, check the hardware connection or
contact your internet service provider.
•
For cable modem users, log in to the web management page of the router
and go to Advanced > Network > Internet > MAC Clone. Select Clone
Current Device MAC and click SAV E. Then reboot both the modem and
the router.
Q3. What should I do if I forget my wireless password?
• If you have not changed the default wireless password, it can be found on
the label at the bottom of the router.
• Connect a computer directly to the router using an Ethernet cable. Log in to
USB Applications
With the USB port, it’s easy to share files and media with multiple
devices. Visit https://www.tp-link.com/app/usb to learn more about the
USB applications.
Local Storage Sharing: Share les from the USB drive with devices
on your home network
Media Server: Play media from the USB drive on your computer
Remote Access: Access the USB drive when you are away from home
EasyMesh-Compatible
You can experience strong, stable, and seamless wireless
connections throughout your home with EasyMesh.
©2024 TP-Link 7106511636 REV2.0.1
Need Help?
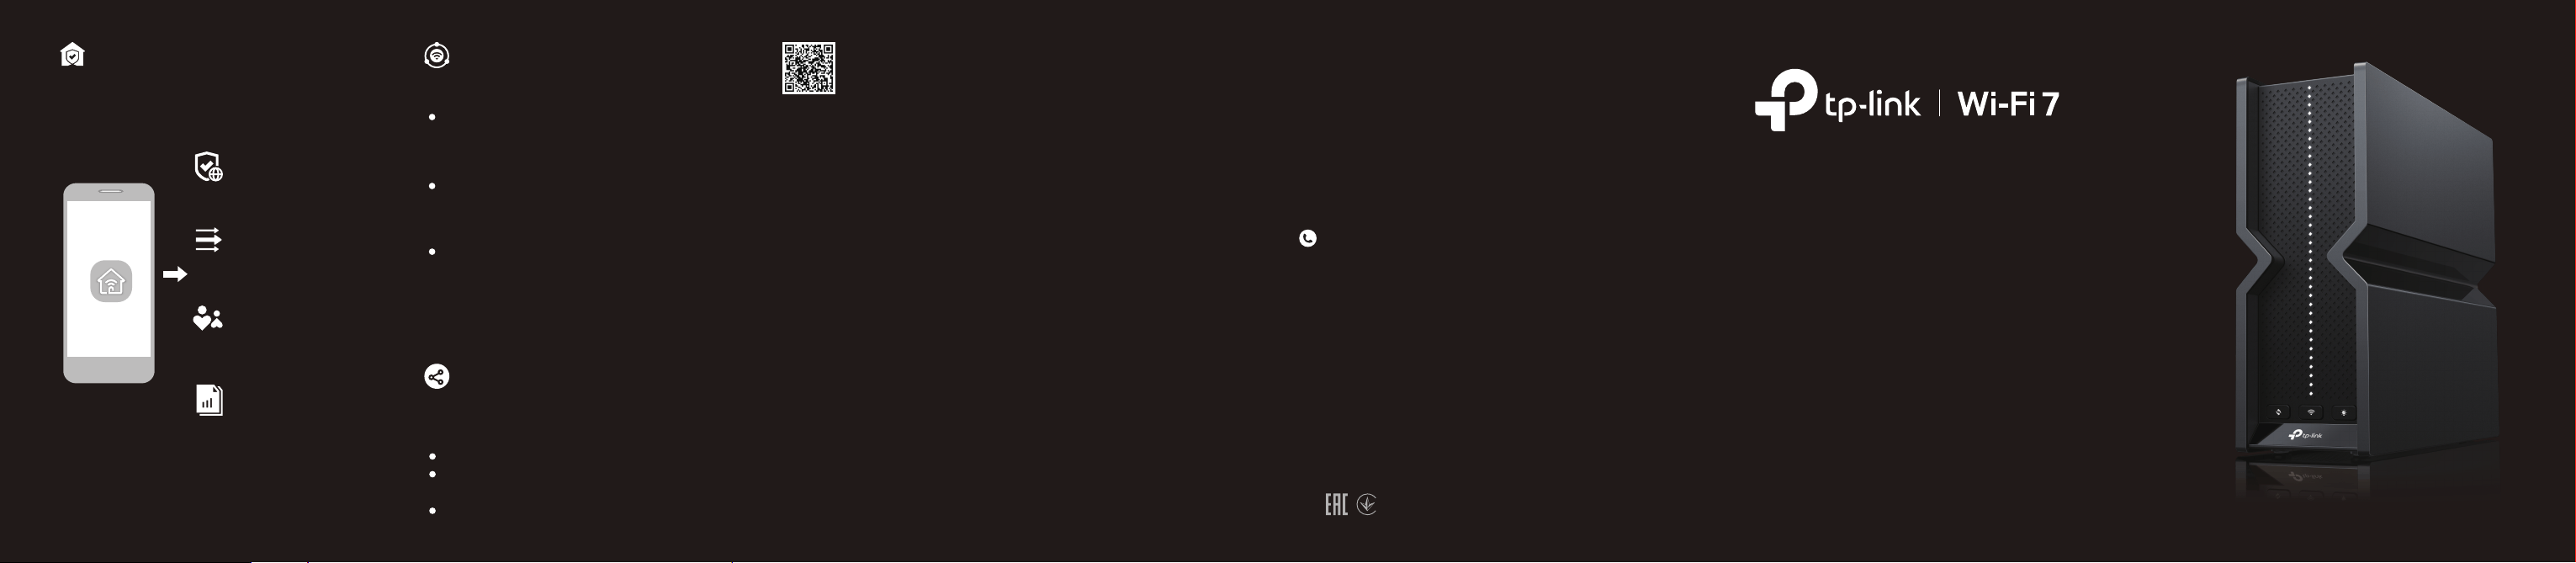
BE9300 Tri-Band Wi-Fi 7 Router
Quick Installation Guide
For technical support, replacement services, user guides, and other
information, please visit https://www.tp-link.com/support.
TP-Link HomeShield premium security services keep your
home network safe with cutting-edge features. Tap the
HomeShield tab to enjoy.
For more details, visit https://www.tp-link.com/homeshield.
Comprehensive Reports
Gain full statistics and
insights to help you know
your home network better.
Parental Controls
Manage online time and block
inappropriate content to
maintain healthy online habits.
Quality of Service (QoS)
Prioritize your bandwidth
needs for a better
networking experience.
Network Protection
Detects cyber threats to keep
your privacy and connected
devices well protected.
Tether
TP-Link HomeShield
the router’s web management page at http://tplinkwi.net and go to the
Wireless page to retrieve or reset your wireless password
.
Q4. How should I position my router for optimal Wi-Fi performance?
• Keep the router vertical while working.
• Don’t place your router in a corner or in a closet.
• Avoid obstacles and high-powered appliances.
• Keep your router in a central location at a certain height.
One-Click Settings
Press the WPS button on the main router and the satellite device
within 2 minutes of each other, then the EasyMesh network will
set up.
Seamless Roaming
Connects mobile devices to your routers or extenders that provide
the best coverage. Devices compatible with EasyMesh also share a
single Wi-Fi name so you stay connected in every room.
Flexible Scalability
Flexibly scale your home networking with dierent vendors,* dierent
topologies, dierent Protocols and dierent product categories.
For more information, visit https://www.tp-link.com/easymesh/
*Failure may be due to rmware conicts of dierent vendors. A better
network connection can be established between all APs from TP-Link.
Setup Video
TP-Link hereby declares that the device is in compliance with the essential
requirements and other relevant provisions of directives 2014/53/EU,
2009/125/EC, 2011 /65/EU and (EU) 2015/863.
The original EU declaration of conformity may be found at
https://www.tp-link.com/en/support/ce
TP-Link hereby declares that the device is in compliance with the essential
requirements and other relevant provisions of the Radio Equipment Regulations
2017.
The original UK declaration of conformity may be found at
https://www.tp-link.com/support/ukca
· Keep the device away from water, re, humidity or hot environments.
· Do not attempt to disassemble, repair, or modify the device. If you need service,
please contact us.
· Do not use any other chargers than those recommended.
· Do not use damaged charger or USB cable to charge the device.
· Do not use the device where wireless devices are not allowed.
· Adapter shall be installed near the equipment and shall be easily accessible.