GPSMAP
®
7X3\9X3\12X3 ADAPTER PLATE
INSTALLATION INSTRUCTIONS
Important Safety Information
WARNING
See the Important Safety and Product Information guide in the GPS device
product box for product warnings and other important information.
Installing the Adapter Plate
The GPSMAP 7x3/9x3/12x3 adapter plate converts an opening cut for a
GPSMAP 7x2/9x2/12x2 chartplotter to be used for a GPSMAP 7x3/9x3/12x3
chartplotter. For example, if the dashboard has been cut for a GPSMAP 9x2
chartplotter, you can use the adapter kit to convert the opening to install a
GPSMAP 9x3 chartplotter.
1 If necessary, remove the existing chartplotter from the mounting surface,
and clean the surface of any existing gaskets or marine sealant.
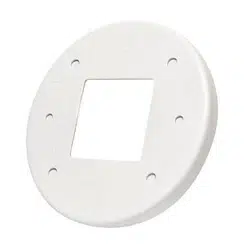
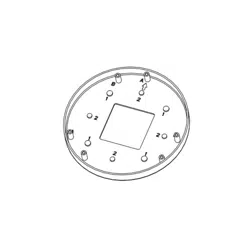
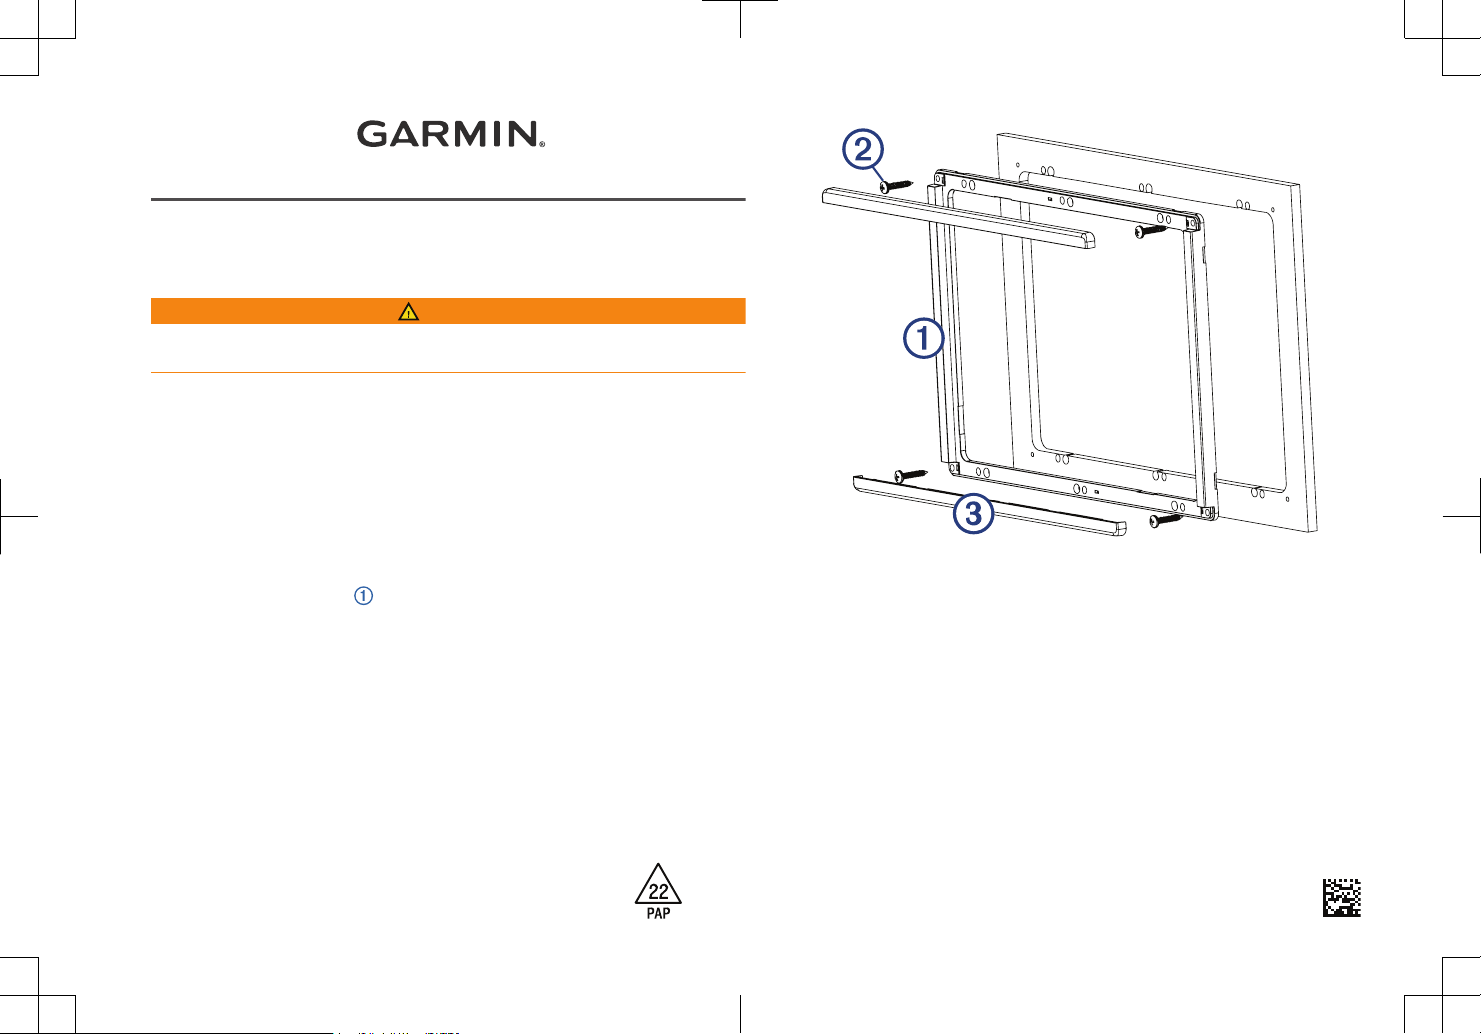
2 Place the adapter plate
over the opening, and mark the new hole
locations for the new chartplotter.
3 Remove the adapter plate.
4 Drill the holes as instructed in the GPSMAP 7x3/9x3/12x3 Installation
Instructions.
NOTE: It might be helpful to cut slots for the nut plates instead of holes.
This will allow easier installation of the nut plates.
5 Place the adapter plate over the opening again to verify the pilot hole
locations.
Printed in Taiwan
June 2022
190-02761-07_0B

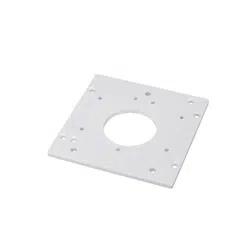
6 Depending on the size of the existing holes, secure the adapter plate to
the mounting surface using the included wood screws or the included
machine screws and nuts.
7 Secure the chartplotter to the adapter plate and mounting surface using the
nut plates and screws included with the chartplotter.
8 Follow the GPSMAP 7x3/9x3/12x3 Installation Instructions to complete the
installation.
9 Snap the trim caps to the top and bottom of the adapter plate.
© 2020–2022 Garmin Ltd. or its subsidiaries
Garmin
®
, the Garmin logo, and GPSMAP
®
are trademarks of Garmin Ltd. or its subsidiaries,
registered in the USA and other countries. These trademarks may not be used without the
express permission of Garmin.
© 2020–2022 Garmin Ltd. or its subsidiaries
support.garmin.com