Read Carefully Before Use
Keep for Future Reference
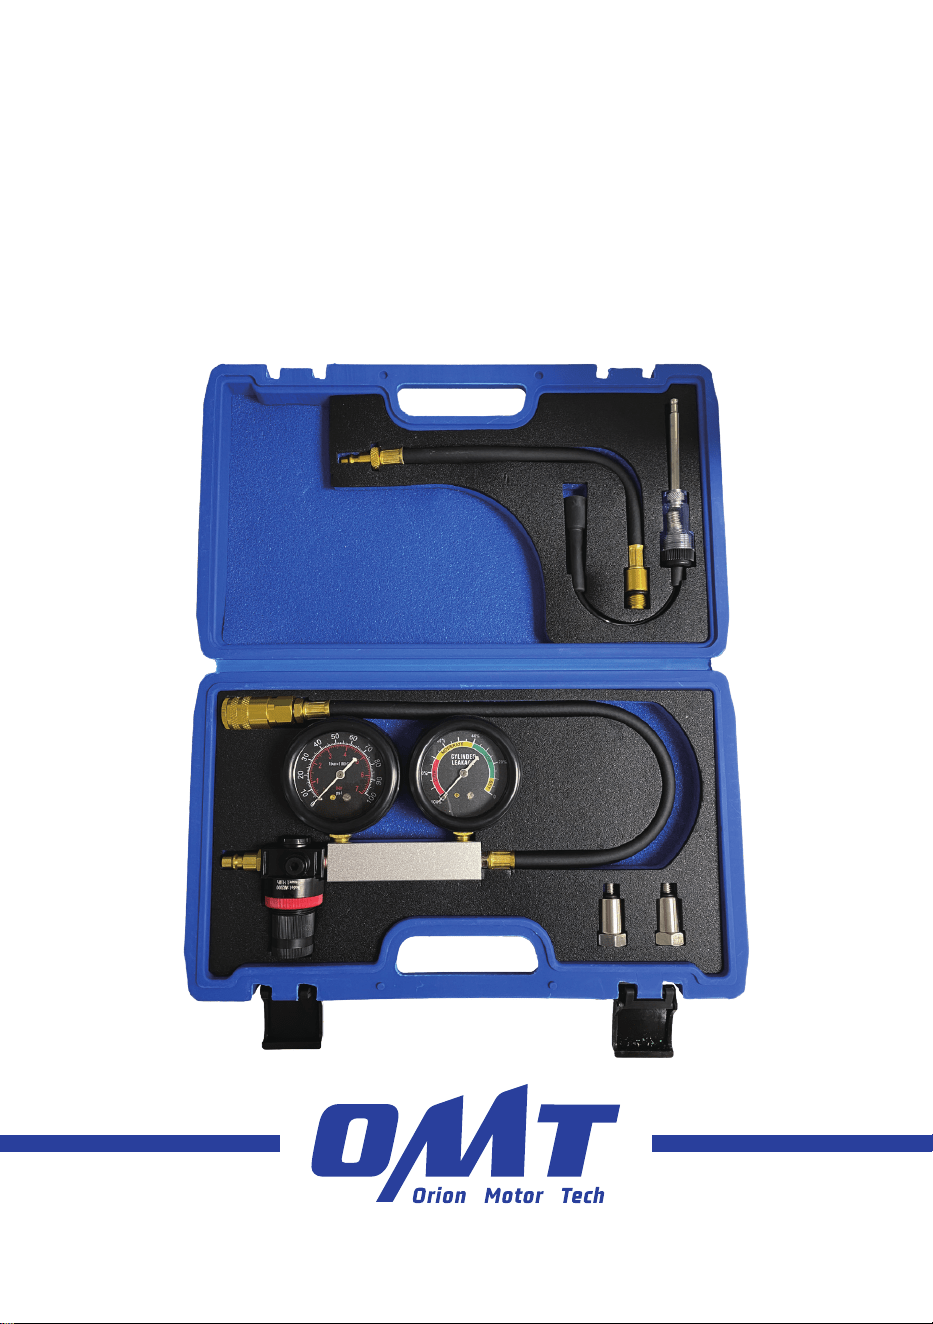
UM-MFK-0013-V2
Leakdown Test Kit
User Manual

Contact Us
Thank you for choosing our products! If you have any questions or comments,
contact us and we'll address your issues ASAP!
support@orionmotortech.com
https://orionmotortech.com/
@OrionMotorTech
Disclaimer
Read this disclaimer completely and carefully before
proceeding with the rest of the manual content.
1. Product Modifications
Any modifications or alterations to Orion Motor Tech (OMT)
products void any warranties and may result in damage or
injury. OMT shall not be liable for any damages resulting
from such modifications or alterations.
2. Compliance with Laws
Customers shall be liable for ensuring that the use of
OMT products complies with all applicable laws and
regulations in their respective jurisdictions. OMT shall not
be responsible for any violations of laws or regulations
resulting from the use of OMT products.
3. Correct Use
Always use OMT products only as directed in the
accompanying manuals. Failure to follow instructions may
result in injury or damage.
Always ensure the assembly, installation, operation,
maintenance, or repair of OMT products is carried out by
a competent person.
Regular maintenance should be performed throughout
the lifecycle of OMT products. You are responsible for
ensuring the products operate as intended.
Always wear appropriate protective gear.
4. Third-Party Products
OMT shall not be liable for any damages or losses
resulting from the use of third-party products in
conjunction with OMT products. Customers shall refer to
the third-party's guidelines and/or warranties (if any) for
any third-party products used.
5. Limitation of Liability
OMT shall not be liable for any direct, indirect, punitive,
incidental, special, or consequential damages to property
or life, whatsoever arising out of or connected with the
use or misuse of OMT products. In no event shall OMT’s
liability exceed the value of the products sold.
6. Warranty
Refer to the sales page for warranty information.
This disclaimer states the entire obligation of OMT with
respect to OMT products. If any part of this disclaimer is
determined to be void, invalid, unenforceable, or illegal,
including but not limited to the warranty disclaimers, liability
disclaimers, and liability limitations set forth above, the invalid
or unenforceable provision will be deemed superseded by
a valid and enforceable provision that most closely matches
the intent of the original provision and the remainder of the
agreement shall remain in full force and effect.

1
• The instructions provided herein are only for general information. ALWAYS perform all repairs in full compliance with
your vehicle’s service manual. Particularly, ALWAYS use the brake fluid type and amount listed in the service manual.
After any repair, test your engine and vehicle in your workshop and at low speed before returning to normal use. Failure
to do so may result in brake failure, serious property damage, and severe personal injury.
• DO NOT allow children or those unfamiliar with this product and its compatible brake systems to use it. Do not use while
under the influence of alcohol, drugs, or any medication that negatively affects your judgment or reflexes. Keep children
and bystanders away during use.
• ALWAYS make sure your work area is well ventilated before running your engine. Carbon monoxide is odorless,
invisible, and lethal.
• ALWAYS make sure there are no open flames and other fire hazards nearby before working on fuel systems. Keep
your work area clean and well lit. Cluttered or dark areas invite accidents. For best results, keep the kit clean and dry.
Remove any fluid, oil, or grease before and after work, particularly from the handle and fittings.
• ALWAYS use personal protective equipment (PPE) suitable to your task. Always wear ANSI-approved eye and hand
protection while using this product. Nonslip footwear is also highly recommended. Other equipment such as ear, head,
and body protection may also be necessary depending on your work and other equipment.
• Dress properly for automotive servicing. Do not wear loose clothing or jewelry and keep hair, clothing, gloves, hoses,
and tools away from any moving parts during use.
• ALWAYS know and understand the specific safety warnings and instructions for your vehicle before using this kit. Use
the correct fluids, pressures, adapters, etc. for your vehicle. Make sure the parking brake is activated before beginning
any work. Use with jack and jack stands able to fully support the necessary weight. Never touch any heated surface with
exposed skin.
• DO NOT overreach. Keep proper footing and balance at all times.
• Ensure your air supply is clean and does not exceed 100 psi. Excessive pressure and/or unclean air will damage the
tester and may cause property damage and/or personal injury.
• Keep hoses away from heat, oil, and sharp edges. Check hoses for wear and make certain that all connections are
secure.
• Maintain this product. Check for misalignment, binding, wear, or other damage before use. If any damage is detected,
repair or replace the problematic components before further use. In a large shop, mark such tools DO NOT USE until
they have been repaired. Only replace components with identical parts.
• Automotive repair is an inherently dangerous activity. This manual and the separate vehicle service manual cannot
cover all possible situations that may arise. ALWAYS exercise discretion and good judgment. Seek training if needed.
Safety Information
2
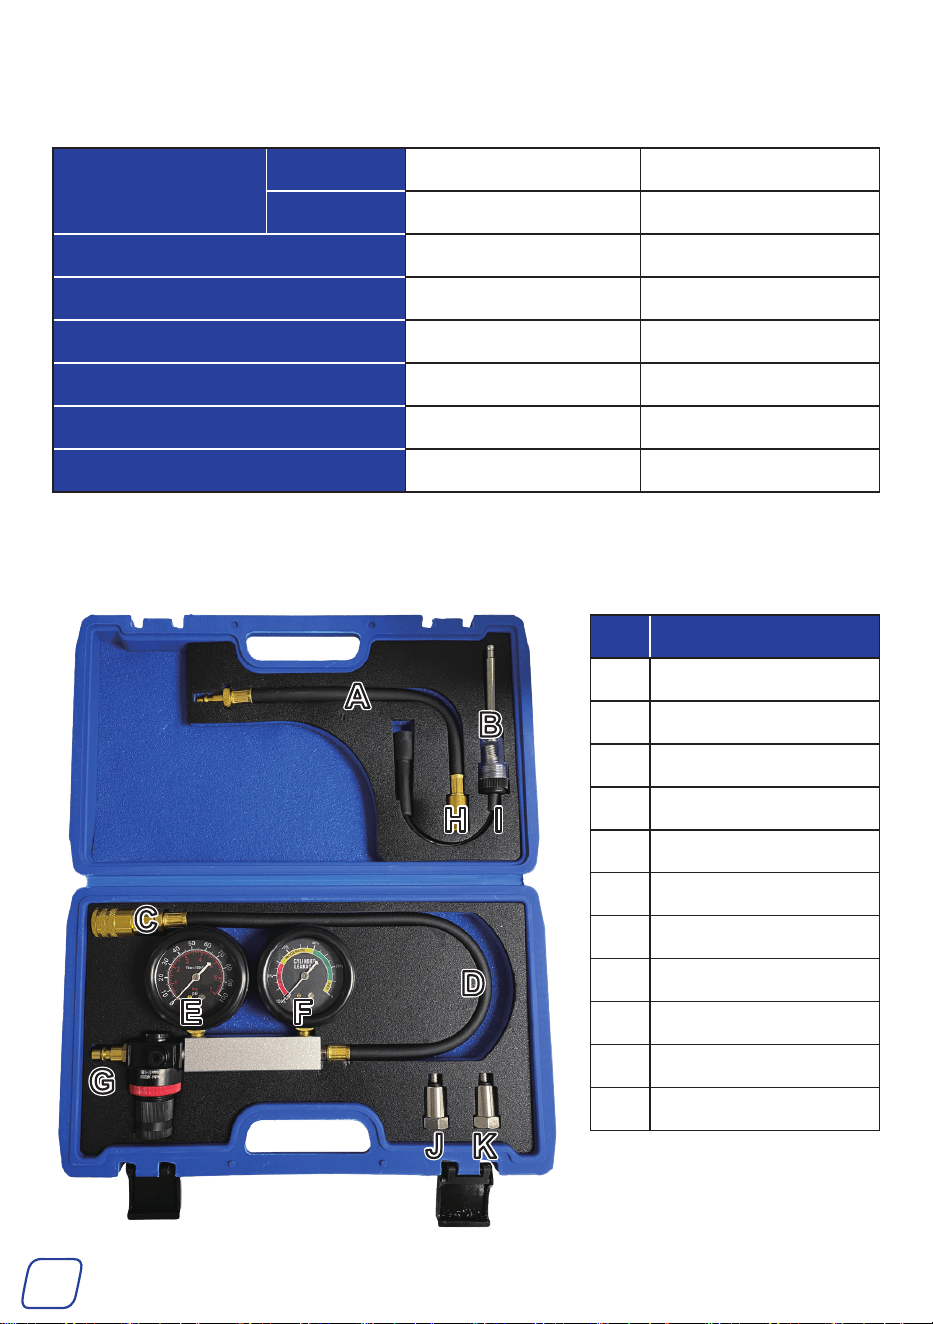
Pressure Gauge
Range 0–100 psi 0–7 Bar
Interval ± 1 psi ± 0.1 Bar
Gauge Diameters 2.7 in. 6.8 cm
Adapter Hose Length 16.5 in. 42 cm
Extension Hose Length 9.6 in. 24.5 cm
Spark Plug Adapter Sizes 0.39 & 0.47 in. 10 & 12 mm
Case Dimensions 14.4 × 11 × 3.7 in. 36.7 × 28 × 9.5 cm
Net Weight 3.1 lb. 1.4 kg
Specifications
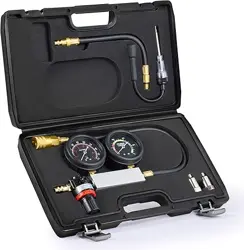
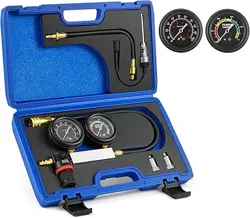
Package List
No. Name
A Adapter Hose
B Spark Plug Tester
C Female Quick Connector
D Extension Hose
E Pressure Gauge
F Leakage Gauge
G Male Quick Connector
H Regulator
I Gauge Base
J M10 Adapter
K M12 Adapter
3
Operation
• Park your machinery in a level place safely and engage the parking brake. If necessary,
chock the wheels/tracks.
• Use correct tools and personal protective equipment (PPE) before performing any
operation. Be extremely careful with possible pinching points, moving parts, or parts
that may suddenly spring out.
• Performing a pressure test requires the work of two individuals; one person to operate
the machinery’s ignition switch and the other person to read the gauge.
• For an abundance of safety, we recommend you take training before using these tools.
Serious injury could happen due to a lack of training.
• If you are inexperienced with compression testing, it is highly recommended you work
with a trained technician to help you confirm and analyze your results.
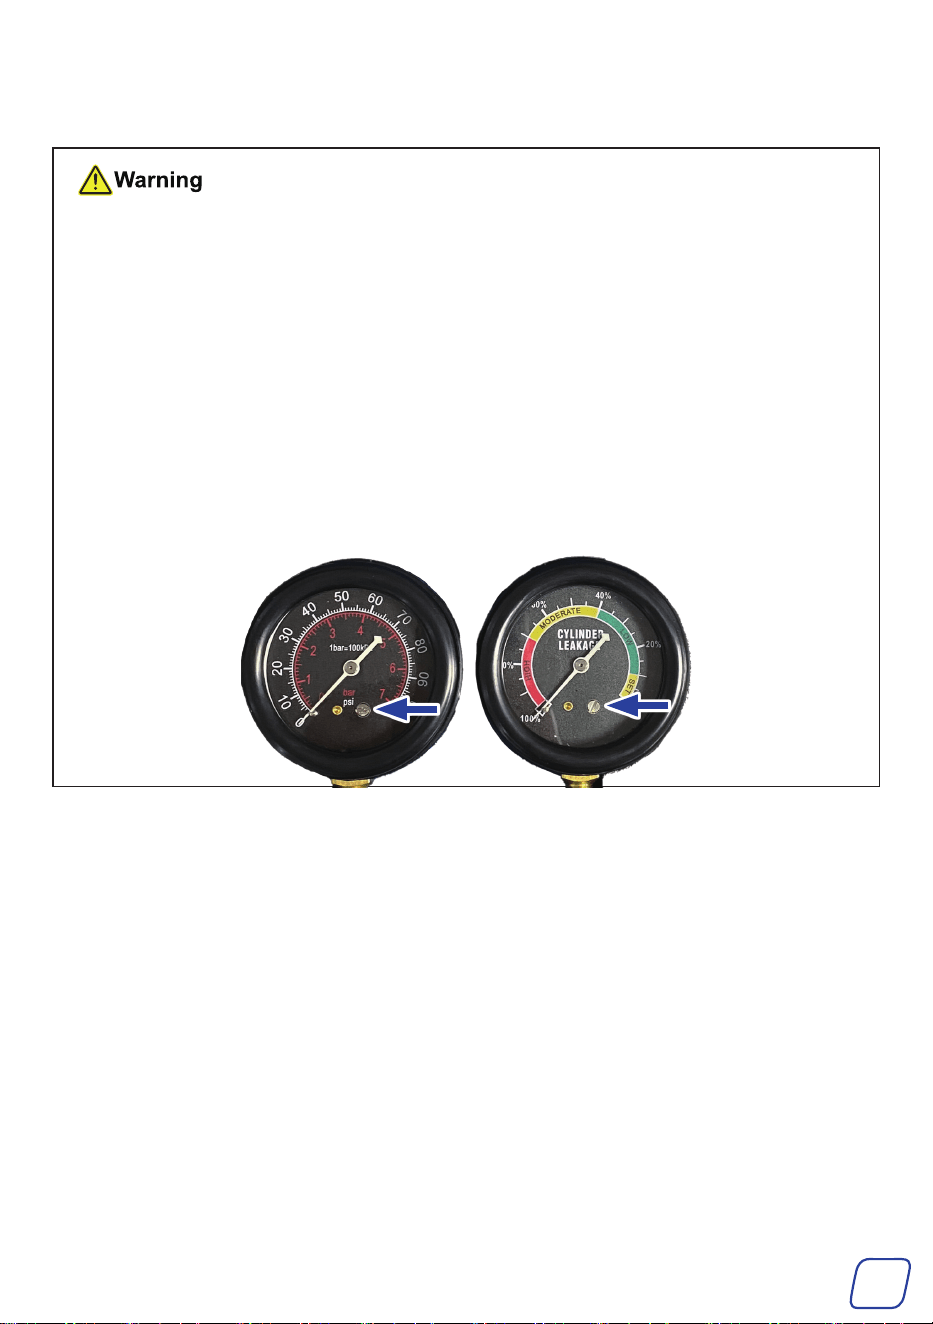
• If the dial pointer is not at zero, use a flathead screwdriver to turn the zero-adjustment
knob counterclockwise until the pointer returns to zero.
Cylinder Compression Test
1. Run your vehicle's engine in a well-ventilated location until it reaches its normal operating
temperature. Park it, activate the parking brake, and turn off the engine.
2. Clean the area around your spark plugs thoroughly to prevent contamination while they are
removed.
3. Disconnect the coil wire and remove your engine's spark plugs, air cleaner or oil dipstick,
radiator cap, and one end of the PVC hose to prevent excessive leaking. If your vehicle has
two spark plugs per cylinder, remove one from each. Keep these parts organized for correct
replacement later.
4. Position the cylinder you will test at the top dead center. Refer to the instructions in your
vehicle's manual for engine timing marks. Always rotate the engine in the normal operating
direction.
To position the cylinder correctly, use a piston position gauge and remove the cam/rocker
cover to confirm closed valves.

4
5. Screw the adapter hose (A) into the spark plug hole, using either adapter (J or K) if necessary.
6. Turn the regulator knob (H) fully counterclockwise, and then connect the leak-down tester to
your air compressor using its male quick connecter (G). Set the air compressor between 10
and 100 psi.
Failure to adjust the regulator before connection to the air compressor may permanently
damage this device. Never set your pressure higher than 100 psi.
7. Turn the regulator knob clockwise until the leakage gauge reads 0. (Typically, this will happen
between 15 and 20 psi.) Connect the narrow end of the adapter hose to the extension
hose (D) using its female quick connector (G). The leakage gauge (F) will begin to show
the compression reading for the connected cylinder. Take at least 3 readings per cylinder,
averaging the results.
• Normal Compression Loss:
All engines experience some compression loss in cylinders that are not leaking, typically
up to 20%.
• High Compression Readings:
Readings approaching 100% indicate that the cylinder is not at Top Dead Center (TDC).
To resolve this:
◆ Consult the Vehicle’s Service Manual: Follow the specific instructions for your vehicle.
◆ Adjust Engine Timing: Rotate the engine only in the recommended direction to
achieve accurate cylinder positioning.
• Diagnosing Compression Loss Sources:
While the compression system is pressurized, use a stethoscope to pinpoint where the
compression loss occurs.
◆ Minor Leaks: Emit higher-pitched sounds.
◆ Major Leaks: Produce lower-pitched noises.
• Identify the Source:
Determine whether the loss is due to valve issues, piston rings, head gasket leaks, or
other engine components.
Noise Location Common Problem(s)
Adjacent Cylinder
• Cracked cylinder walls
• Cracked/blown head gasket
• Leaking cylinder rings
Radiator Fill Cap
Oil Dipstick Tube
Carburetor
Leaking intake valve
Fuel Injector Intake
Tailpipe Leaking exhaust valve

5
Note that larger problems may overwhelm your ability to detect and correct lesser ones. After
addressing large leaks, check again for smaller ones you might've missed.
Unscrew the leakage tester and repeat this process with the other cylinders. All the cylinders
should have reasonably uniform readings. More than 15% of the differences indicate serious
problems.
8. Correct any problems and then clean, recap, and reinstall the spark plugs in the same order
they were removed or install new ones. Reconnect each spark plug wire. Replace the other
engine parts.
Spark Plug Test
1. Disconnect the negative terminal from your vehicle's battery.
2. Disconnect the spark plug wire from one of your vehicle's spark plugs.
3. Mount the spark plug tester's prong to the wire.
4. Connect the other end of the tester to the spark plug.
5. Reconnect the negative terminal on the battery.
6. Use a remote starter or have a second person start the engine while you observe the tester.
7. If the cylinder is not in issue, the tester's light will begin flashing. If it doesn't come on,
disconnect the negative terminal on the battery again and replace the ignition wire before
continuing.
8. Once the tester's light flashes properly, observe the tester while the engine idles for a few
minutes. If the tester goes dim or its rate of flashing changes, the engine might be misfiring
due to a faulty spark plug or coil. Check your coil with an ignition coil tester (not incl.) to see
whether the coil or the spark plug is the problem. Replace whichever part is broken.
9. Reconnect the spark plug wire to the spark plug.
10. Repeat the steps above with the other spark plugs.
Maintenance
• Check the condition of these tools before and after each use. Before further use, repair or
replace any worn or damaged components.
• The exterior of these tools can be cleaned with a soft, damp cloth. Do not use abrasive cleaners
or caustic chemicals. Allow time for the tools to air dry before replacing them in the case.
• Store this product in a cool, dry place away from direct sunlight and inaccessible to children.

User Manual
Rev. 30 May 2025