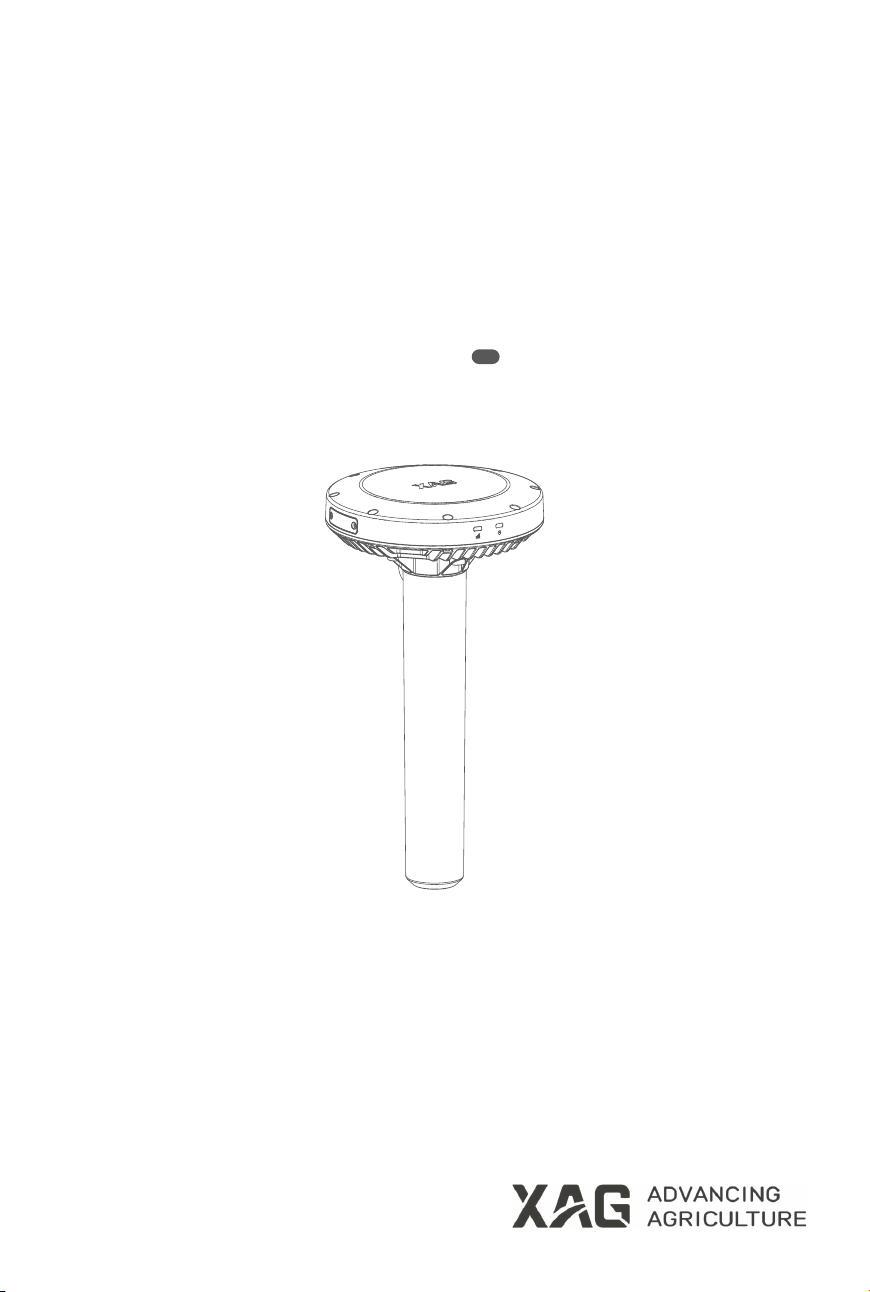
XAG XRTK S1 Station
User Manual
Version 1.0
EN

To User
Dear user, thank you for choosing XAG's products.
For safety purposes and better user experience, it is highly recommended that you read this manual
carefully and strictly follow the instructions hereof.
Contact Us
Manufacturer: Guangzhou Xaircraft Technology Co., Ltd.
Add: Building 1, No. 9 Xinrui Road, Huangpu District, Guangzhou, P.R.China
Technical Support Team: [email protected]
www.xa.com/en1
List of Items
Introduction
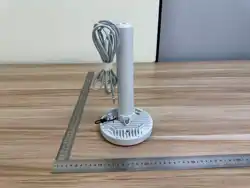
XAG XRTK S1 Station (hereinafter referred to as "XRTK S1") features PPP technology. It serves as
a portable base station, providing positioning services to the APC4 AutoPilot Console via wireless
communication, or as a cloud base station, oering positioning services to devices such as agricultural
drones. It is a powerful tool for precision farming.
When unboxing, check the package contents against this list. Immediately contact your seller regarding
any missing items.
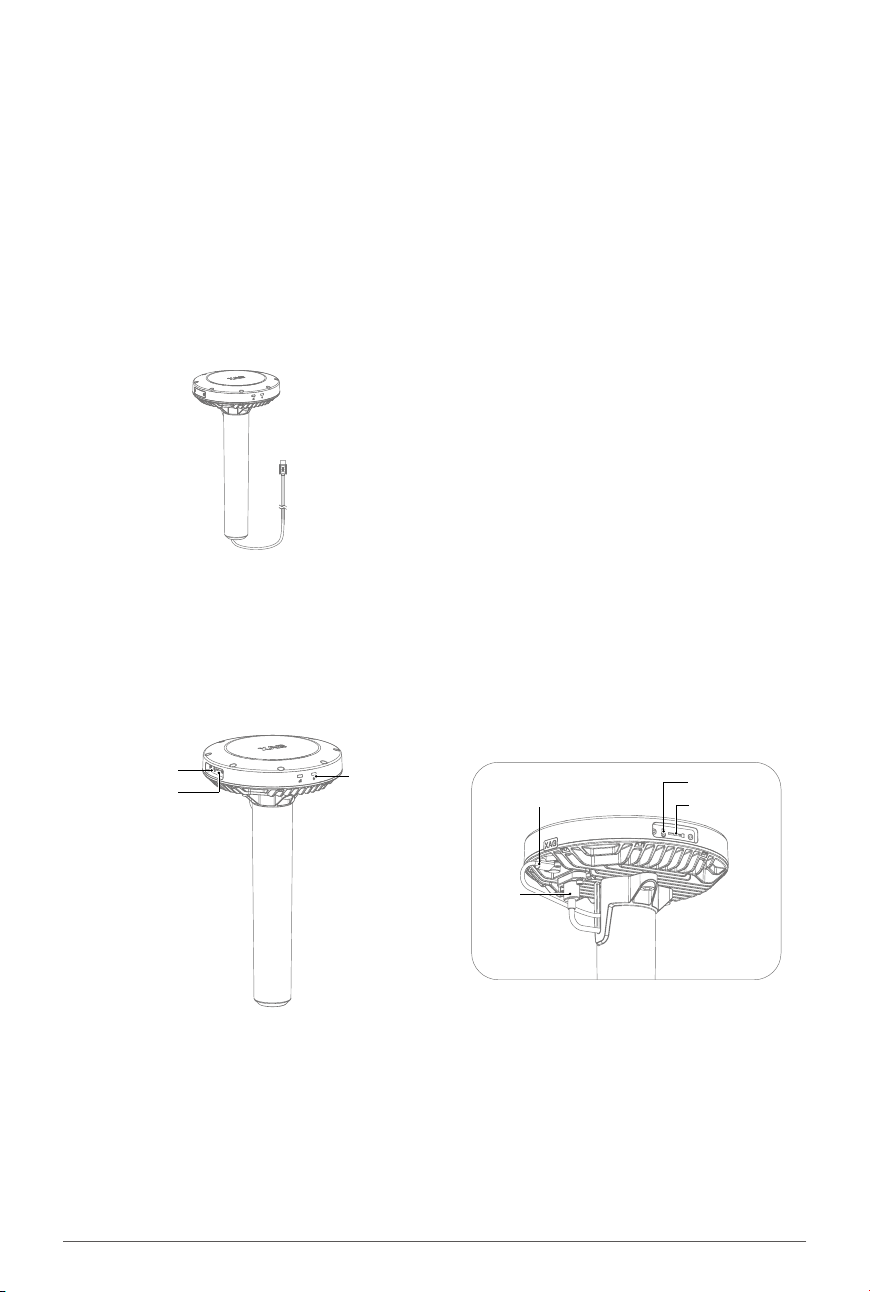
Main Components
XRTK S1 Station
×1
SIM Card Slot
Indicator
Rear View
SIM Card Slot
Reset Button
Communication
Antenna
Reset Button
Power
Cable
www.xa.com/en 2
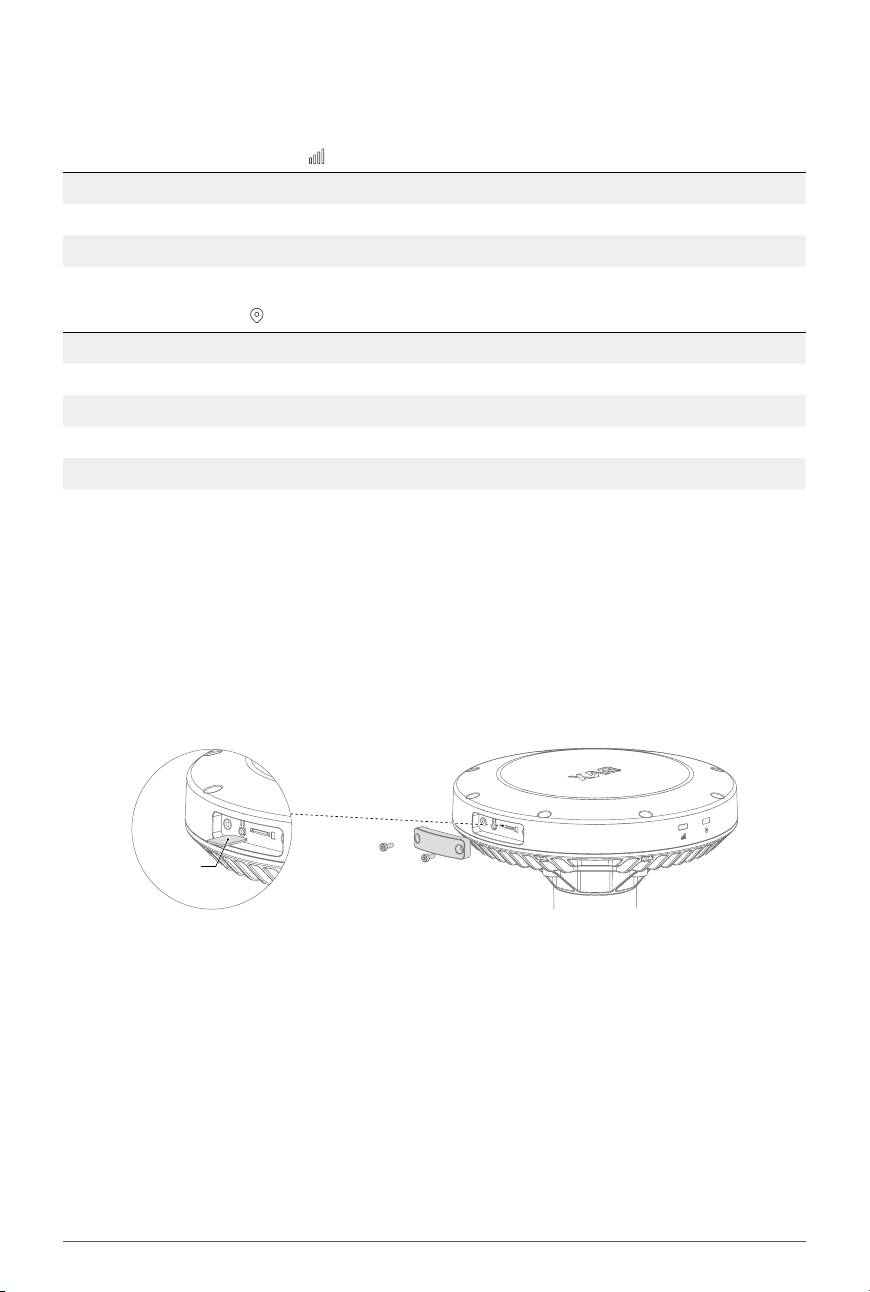
When the XRTK S1 is powered on, its status can be checked by observing the indicators.
Status Indicator
Connection Status Indicator Description
Solid Green 4G connected
Flashing Green Not connected
Solid Yellow High network latency
Positioning Indicator Description
Fast Flashing Green Positioning (Single)
Slow Flashing Green Positioning (Float)
Solid Green Normal (RTK)
Double Flashing Green Normal (Fix)
Solid Red No positioning (None)
Before Use
Install SIM Card
① Use a screwdriver to loosen the screw securing the SIM card slot cover.
② Insert the SIM card
[1]
into the slot (with the notched corner facing inward and the gold contacts
facing downward), then reinstall the cover to complete the installation.
Notched
Corner
[1]: The SIM card is not included with the XRTK S1 and must be purchased separately.
www.xa.com/en3
Installation
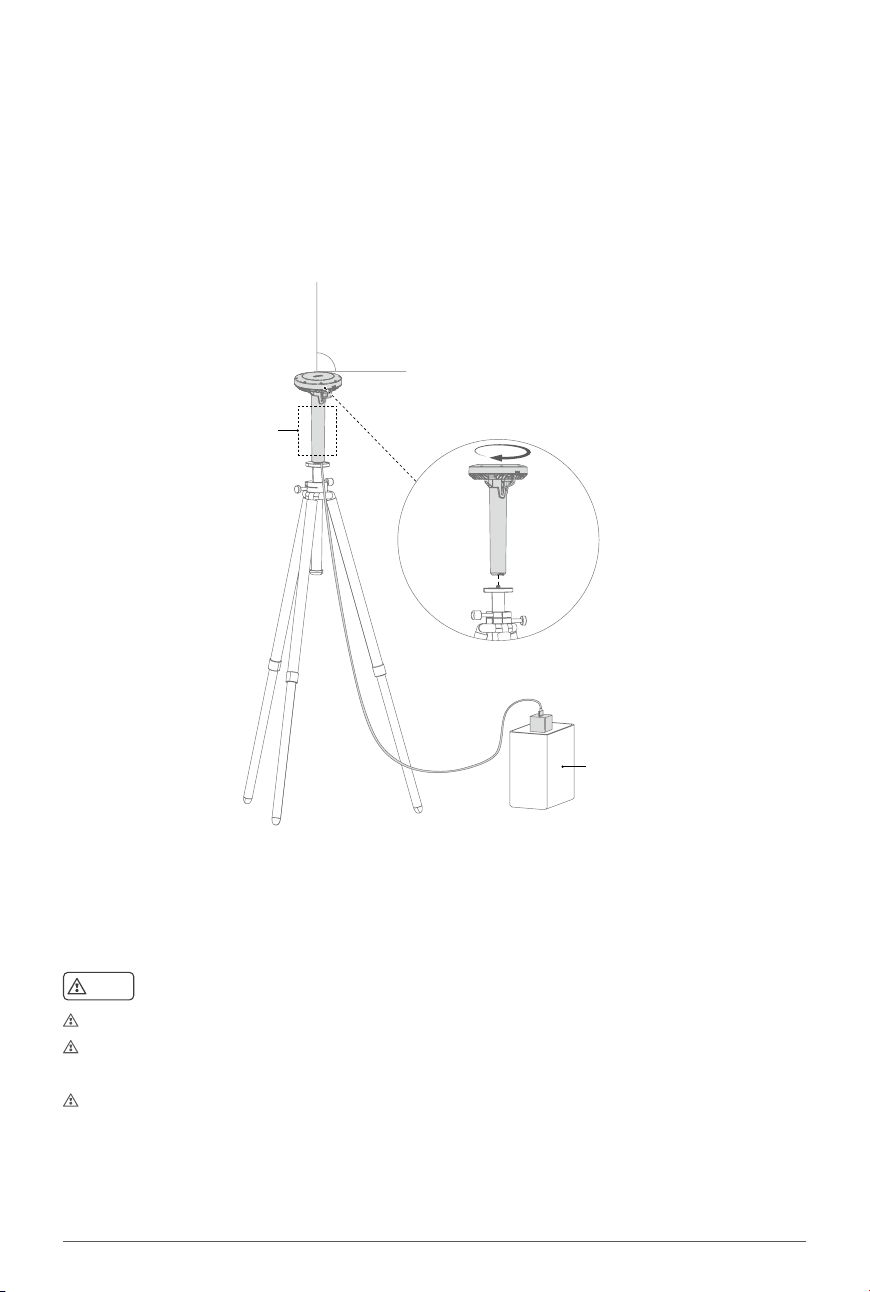
Mobile Deployment
① Align the threaded hole at the bottom of the XRTK S1 with the screw on the tripod
[1]
, then rotate
clockwise to secure the XRTK S1 onto the tripod.
② Connect the Type‑C cable to the charging port of the XRTK S1, and connect the other end to an
adapter plugged into a power source
[2]
. The mobile deployment of the XRTK S1 is now complete.
[1]‑[2]: The tripod and portable power source are not included with the XRTK S1 and must be purchased separately.
Tripod structures vary by model. It is recommended to select a tripod with a 1/4‑inch screw on the platform.
The portable power source shown in this manual is for reference only. Refer to the actual product for
installation.
Ensure the tripod legs are rmly planted on the ground. The height may be adjusted as needed; 1.5 m or
higher is recommended.
Note
Antenna Area
90°
Portable Power Source
www.xa.com/en 4
Fixed Deployment
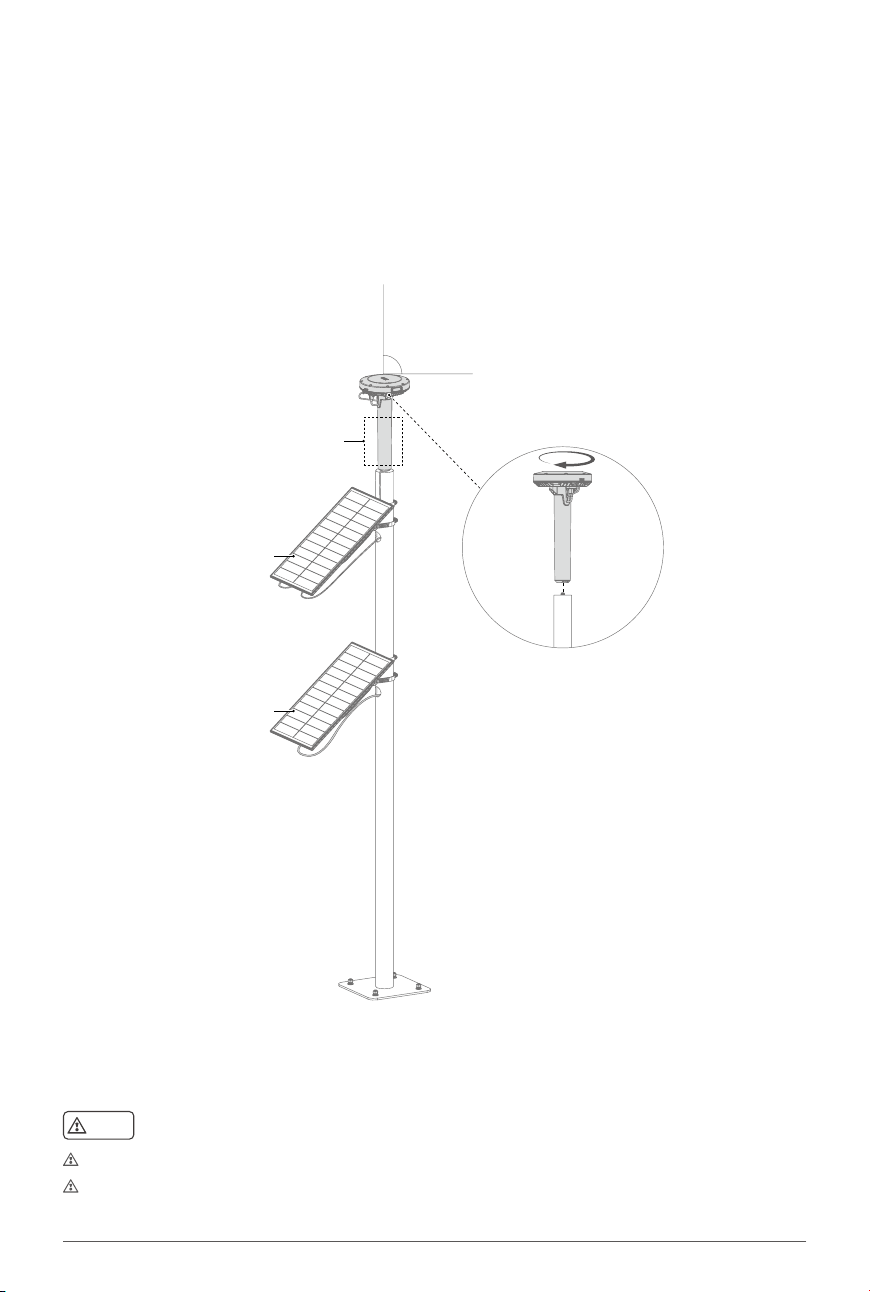
① Align the threaded hole at the bottom of the XRTK S1 with the screw at the top of the pole
[1]
, then
rotate clockwise to secure the XRTK S1 onto the pole.
② Secure the pole to level ground using four expansion bolts.
③ Connect the Type‑C cable to the charging port of the XRTK S1, and connect the other end to a power
source
[2]
. Feed any excess cable into the designated hole on the pole. The fixed deployment of the
XRTK S1 is now complete.
[1]‑[2]: The pole and solar power source are not included with the XRTK S1 and must be purchased separately.
90°
Antenna Area
Solar Power Source
Solar Power Source
For easier installation, it is recommended to use a pole with a 1/4‑inch screw on the top.
The solar power source shown in this manual is for reference only. Refer to the actual product for installation.
Note
www.xa.com/en5
Firmware Update
Always check for firmware updates before use. If an update is available, install the latest version.
1. Open the XAG AutoPilot app, tap the Personal Center icon "
" in the upper‑left corner, then go to
My Devices > Other Devices. Select the desired XRTK S1 to enter its Device Details screen, then tap
Firmware Update to check for updates.
2. If an update is available, tap Download and Update. Once the update is complete, tap Done to return
to the device list. Verify that all relevant devices have been updated to the latest firmware version. If
not, repeat the update steps until complete.
Add a Device
The XRTK S1 must be added in the XAG AutoPilot app before first use. Follow the steps below.
1. Open the XAG AutoPilot app. On the home screen, tap the Personal Center icon"
" in the upper‑left
corner, then go to My Devices > Other Devices and tap Add Device.
2. Scan the XRTK S1 QR code, or enter the SN to add the device. (Alternatively, select Add via Bluetooth
in the QR code scanning screen to add the device via Bluetooth.)
3. Name the device, then tap Confirm to complete the process.
Scan the QR code above to download and install the "XAG AutoPilot" App
How to Use
Download "XAG AutoPilot" App
Keep the antenna area away from metal objects to avoid signal interference.
When setting up the XRTK S1, ensure it is exactly vertical.
The base station site should feature rm, level ground and an unobstructed sky view. There should be no
dense obstacles above a 15° elevation angle to ensure continuous satellite tracking and signal quality.
Warning
www.xa.com/en 6
Add Reference
When the XRTK S1 is used as the positioning base station for the AutoPilot Console, the XRTK S1 must
be added as a reference in the XAG AutoPilot app. Follow the steps below.
1. After powering on the XRTK S1, open the XAG AutoPilot app on the AutoPilot Console. On the home
screen, tap APC > Positioning, then scroll down to the Reference List and tap Add Reference on the
right.
2. Tap Add XRTK S1, then select the XRTK S1 to be set as the positioning base station from the pop‑up
list.
3. After that, the app will automatically return to the home screen.
If the XRTK S1 to be added does not belong to you and is being added for the first time, you must
contact the device owner to obtain and enter the XRTK S1 connection password to complete the
addition.
Set Up Portable Base Station Positioning
Before using the XRTK S1 as a positioning base station, the positioning reference must be configured.
Two positioning reference methods are available: setting the reference via RTK positioning (High‑
Precision Mode
[1]
) and setting the reference via satellite positioning (Low‑Precision Mode). This User
Manual uses RTK positioning (High‑Precision Mode) ‑ PPP satellite‑based positioning as an example.
Follow the steps below.
1. Open the XAG AutoPilot app. On the home screen, tap the Personal Center icon "
" in the upper‑left
corner, then go to My Devices > Other Devices, and select the XRTK S1 that needs to be congured.
2. On the Device Details screen, tap Go to Settings. After confirming that the installation location of the
XRTK S1 meets the installation requirements shown on the app, tap Completed, Next.
3. On the Set Positioning Reference screen, select PPP Satellite‑Based Positioning.
4. Tap Confirm. When the Portable Base Station Positioning status displays Normal (Fix), the positioning
reference of the base station has been successfully set.
[1]: In High‑Precision Mode, the positioning reference is set by using RTCM signals transmitted from an already deployed
fixed base station for differential positioning, thereby obtaining accurate coordinate information. High‑Precision
Mode includes three methods: PPP Satellite‑Based Positioning, CORS, and Network RTK. PPP Satellite‑Based
Positioning refers to obtaining high‑precision coordinates via navigation and positioning satellites. CORS refers to
obtaining coordinates using a third‑party CORS account. Network RTK refers to obtaining high‑precision coordinates
by connecting to the XAG cloud base station.
Set Base Station Sharing Password
Based on operational requirements, the base station can be shared with other devices under the same
account or with other users. Follow the steps below.
1. Open the XAG AutoPilot app. Tap the Personal Center icon "
" in the upper‑left corner, then go to
My Devices > Other Devices, and select the XRTK S1 that needs to be configured.
2. On the Device Details screen, enable Base Station Sharing Requires Password, then tap Password to
enter the Change Connection Password screen.
3. Enter a 4‑digit connection password and tap Confirm.
4. After the password is set successfully, the app will automatically return to the Device Details screen.
Note

www.xa.com/en7
Specications
Model M3BS5AH
Dimensions 140.0 × 140.0 × 259.8 mm
Net Weight 0.65 kg
Charging Voltage/Current 12 V
⎓
3 A; 15 V
⎓
3 A; 20 V
⎓
2 A
Positioning Accuracy
(Good RTK Signal)
Horizontal Accuracy: 0.8 cm + 1 ppm
Vertical Accuracy: 1.5 cm + 1 ppm
RTK Frequency Bands
BDS: B1I, B2I, B3I, B1C, B2a, B2b
GPS: L1C/A, L2P (Y)/L2C, L5
GLONASS: L1, L2
Galileo: E1, E5a, E5b, E6
QZSS: L1, L2, L5
Wi‑Fi Operating Frequency 2.4GHz,5.1GHz,5.3GHz,5.8GHz
Equivalent Isotropically Radiated Power
(EIRP)
≤ 20 dBm
Band 1: 1922.5 MHz ~ 1977.5 MHz;
Band 3: 1710.7 MHz ~ 1784.3 MHz;
Band 5: 869.7 MHz ~ 893.3 MHz (non EU band);
Band 7: 2502.5 MHz ~ 2567.5 MHz;
Band 8: 880.7 MHz ~ 914.3 MHz;
Band 20: 834.5 MHZ ~ 859.5 MHz (non EU band);
Band 28: 704.5 MHz ~ 746.5 MHz (non EU band);
Band 38: 2572.5 MHz ~ 2617.5 MHz;
Band 40: 2302.5 MHz ~ 2397.5 MHz;
Band 41: 2498.5 MHz ~ 2687.5 MHz (non EU band)
Class 3(25 dBm)for LTE‑TDD bands
4G Operating Frequency
4G Maximum transmit power
other Operating Frequency
2400MHz‑2480MHz
Bluetooth Protocol Bluetooth LE V5.2
Operating Frequency(Bluetooth 5.2) 2402 MHz ~ 2480 MHz
Maximum Eective Signal Range
(No Interference, No Obstructions)
5000 m
Operating Ambient Temperature ‑ 10℃ ~ 60℃
Storage Ambient Temperature ‑ 40℃ ~ 85℃

FCC Warning
This device complies with Part 15 of the FCC Rules. Operation is subject to the following two
conditions: (1) this device may not cause harmful interference, and (2) this device must accept
any interference received, including interference that may cause undesired operation.
Caution: The user is cautioned that changes or modifications not expressly approved by the
party responsible for compliance could void the user's authority to operate the equipment.
Note: This equipment has been tested and found to comply with the limits for a Class B digital
device, pursuant to part 15 of the FCC Rules. These limits are designed to provide reasonable
protection against harmful interference in a residential installation. This equipment generates
uses and can radiate radio frequency energy and, if not installed and used in accordance with
the instructions, may cause harmful interference to radio communications. However, there is no
guarantee that interference will not occur in a particular installation. If this equipment does cause
harmful interference to radio or television reception, which can be determined by turning the
equipment off and on, the user is encouraged to try to correct the interference by one or more of
the following measures:
—Reorient or relocate the receiving antenna.
—Increase the separation between the equipment and receiver.
—Connect the equipment into an outlet on a circuit different from that to which the receiver is
connected.
—Consult the dealer or an experienced radio/TV technician for help.
FCC RF Radiation Exposure Statement:
This equipment complies with FCC radiation exposure limits set forth for an uncontrolled environment.
This equipment should be installed and operated with a minimum distance of 20cm between the
radiator and any part of your body.
FCC SDoC statement
FCC Supplier’s Declaration of Conformity
XAG / M3BS5AH
This device complies with part 15 of the FCC Rules. Operation is subject to the following two
conditions: (1) This device may not cause harmful interference, and (2) this device must accept any
interference received, including interference that may cause undesired operation.
Suppliers Name: Americas Compliance Consulting LLC dba iCertifi
Suppliers Address (USA) :
5809 US-2, Suite B, Albeni Plaza Priest River, ID 83856
United States
www.xa.com/en9
EU Compliance Statement:
Guangzhou Xaircraft Technology CO.,LTD.All Rights
Reserved.hereby declares that this device is in compliance with the essential requirements
and other relevant provisions of the RED Directive. This equipment must be installed and
operated in accordance with provide instructions and the antenna used for this transmitter
must be installed to provide a separation distance of at least 20cm from all persons and must
not be co‑located or operation in conjunction with any other antenna or transmitter.End‑
users and installers must be provide with antenna installation instructions and transmitter
operating conditions for satisfying RF exposure compliance.
“Hereby,
[Guangzhou Xaircraft Technology CO.,LTD.]
, declares that this
[XAG XRTK S1 Station]
is in
compliance with the essential requirements and other relevant provisions of 2014/53/EU.
The full text of the EU declaration of conformity is available at the following internet address:
www.xa.com/en/service/downloads”
Brand name / model number
:
M3BS5AH
Suppliers Name(EU)
:
NIK ELECTRONICS LTD
Suppliers Address (EU)
:
Sofia, 11B Brussels Blvd., fl.13
Suppliers phone number and / or internet contact information
:
00359899952228
사용자 안내문
이 기기는 업무용 환경에서 사용할 목적으로 적합성평가를 받은 기기로서 가정용 환경에서사용하는 경우 전
파간섭의 우려가 있습니다.
www.xa.com/en 10
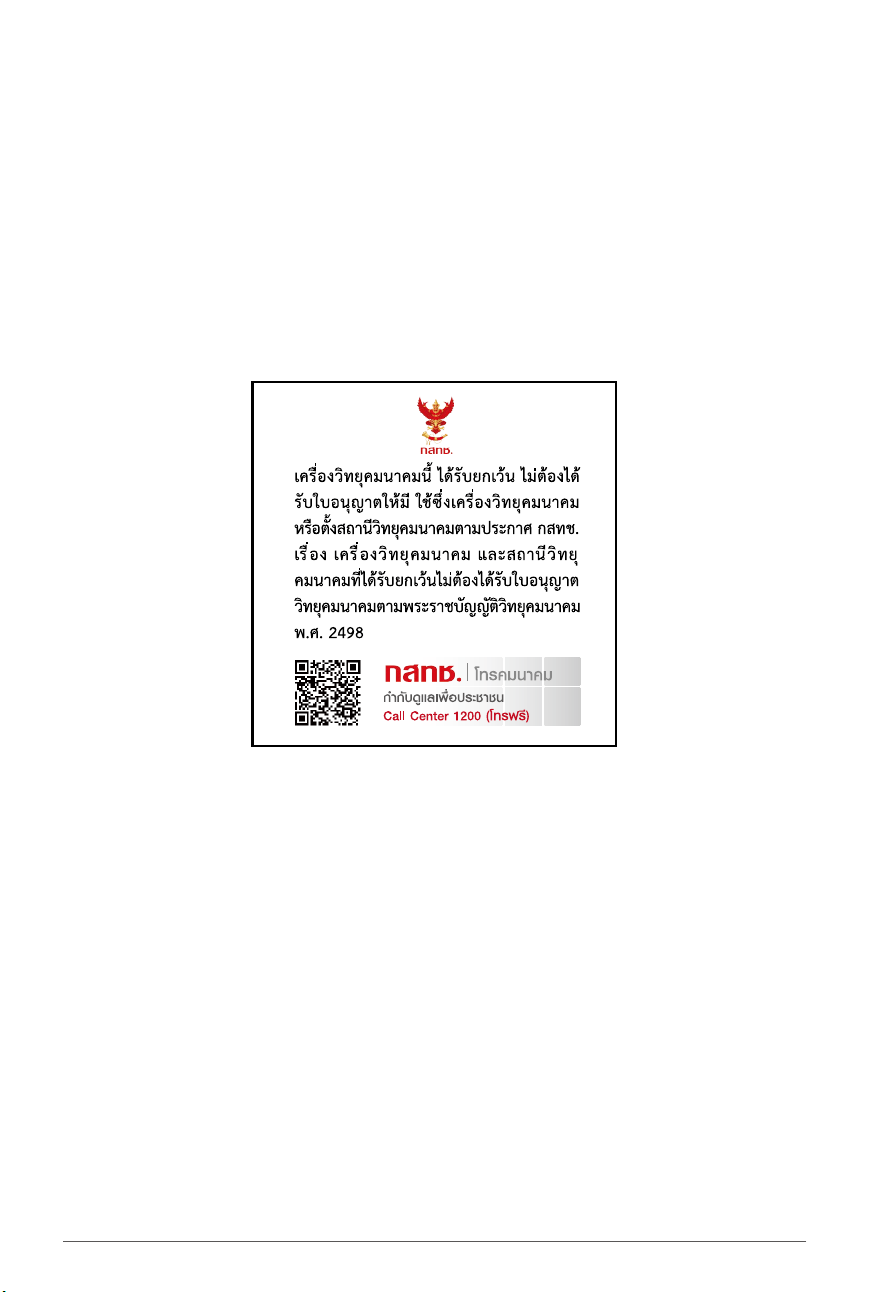
NBTC statement
1.Marking for technical standard conformity.
3. Marking regarding Regulation for selling radio communication equipment as per radio communica‑
tion act B.E.2498 (Mandatory).
2.Marking regarding safety to human health.
เค ่�องโทคมนาคมและอุปก์น้� ม้ความสอดคล้องตามมาตฐานห ่อ้อก าหนดทางเทคนิคอง กสทช.
เค ่�องวิทุคมนาคมน้�ม้ะดับกาแ่ คล่�นแม่เหล็กไฟฟ้ าสอดคล้ องตามมาตฐานความปลอดัต่อสุ าพองมนุษ์
จากกาใช้ เค ่�องวิทุคมนาคมท้�คะกมกากิจกาโทคมนาคมแห่ งชาติปะกาศก าหนด.
©Guangzhou Xaircraft Technology Co., Ltd. All Rights Reserved.
All information in this User Manual (including but not limited to any text description, illustrations, photos, methods,
processes, etc.) belongs to Guangzhou Xaircraft Technology Co., Ltd and is protected by copyright law. Without written
authorization, no individual or institution is allowed to reproduce, extract, translate, distribute, or otherwise reproduce
or quote any content hereof.
This manual is subject to update without prior notice.
overseas@xa.com
@XAGocial
@xag_ocial
@XAG Ocial